You’ve just cracked open your latest pale ale, taken a big sniff, and… nothing. Barely a whisper of hop aroma. The bitterness is there, the colour looks right, but that juicy, tropical punch you were after? Gone. If this sounds familiar, dry hopping is almost clearly where things went sideways — or where they never started at all.
This dry hopping technique guide covers everything you need to get those massive hop aromas into your homebrew, from choosing the right hops and deciding when to add them, through to common mistakes that quietly ruin batches. No chemistry degree required.
What Dry Hopping Actually Does
Dry hopping means adding hops to your beer after the boil — usually during or after fermentation. Unlike bittering additions that go in during the boil (where heat extracts alpha acids for bitterness), dry hops sit in cool or room-temperature beer, releasing aromatic oils and compounds without adding any significant bitterness.
Those aromatic oils — myrcene, linalool, geraniol, and others — are volatile. They evaporate quickly when exposed to heat, which is why boil additions contribute bitterness but very little aroma. Dry hopping bypasses that problem entirely. The hops steep in your beer like a cold tea, pulling out all those delicate, fragrant compounds that make you lean in for a second sniff.
The result? Floral, citrus, tropical, piney, or dank aromas (depending on the variety) layered on top of whatever your recipe already brings. It’s why every IPA worth drinking has been dry hopped, and why the technique has spread into pale ales, lagers, and even some wheat beers.
One thing dry hopping won’t do: fix a bad beer. If your fermentation was off, your water chemistry was wrong, or you’ve got infection issues, throwing hops at it won’t save you. Get the fundamentals right first — our guide to brewing water chemistry is worth reading if you haven’t dialled that in yet.
Choosing Your Hops
Not all hops are created equal when it comes to dry hopping. You want varieties bred specifically for aroma, not the high-alpha bittering workhorses.
Popular dry hopping varieties for UK homebrewers:
- Citra — the poster child for American IPAs. Intense tropical fruit, mango, grapefruit. About £3-5 per 100g from The Malt Miller or Get Er Brewed
- Mosaic — complex berry, tropical, and earthy notes. Works brilliantly as a single-hop dry hop
- Simcoe — piney and citrusy with a dank edge. Pairs well with Citra or Amarillo
- Galaxy — Australian hop with big passionfruit and peach character. A favourite in hazy IPAs
- East Kent Goldings — if you’re brewing British styles, this gives a gentle floral, slightly spicy aroma that suits bitters and ESBs perfectly
- Nelson Sauvin — New Zealand hop with white wine, gooseberry character. Polarising but brilliant in the right beer
How much to use? For a standard 23-litre batch:
- Light dry hop (pale ales, wheat beers): 30-50g total
- Moderate dry hop (American pale ales, session IPAs): 50-100g
- Heavy dry hop (IPAs, DIPAs): 100-200g
- Absurd dry hop (New England IPAs, haze bombs): 200-350g
More isn’t always better, mind. Past about 250g per 23 litres, you start hitting diminishing returns and increasing the risk of a grassy, vegetal off-flavour — the hop equivalent of steeping a tea bag for twenty minutes.
Pellets vs Whole Leaf vs Cryo Hops
You’ve got three main formats to choose from, and each has trade-offs.
Pellets are what most homebrewers use, and for good reason. They’re compressed, processed hop cones that break apart in liquid and expose maximum surface area. They’re easier to store (vacuum-sealed in the freezer), easier to measure, and more readily available from UK homebrew shops. They also sink to the bottom when they’re done, making racking simpler.
Whole leaf hops look beautiful and romantic, but they’re a pain to work with in a fermenter. They float, they absorb beer (expect to lose 1-2 litres to hop absorption with a big whole-leaf dry hop), and they’re harder to source fresh in the UK. The aroma quality can be slightly more delicate — some brewers swear by whole leaf for English bitters — but for most styles, pellets are the practical choice.
Cryo hops (sometimes called Lupomax or LupuLN2) are a newer option where the lupulin glands are separated from the plant material at ultra-low temperatures. You get concentrated flavour and aroma with less vegetal matter, which means you can use roughly half the weight compared to standard pellets. They’re pricier — expect £8-12 per 100g — but excellent for NEIPAs where you want massive aroma without the grassiness that comes from enormous pellet additions. The Malt Miller and Brewfather usually stock a decent range.
For most homebrewers, pellets are the way to go. Save the cryo hops for when you’re chasing maximum aroma in hop-forward styles and don’t want the vegetal baggage.
When to Dry Hop: Timing Makes Everything
This is where the dry hopping technique guide gets into the decisions that actually shape your beer. Timing matters more than most beginners realise, and the homebrew community has been arguing about it for years. For a related angle, see our How to Brew a Classic English Bitter at Home guide.
During Active Fermentation (Biotransformation Dry Hopping)
Adding hops while your yeast is still actively fermenting — typically 24-72 hours after pitching, when the krausen is at its peak — is called biotransformation dry hopping. The theory (backed by research from Oregon State University and others) is that active yeast converts hop compounds into new aromatic molecules that don’t exist in the hops themselves. Specifically, yeast biotransforms geraniol into citronellol and linalool, creating more complex fruit character.
This is the go-to technique for New England IPAs and hazy pales. That juicy, soft, tropical quality? Biotransformation is a big part of it.
The risk: adding hops during active fermentation means opening your fermenter when CO2 production is high (which helps purge oxygen), but you’re also introducing material that could provide nucleation sites for a foam-over. If your fermenter is more than about 75% full, you might end up mopping hop-infused beer off your ceiling. Ask me how I know.
Post-Fermentation (Traditional Dry Hopping)
The more traditional approach: wait until fermentation is completely finished (stable gravity readings two days apart), then add your hops. This gives you cleaner, more simple hop character — what-you-smell-is-what-you-get from the variety. It’s the standard approach for West Coast IPAs, American pale ales, and most British hop-forward styles.
Temperature matters here. Warmer beer extracts hop oils faster. Most homebrewers dry hop at fermentation temperature (18-20°C for ales), which works well. Some cold-crash first and then dry hop at 2-4°C for a slower, more delicate extraction — this can work for lagers and delicate styles but takes noticeably longer (7-10 days vs 3-5).
Two-Stage Dry Hopping
For hop-forward beers where you want both biotransformation complexity and big simple hop aroma, split your dry hop addition in two. Add half during active fermentation and the other half after fermentation finishes. It’s more work and means opening your fermenter twice (with the oxidation risk that brings), but the results in NEIPAs and DIPAs can be spectacular.
If you’re brewing on an all-in-one brewing system, the closed transfer capabilities of systems like the Grainfather can help minimise oxygen pickup during your second dry hop.
How Long to Leave the Hops In
Shorter than you probably think. The bulk of hop aroma extraction happens in the first 24-48 hours — after that, you’re getting diminishing returns and increasing the risk of polyphenol extraction (which tastes like astringent, grassy bitterness).
Recommended contact times:
- Biotransformation dry hop: add during peak fermentation, leave through the remainder of fermentation (typically 3-5 days total)
- Post-fermentation dry hop: 3-5 days at 18-20°C. Beyond 7 days, you’re asking for trouble.
- Cold dry hop (lagers): 5-10 days at 2-5°C
There’s a persistent homebrew myth that longer = more aroma. It doesn’t work like that. Research by Hopsteiner and trials at brewing labs consistently show that most volatile oils are extracted within 72 hours at ale temperatures. After that, you start extracting the compounds you don’t want.
The one exception: if you’re using whole leaf hops, you may need an extra day or two because they don’t expose as much surface area as pellets.
The Dry Hopping Process Step by Step
Right, here’s the practical bit. This assumes you’re doing a standard post-fermentation dry hop on a 23-litre batch.
What you need:
- Your chosen hops — weighed and ready
- Sanitised hop bag (optional but recommended for easier cleanup) — muslin or nylon from any homebrew shop, about £2 for a pack of three
- Sanitised marbles or stainless steel weights if using whole leaf (to keep them submerged)
- Star San or similar no-rinse sanitiser
- Minimal patience — you’re basically just chucking hops in
The steps:
- Confirm fermentation is complete. Take two gravity readings 48 hours apart. If they match, you’re done. Don’t rush this.
- Sanitise everything that will touch the beer — hop bag, scissors, your hands, the fermenter lid area.
- Open the fermenter and add the hops. If using pellets without a bag, just pour them in. They’ll sink within a day or two. If using a bag, tie it loosely — hops need room to expand and circulate.
- Reseal the fermenter. Minimise the time the lid is off. Every second it’s open is oxygen getting in, and oxygen is the enemy of hop aroma. Some brewers gently purge with CO2 before resealing if they have the kit.
- Leave for 3-5 days. Don’t swirl, don’t agitate, don’t peek. Just leave it alone.
- Cold crash (if your setup allows) by dropping the temperature to 1-3°C for 24-48 hours. This helps hops and yeast settle out, giving you clearer beer.
- Transfer or bottle/keg carefully, leaving the hop matter behind. If you’re kegging your homebrew, a closed transfer with CO2 is ideal to protect all that lovely aroma from oxidation.
Common Dry Hopping Mistakes
Knowing what to avoid is half the battle. These are the mistakes that catch out most homebrewers — sometimes repeatedly.
Oxygen exposure is the big one. Hop compounds are extraordinarily sensitive to oxygen. A beautifully dry-hopped IPA can turn into a dull, cardboardy mess within days if oxygen gets in during the dry hop or packaging process. Use closed transfers where possible, purge headspace with CO2, and move quickly when the fermenter is open.
Dry hopping too long leads to that grassy, astringent, vegetal character that nobody wants. Set a reminder on your phone. Five days, then move the beer off the hops.
Using old or poorly stored hops is a waste of time and money. Hop oils degrade rapidly when exposed to heat, light, and oxygen. Buy vacuum-sealed packs, store them in the freezer, and use them within a year. That open bag of Cascade that’s been in your garage since last summer? Bin it.
Adding hops to the boil to “boost aroma” is a common beginner misunderstanding. Late boil additions (last 5 minutes or at flameout) do add some aroma, but it’s different from dry hop aroma and nowhere near as intense. They’re complementary techniques, not substitutes.
Overcrowding the hop bag prevents proper extraction. If you’re using a muslin bag, don’t stuff 150g of pellets into a bag meant for 50g. Use a bigger bag or multiple bags. The hops need to be in contact with the beer, not compressed into a dense puck.
Best Beer Styles for Dry Hopping
Not every style benefits from dry hopping, and some are defined by it.
- New England IPA / Hazy IPA — heavy dry hop, biotransformation technique, often 200g+ per batch. The style essentially is dry hopping taken to its logical extreme
- American IPA / West Coast IPA — moderate to heavy dry hop, post-fermentation, classic American hop varieties
- American Pale Ale — moderate dry hop, great place for beginners to start experimenting
- English IPA and Bitter — light dry hop with English varieties like East Kent Goldings, Fuggles, or Challenger. Subtle but transforms the beer
- Pale Lager / Pilsner — light cold dry hop with noble varieties (Saaz, Hallertauer Mittelfrüh) is increasingly popular. Go easy — 20-30g per batch maximum
- Wheat Beer — a small Citra or Galaxy dry hop on a wheat beer is a cheat code for a crowd-pleasing summer beer
If you’re new to homebrewing and haven’t brewed a dry hopped beer yet, a simple American pale ale is a brilliant starting point. Keep the grain bill simple, use a clean American yeast, and dry hop with 50-80g of Citra. You’ll taste the difference immediately, and you’ll never go back.
Troubleshooting Your Dry Hop
“My beer smells grassy/vegetal” — hops were in too long, or you used old hops, or both. Reduce contact time to 3-4 days on your next batch and check your hop storage.
“The aroma faded within a week of packaging” — oxygen pickup during transfer or packaging. This is the most common cause and the hardest to solve without kegging equipment. If you’re bottle conditioning, consider investing in a kegging setup — it makes a dramatic difference to hop-forward beers.
“I can’t taste any difference after dry hopping” — could be using too little (under 30g on a 23-litre batch barely registers), could be old hops, or could be that your base beer has flavours masking the hop aroma. Crystal malts and strong yeast character compete with hop aroma. Simplify your grain bill.
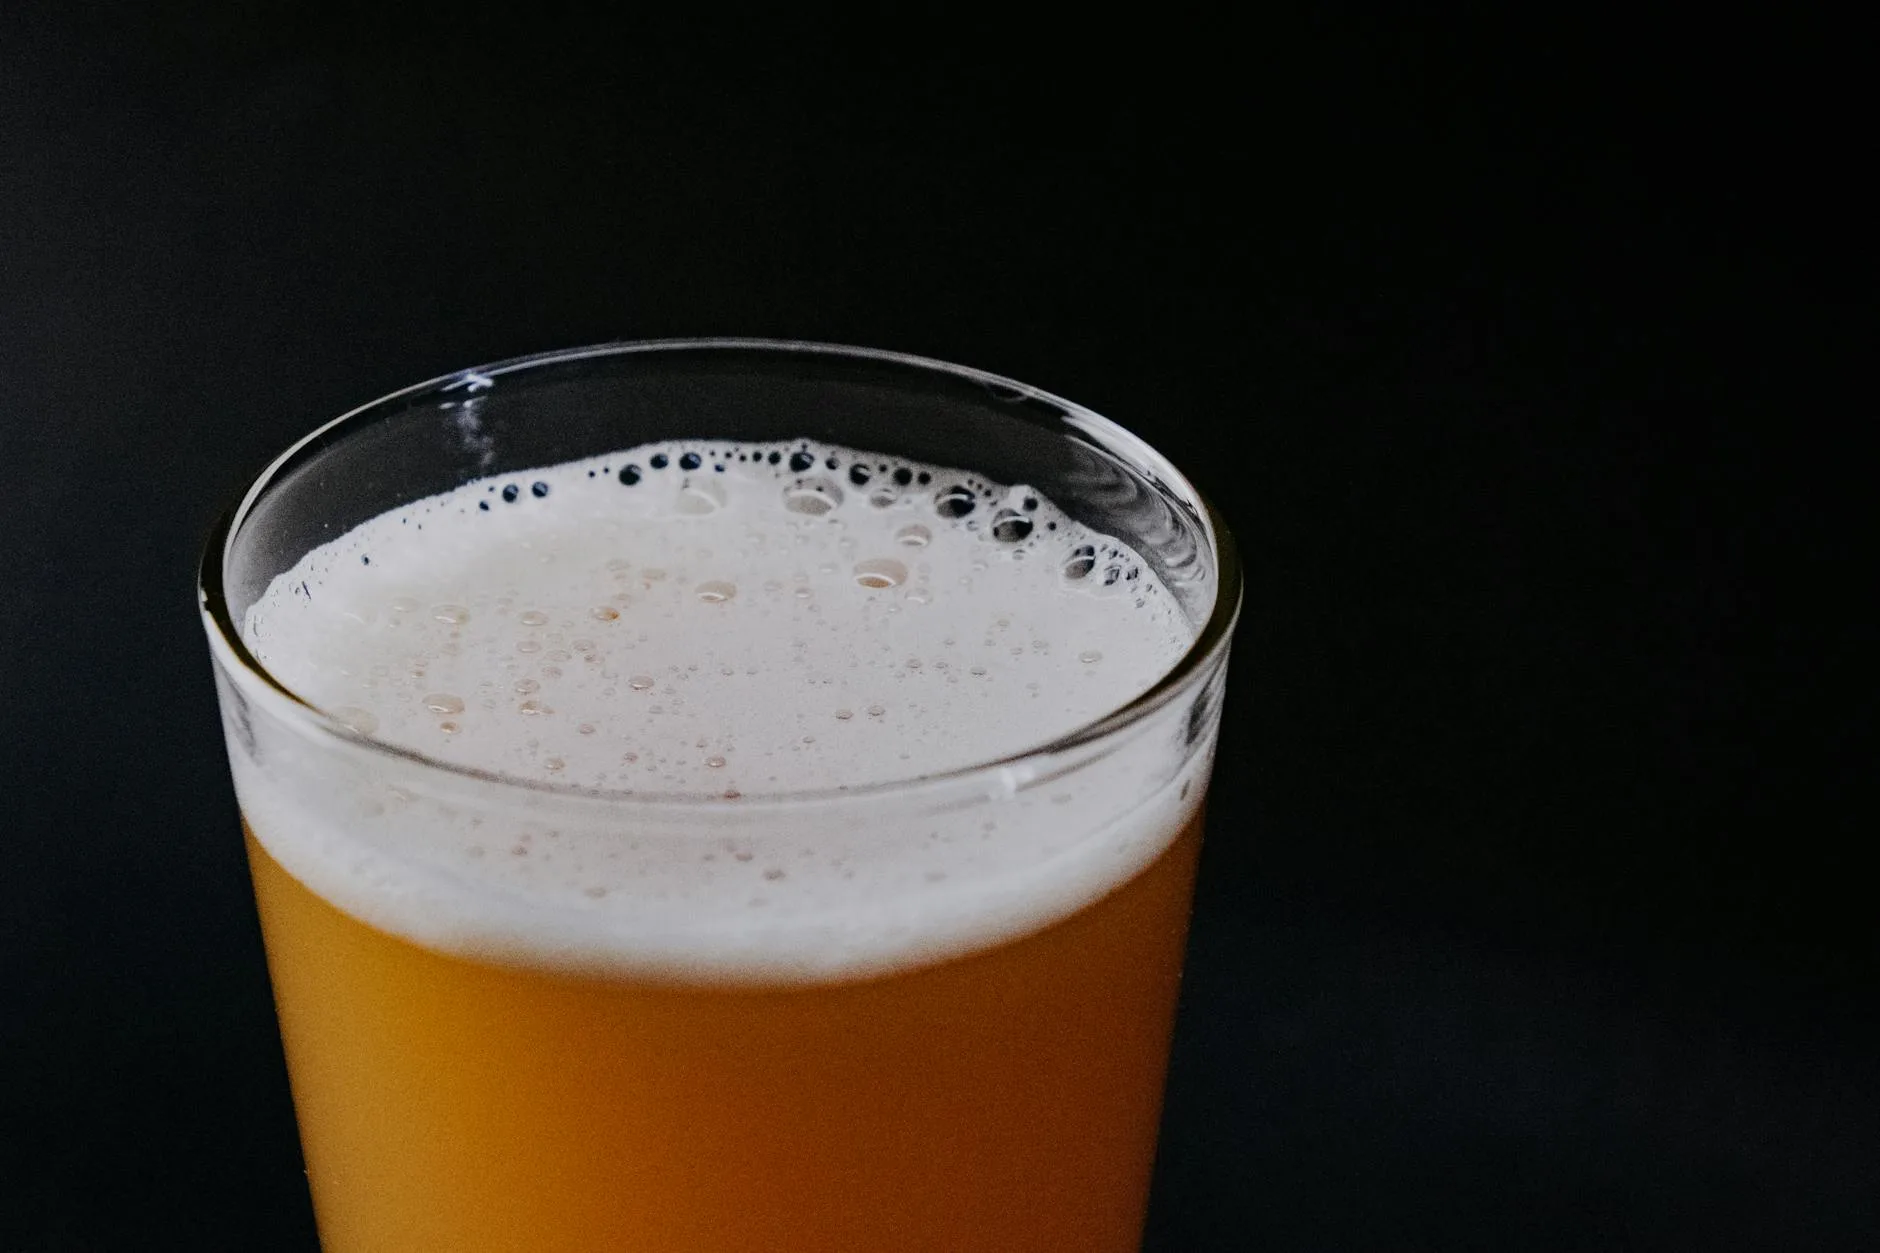
“My beer is hazy after dry hopping” — that’s normal. Hop polyphenols bind with proteins and create haze. Cold crashing helps, or lean into it and call it a hazy pale ale. Nobody will complain.
“I got an infection after dry hopping” — hops are naturally antimicrobial, so infection from the hops themselves is extremely unlikely. More likely, something else in your process introduced bacteria — check your sanitisation routine from top to bottom.
Quick Reference: Dry Hopping at a Glance
- What: adding hops post-boil for aroma without bitterness
- How much: 30-350g per 23-litre batch depending on style
- When: during active fermentation (biotransformation) or after fermentation completes
- How long: 3-5 days at ale temperatures, 5-10 days if cold
- Format: pellets for most brewers, cryo for maximum impact, whole leaf for traditionalists
- Enemy #1: oxygen. Minimise exposure at every step
Dry hopping is one of those techniques where the basics are simple but the details reward experimentation. Start with a moderate dry hop on a pale ale, take notes, and adjust from there. Once you nail it, you’ll wonder how you ever brewed hop-forward beers without it.
Frequently Asked Questions
How much to use? For a standard 23-litre batch: Light dry hop (pale ales, wheat beers): 30-50g total Moderate dry hop (American pale ales, session IPAs): 50-100g Heavy dry hop (IPAs, DIPAs): 100-200g Absurd dry hop (New England IPAs, haze bombs): 200-350g More isn’t always better, mind. Past about 250g per 23 litres, you start hitting diminishing returns and increasing the risk of a grassy, vegetal off-flavour — the hop equivalent of steeping a tea bag for twenty minutes. Pellets vs Whole Leaf vs Cryo Hops You’v
What homebrew kit should beginners buy first? Start with a fermenter, sanitiser, thermometer, hydrometer, syphon and bottles or a small keg setup. Keep the first brew simple.
What causes most beginner homebrew problems? Poor sanitation, unstable fermentation temperature and rushing bottling cause most faults. Clean process beats extra equipment.
What should I check first with Dry Hopping Explained: Technique and Timing? Start with the real use case, then check size, compatibility, running costs and maintenance. A product that looks good on paper can still be the wrong fit if it does not suit the room, routine or budget.
How do I avoid wasting money on Dry Hopping Explained: Technique and Timing? Avoid buying on one headline feature alone. Compare the practical details, read the warranty or returns terms, and choose the option that solves your main problem rather than the one with the longest specification list.