You’ve just finished a 60-minute boil, you’ve hit your target gravity, and now you’re staring at 23 litres of near-boiling wort that needs to drop from 100°C to 20°C before you can pitch yeast. You could leave it in the bath with cold water and ice for two hours, or you could chill it in 15 minutes with the right equipment. A wort chiller doesn’t just save time — it produces clearer, better-tasting beer.
In This Article
- Why Rapid Chilling Matters
- Types of Wort Chiller
- Best Wort Chillers 2026 UK
- How to Use an Immersion Chiller
- How to Use a Counterflow Chiller
- Copper vs Stainless Steel
- Sizing Your Chiller
- Cleaning and Maintenance
- DIY vs Buying a Wort Chiller
- Frequently Asked Questions
Why Rapid Chilling Matters
Cooling your wort quickly after the boil isn’t just about convenience. It directly affects the quality of your finished beer in three measurable ways.
Cold Break Formation
When hot wort cools rapidly, proteins and tannins clump together and fall out of suspension — this is called the cold break. A strong cold break means clearer beer with less haze. Slow cooling produces a weak cold break, leaving those proteins in solution where they cause permanent chill haze. If you’ve ever wondered why your homebrew goes cloudy when it’s cold, slow cooling is probably the reason.
DMS Prevention
Dimethyl sulfide (DMS) is a compound that gives beer a cooked-corn or cabbage flavour — exactly what you don’t want. DMS precursors form during the mash and are driven off during a vigorous boil. But if the wort stays above 80°C for an extended period after the boil ends, DMS continues to form. Rapid chilling gets the temperature below 80°C fast enough to prevent DMS accumulation. After my first all-grain brew spent 90 minutes cooling in a water bath, the finished beer had a distinct sweetcorn taste that I couldn’t explain until I read about DMS.
Contamination Window
The period between 40°C and 20°C is where bacteria and wild yeast thrive. Every minute your wort spends in this temperature range increases the risk of infection. A wort chiller reduces this window from hours to minutes.
Types of Wort Chiller
Immersion Chillers
A coil of copper or stainless steel tubing that you submerge directly in the hot wort. Cold water flows through the coil, absorbing heat from the wort. The simplest, most affordable, and most popular type for home brewers.
- Typical price: £30-80
- Cooling time: 15-25 minutes for 23 litres
- Best for: Beginners, standard batch sizes, anyone who values simplicity
- Limitations: Uses more water than counterflow. Takes longer than plate or counterflow chillers
Counterflow Chillers
Two concentric tubes — wort flows one way, cold water flows the other way around it. The constant counter-directional flow creates very efficient heat exchange. More complex to use and clean than immersion chillers, but faster and more water-efficient. For a related angle, see our How to Brew a New England IPA: Hazy & Juicy guide.
- Typical price: £60-150
- Cooling time: 5-10 minutes for 23 litres (continuous flow as you transfer)
- Best for: Experienced brewers, larger batches, anyone who’s outgrown an immersion chiller
- Limitations: Harder to clean (enclosed tubes), requires a pump or gravity feed
Plate Chillers
Multiple thin plates stacked together with alternating channels for wort and water. Extremely efficient but the hardest to clean thoroughly. Popular in commercial brewing and with advanced home brewers.
- Typical price: £80-200
- Cooling time: 3-5 minutes for 23 litres (continuous flow)
- Best for: Advanced brewers who brew frequently and clean meticulously
- Limitations: Can clog with hop debris, very difficult to inspect internally, potential harbourage for bacteria if not cleaned properly
Ice Bath (No Chiller)
Placing the kettle in a bath of cold water and ice. Free but slow — typically 45-90 minutes depending on batch size and how much ice you have.
- Typical price: Free (assuming you have a bath or large container)
- Cooling time: 45-90 minutes for 23 litres
- Best for: Your very first brew when you’re not sure you’ll stick with the hobby
- Limitations: Slow, wastes a lot of ice, poor cold break, DMS risk
Best Wort Chillers 2026 UK
Best Overall: The Grainfather CFC (Counterflow Chiller)
If you already own a Grainfather all-in-one system or similar electric brewery, this counterflow chiller connects directly to the pump outlet. But it works with any setup that has gravity or pump-driven wort flow.
- Type: Counterflow
- Material: Food-grade stainless steel inner tube, copper outer jacket
- Price: About £90-110
- Where to buy: The Malt Miller, BrewUK, Amazon UK
- Chilling performance: Gets 23 litres from boiling to pitching temperature in about 8 minutes with standard UK mains water pressure
- Why it’s the pick: The stainless inner tube means no copper contact with your wort (relevant for brewers who worry about copper affecting hop character), and the build quality is excellent. I’ve been using one for over a year — it connects in seconds and hasn’t shown any degradation
Best Budget: Home Brew Online Copper Immersion Chiller
A no-nonsense copper immersion coil that does exactly what it needs to at a price that won’t make you wince. The 10mm copper tubing provides good surface area for heat exchange.
- Type: Immersion
- Material: Copper, 10mm diameter, approximately 8 metres of coil
- Price: About £30-45
- Where to buy: Home Brew Online, BrewUK, Amazon UK
- Chilling performance: 23 litres from boiling to 20°C in about 20 minutes with gentle stirring
- Why it’s good: Cheap, effective, and copper is naturally antimicrobial. Perfect for anyone moving up from ice-bath chilling without spending a fortune. The brass hose connectors fit standard UK garden hose fittings
Best for Large Batches: SS Brewtech Immersion Chiller
A premium stainless steel immersion chiller with a larger coil surface area and high-quality fittings. Designed for 25-50 litre batches.
- Type: Immersion
- Material: 304 stainless steel
- Price: About £70-100
- Where to buy: The Malt Miller, specialist brewing retailers
- Chilling performance: Handles 50-litre batches in under 25 minutes
- Why it suits larger batches: The wider coil diameter and greater tubing length means more surface area for heat exchange, which matters more as batch size increases
Also Worth Considering
- Mangrove Jack’s Counterflow Chiller — compact, affordable (about £60-80), works well for standard batches. Plastic housing is less durable than stainless but perfectly functional
- DIY copper immersion coil — buy 10m of 10mm copper pipe from Screwfix (about £20-25) and bend it yourself. Not pretty, but effective. See the DIY section below
- Fermzilla Immersion Chiller — designed to fit inside their conical fermenters for crash cooling. Niche but useful if you own Fermzilla equipment
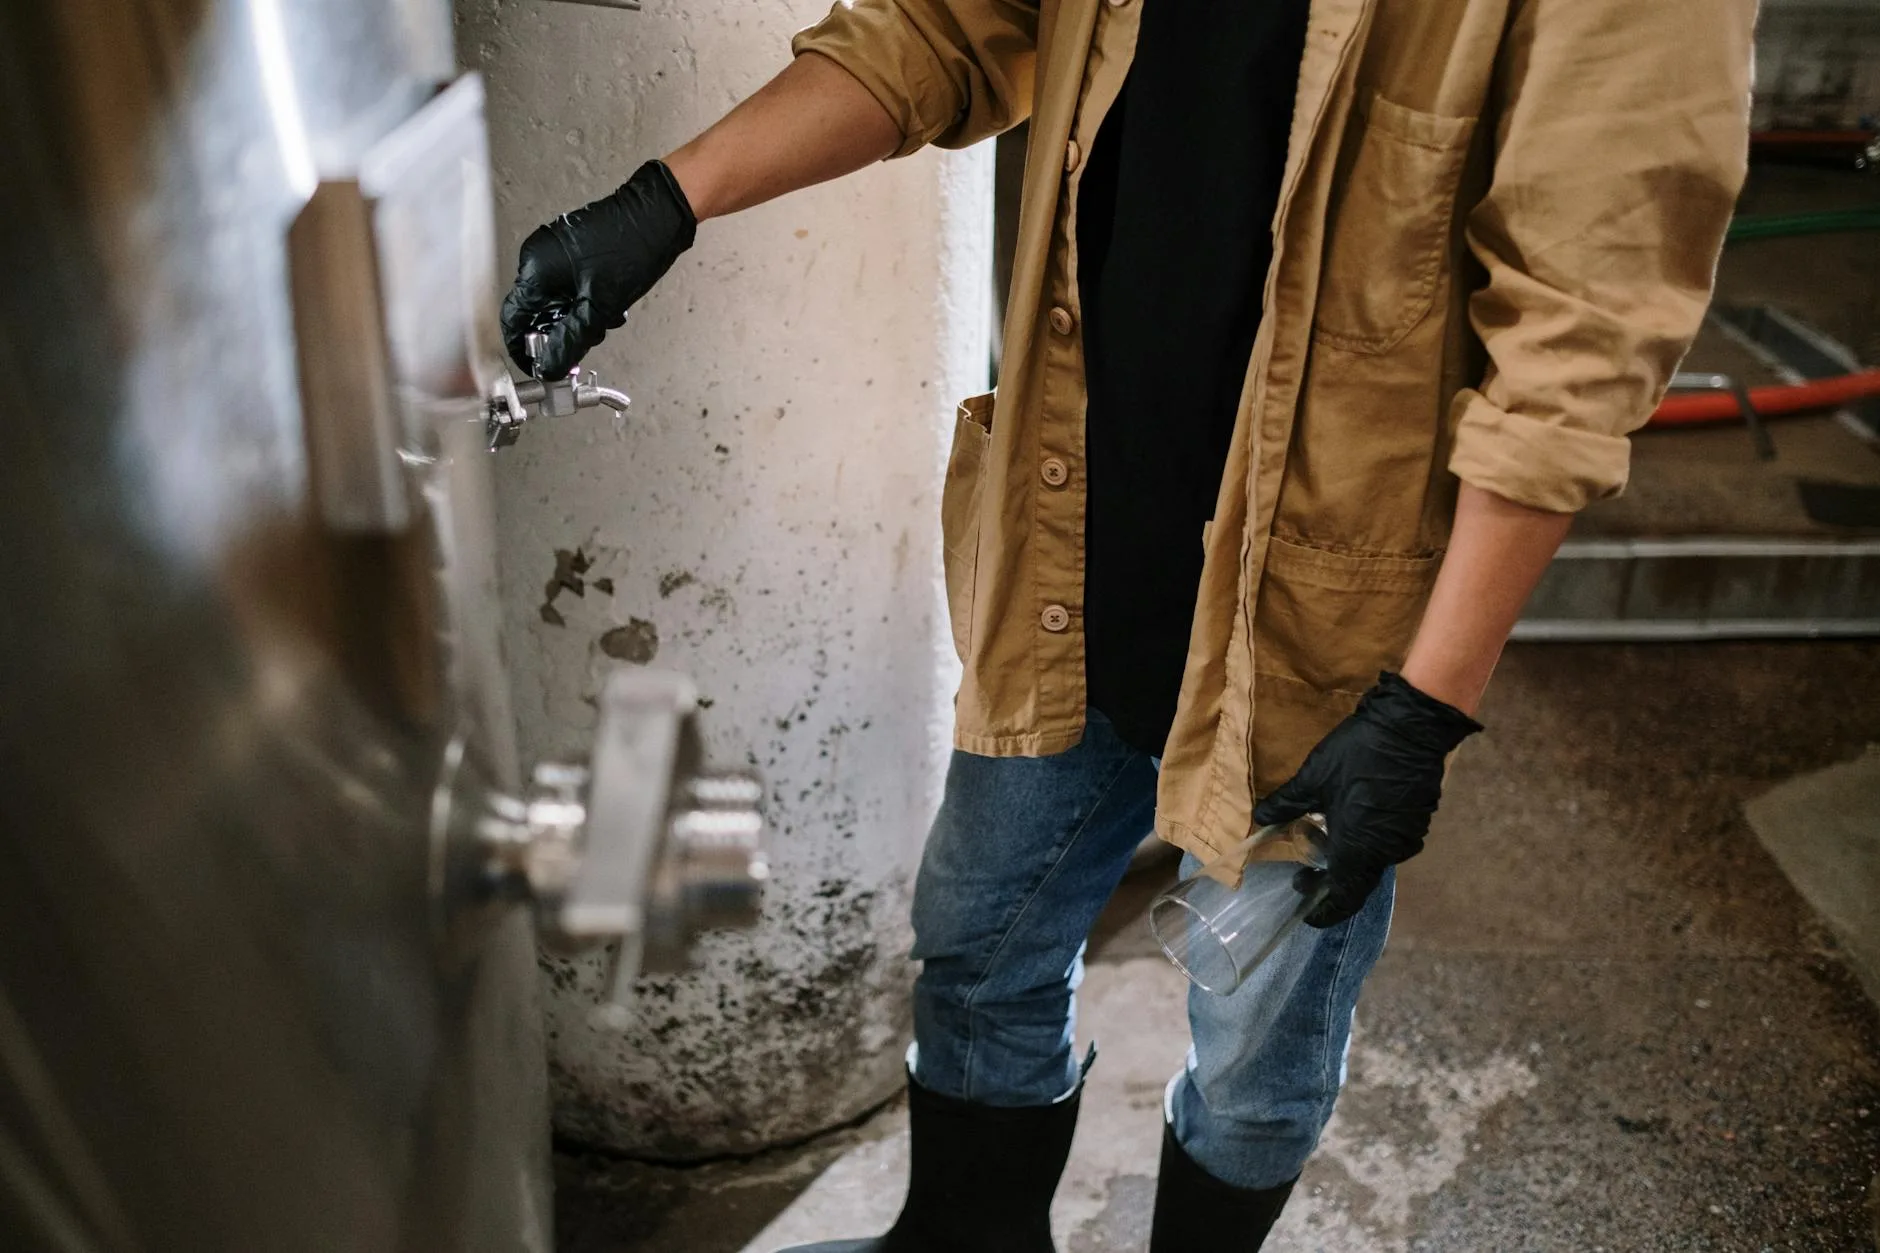
How to Use an Immersion Chiller
Before the Boil
- Sanitise the chiller — place it in the kettle 15 minutes before the end of the boil. The boiling wort sterilises it completely
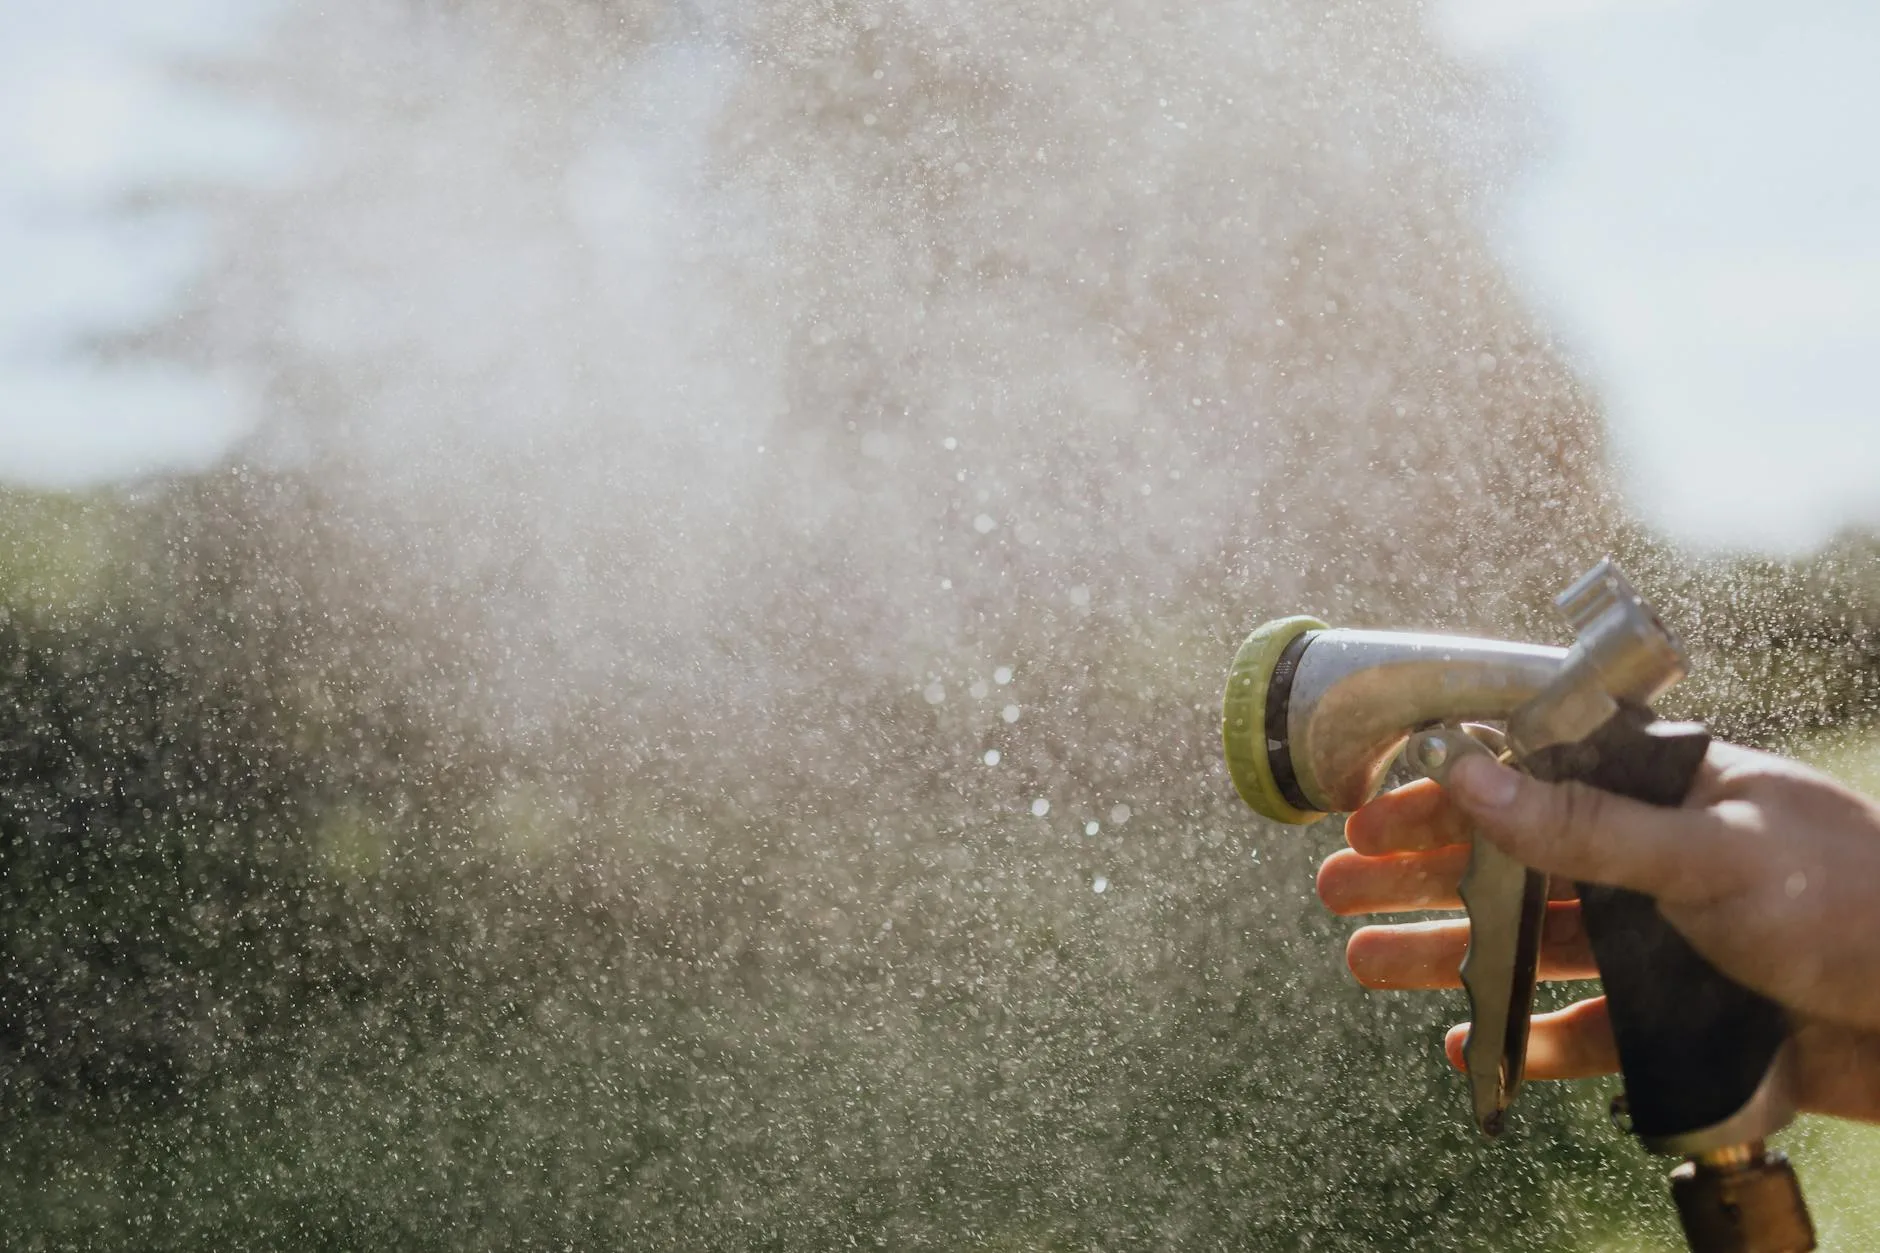
- Connect the water lines — cold water inlet connects to the garden tap via a hose. The outlet goes to a drain or bucket
Chilling
- Turn on the cold water at a moderate flow — full blast wastes water and doesn’t chill much faster than half-flow
- Stir the wort gently around the coil with a sanitised spoon. This breaks up the thermal boundary layer (the pocket of warmer water surrounding the coil) and speeds chilling by about 30-40%
- Monitor the temperature — use a brewing thermometer or the one on your kettle. The temperature drops fast at first (100°C to 60°C in about 5 minutes) then slows as the temperature difference between wort and water decreases
- Stop when you reach pitching temperature — typically 18-22°C for ale yeast, 8-12°C for lager yeast (though you’ll struggle to reach lager temperatures with UK mains water alone)
Water-Saving Tip
The water coming out of the chiller outlet is hot at first — 60-80°C for the first few minutes. Collect this in buckets for cleaning your equipment after the brew day. As the wort cools, the outlet temperature drops — once it’s lukewarm, redirect it to the garden. No need to waste it down the drain. Our How to Choose the Right Ingredients guide is useful alongside this.
How to Use a Counterflow Chiller
Setup
- Connect the wort inlet to your kettle tap or pump outlet
- Connect the cold water inlet to the garden tap — water flows in the opposite direction to the wort
- Place the wort outlet into your sanitised fermenter
Chilling
- Start the cold water flowing first
- Open the kettle tap or start the pump — wort flows through the inner tube while cold water flows around it
- Adjust flow rates — slower wort flow = colder output. Find the balance between speed and target temperature
- Check the output temperature at the fermenter end. Adjust the wort flow rate until it’s hitting your target
The advantage of counterflow is that chilling happens during transfer — by the time the wort reaches your fermenter, it’s already at pitching temperature. No separate chilling step.
Critical: Whirlpool First
Before running wort through a counterflow chiller, do a whirlpool in the kettle to settle hop debris and trub in the centre. Counterflow chillers can clog if large hop particles enter the tube. If you use whole hops, fit a filter or hop spider on the kettle outlet.
Copper vs Stainless Steel
Copper
- Better heat transfer — copper conducts heat about 25x more efficiently than stainless steel. In practice, this means faster chilling, especially with immersion chillers
- Naturally antimicrobial — copper ions kill bacteria on contact, which adds a small safety margin
- Cheaper — a copper immersion chiller costs roughly half the price of an equivalent stainless one
- Downsides: Tarnishes and develops verdigris (green patina) if not cleaned. Some brewers worry about copper leaching into acidic wort, though at brewing pH levels (5.0-5.5) the amounts are negligible and within safe drinking water limits
Stainless Steel
- More durable — won’t tarnish, corrode, or develop patina. Lasts indefinitely with basic care
- Easier to clean — smooth surface doesn’t trap residue the way oxidised copper can
- Looks professional — if that matters to you (it shouldn’t, but it does to some of us)
- Downsides: Slower heat transfer than copper, more expensive, heavier
The Verdict
For most home brewers, copper is the better choice. It’s cheaper, chills faster, and the antimicrobial properties are a genuine bonus. If you brew frequently (weekly or more) and want something that’s zero-maintenance, stainless is worth the premium. Based on using both over several years, the practical difference in chilling performance is about 3-5 minutes for a standard batch — noticeable but not dramatic.
Sizing Your Chiller
Match Your Batch Size
- 10-15 litre batches (small/extract brewing): 6-8 metres of 8mm or 10mm tubing is plenty
- 20-25 litre batches (standard all-grain): 8-10 metres of 10mm tubing. This is what most off-the-shelf immersion chillers provide
- 40-50 litre batches (double/large batches): 12-15 metres of 12mm tubing, or move to a counterflow chiller
Consider Your Water Temperature
UK mains water runs about 8-12°C in winter and 15-20°C in summer. In summer, you may struggle to chill below 22-24°C with mains water alone. Options:
- Pre-chill your water — run the garden hose through a bucket of ice water before it enters the chiller
- Use a pre-chiller — a small immersion coil in an ice bath that sits between the tap and your main chiller
- Chill partially and finish in the fridge — get the wort to 25°C with the chiller, transfer to the fermenter, and put the fermenter in a cold room or fridge overnight
Cleaning and Maintenance
After Every Brew
- Flush immediately — run hot water through the chiller (or over it, for immersion types) as soon as you remove it from the wort. Don’t let residue dry on
- Soak in PBW or sodium percarbonate solution for 15 minutes — this dissolves protein and sugar deposits
- Rinse thoroughly with clean water
- Dry completely before storing — standing water causes corrosion, especially on copper
Copper-Specific Care
- Remove tarnish with a citric acid soak (1 tablespoon in 5 litres of water for 10 minutes) or a brief scrub with a non-metallic scouring pad and Star San
- Don’t use bleach on copper — it accelerates oxidation and can cause pitting
- A slight pink/golden colour is normal and doesn’t affect performance. Green verdigris means the copper wasn’t dried properly — clean with citric acid before next use
Counterflow/Plate Chiller Care
These require extra attention because you can’t see inside:
- Backflush after every use — run hot water in reverse through the wort side
- Recirculate cleaning solution — pump PBW solution through both channels for 15-20 minutes
- Rinse with hot water and then run Star San through before storage
- Before each use — run Star San or boiling water through the wort side to ensure it’s sanitised
DIY vs Buying a Wort Chiller
Building Your Own Immersion Chiller
A DIY immersion chiller is one of the easiest homebrew projects:
- Buy 10m of 10mm soft copper tubing from Screwfix or B&Q — about £20-25
- Buy two brass hose tail connectors (10mm to standard garden hose) — about £5
- Wrap the tubing around a large pot or bucket to form a coil. Leave 30cm straight at each end for the water connections
- Fit the hose connectors onto the straight ends using compression fittings or jubilee clips
- Connect garden hose to one end, run the outlet to a drain
Total cost: about £25-30. That’s half the price of the cheapest commercial immersion chiller, and it works just as well. The only downside is aesthetics — hand-bent coils never look as neat as machine-wound ones. But your beer doesn’t care what the chiller looks like. We cover a similar decision in How to Brew Low-Alcohol Beer at Home.
When to Buy Instead
- Counterflow and plate chillers — these are too complex to DIY safely. Buy commercial
- If your time is worth more than the £15-20 saving — a commercial chiller arrives ready to use
- If you want consistent coil spacing — this affects chilling efficiency slightly, and machine-wound coils are more uniform
Frequently Asked Questions
How long does it take to chill wort with an immersion chiller? Typically 15-25 minutes for a 23-litre batch, depending on the chiller size, water temperature, and whether you stir the wort. Stirring gently around the coil can cut chilling time by 30-40%. In summer when mains water is warmer (15-20°C), expect it to take longer and potentially not reach lager-pitching temperatures without supplementary ice cooling.
Can I use my wort chiller with UK garden hose fittings? Most wort chillers come with brass or plastic connectors designed for standard garden hose. UK garden hoses typically use 1/2-inch BSP fittings. If the connectors don’t match, adapters are available from any hardware shop for about £2-3. Snap-on Hozelock connectors also work with most chiller fittings.
Do I need a wort chiller for extract brewing? Strictly no — you can top up concentrated extract wort with cold water in the fermenter, which cools it rapidly. But if you’re doing full-volume extract boils (boiling the full 23 litres), a chiller saves a huge amount of time and produces better results. It’s one of those upgrades that, once you try it, you wonder how you brewed without it.
Is copper safe for chilling wort? Yes. Copper is food-safe and used in professional brewing equipment worldwide. The amount of copper that leaches into wort at typical brewing pH (5.0-5.5) is well within safe drinking water limits. In fact, trace copper is beneficial for yeast health — copper deficiency can cause stuck fermentations. The only concern is verdigris (green oxidation), which should be cleaned off before each use.
How much water does a wort chiller use? An immersion chiller typically uses 50-100 litres of water to chill a standard batch — more in summer when mains water is warmer. Counterflow chillers use less (30-50 litres) because the heat exchange is more efficient. You can reduce waste by collecting the hot outlet water for cleaning or garden use.