You crack open a can from your local craft brewery — the liquid pours thick, golden-orange, and opaque like mango juice. The aroma hits you before you even take a sip: tropical fruit, stone fruit, maybe a hint of coconut. One taste and you’re wondering how something that smells like a fruit salad can possibly be beer. That’s a New England IPA, and brewing one at home is more achievable than you’d think — provided you understand the handful of things that make this style different from every other beer you’ve brewed.
In This Article
- What Makes a NEIPA Different
- The Grain Bill
- Water Chemistry
- Hop Selection and Schedule
- Yeast Choice
- Brew Day: Step by Step
- Fermentation and Dry Hopping
- Packaging Without Losing the Haze
- Common NEIPA Mistakes
- The Full Recipe
- Frequently Asked Questions
What Makes a NEIPA Different
A New England IPA breaks several rules that traditional IPA brewers consider sacred. As CAMRA notes, the style has transformed the UK craft beer scene since arriving from American breweries in the mid-2010s. Understanding these differences is the key to brewing one successfully rather than accidentally making a West Coast IPA with some oats in it.
Haze is the Point, Not a Flaw
In traditional brewing, haze means something went wrong — poor filtration, chill haze from protein issues, yeast still in suspension. In a NEIPA, the haze is deliberate and permanent. It comes from a combination of proteins, polyphenols from massive hop additions, and deliberate yeast choices that refuse to flocculate cleanly.
Bitterness Takes a Back Seat
West Coast IPAs assault your palate with bitterness. NEIPAs use the same quantity of hops (or more) but shift them almost entirely to late additions — whirlpool and dry hop — where they contribute aroma and flavour rather than bitterness. A typical NEIPA has an IBU of 30-50 despite using 200-400g of hops per batch.
Soft, Pillowy Mouthfeel
The mouthfeel of a NEIPA should be noticeably fuller and softer than a standard IPA. This comes from oats and wheat in the grain bill, which contribute body, proteins, and a silky texture that carries the hop oils across your palate.
The Grain Bill
The grain bill creates the canvas for everything else. Get this wrong and no amount of hops will make it taste right.
Base Malt
- Pale malt (Maris Otter or Golden Promise) — 60-65% of the total grist. British base malts work brilliantly here because they’re slightly sweeter and fuller than continental Pilsner malts.
Adjuncts for Haze and Body
- Flaked oats — 15-20% of the grist. This is the single biggest contributor to that thick, creamy mouthfeel. Oats add proteins that bind with hop polyphenols to create permanent haze.
- Flaked wheat — 10-15%. Contributes head retention and additional haze-forming proteins. Together with oats, this gives the beer its distinctive opacity.
- Dextrose or table sugar — 5% maximum. Dries the beer slightly without adding body, preventing it from becoming cloying despite the high oat content.
What Not to Include
Skip crystal malts entirely. Even light crystal (Caramalt) adds sweetness and colour that fights against the clean, juicy character you want. A NEIPA should taste like fruit, not toffee.
For a deeper dive into building recipes from scratch, see our guide on creating your own beer recipe.
Water Chemistry
Water chemistry matters more in NEIPAs than in almost any other style. The mineral profile directly affects mouthfeel, hop expression, and haze stability.
Target Profile
- Chloride: 150-200 ppm (enhances fullness, softness, and perceived sweetness)
- Sulphate: 50-100 ppm (keep this low — high sulphate sharpens bitterness, the opposite of what you want)
- Calcium: 50-75 ppm
- pH: 5.2-5.4 in the mash
The Chloride-to-Sulphate Ratio
This is the single most important water parameter for NEIPAs. Aim for a ratio of 2:1 or even 3:1 chloride-to-sulphate. This produces a soft, rounded hop character rather than a sharp, aggressive one. Compare this to a West Coast IPA which reverses the ratio (high sulphate, low chloride) for crisp bitterness.
How to Adjust
If you’re brewing with soft UK water (most areas outside London), you’ll need to add calcium chloride to boost chloride levels. About 4-6g of calcium chloride in a 23-litre batch typically gets you into the right range. Use a water calculator like Bru’n Water or the Brewfather app to dial it in precisely.
For more on this topic, our brewing water chemistry guide covers the fundamentals.
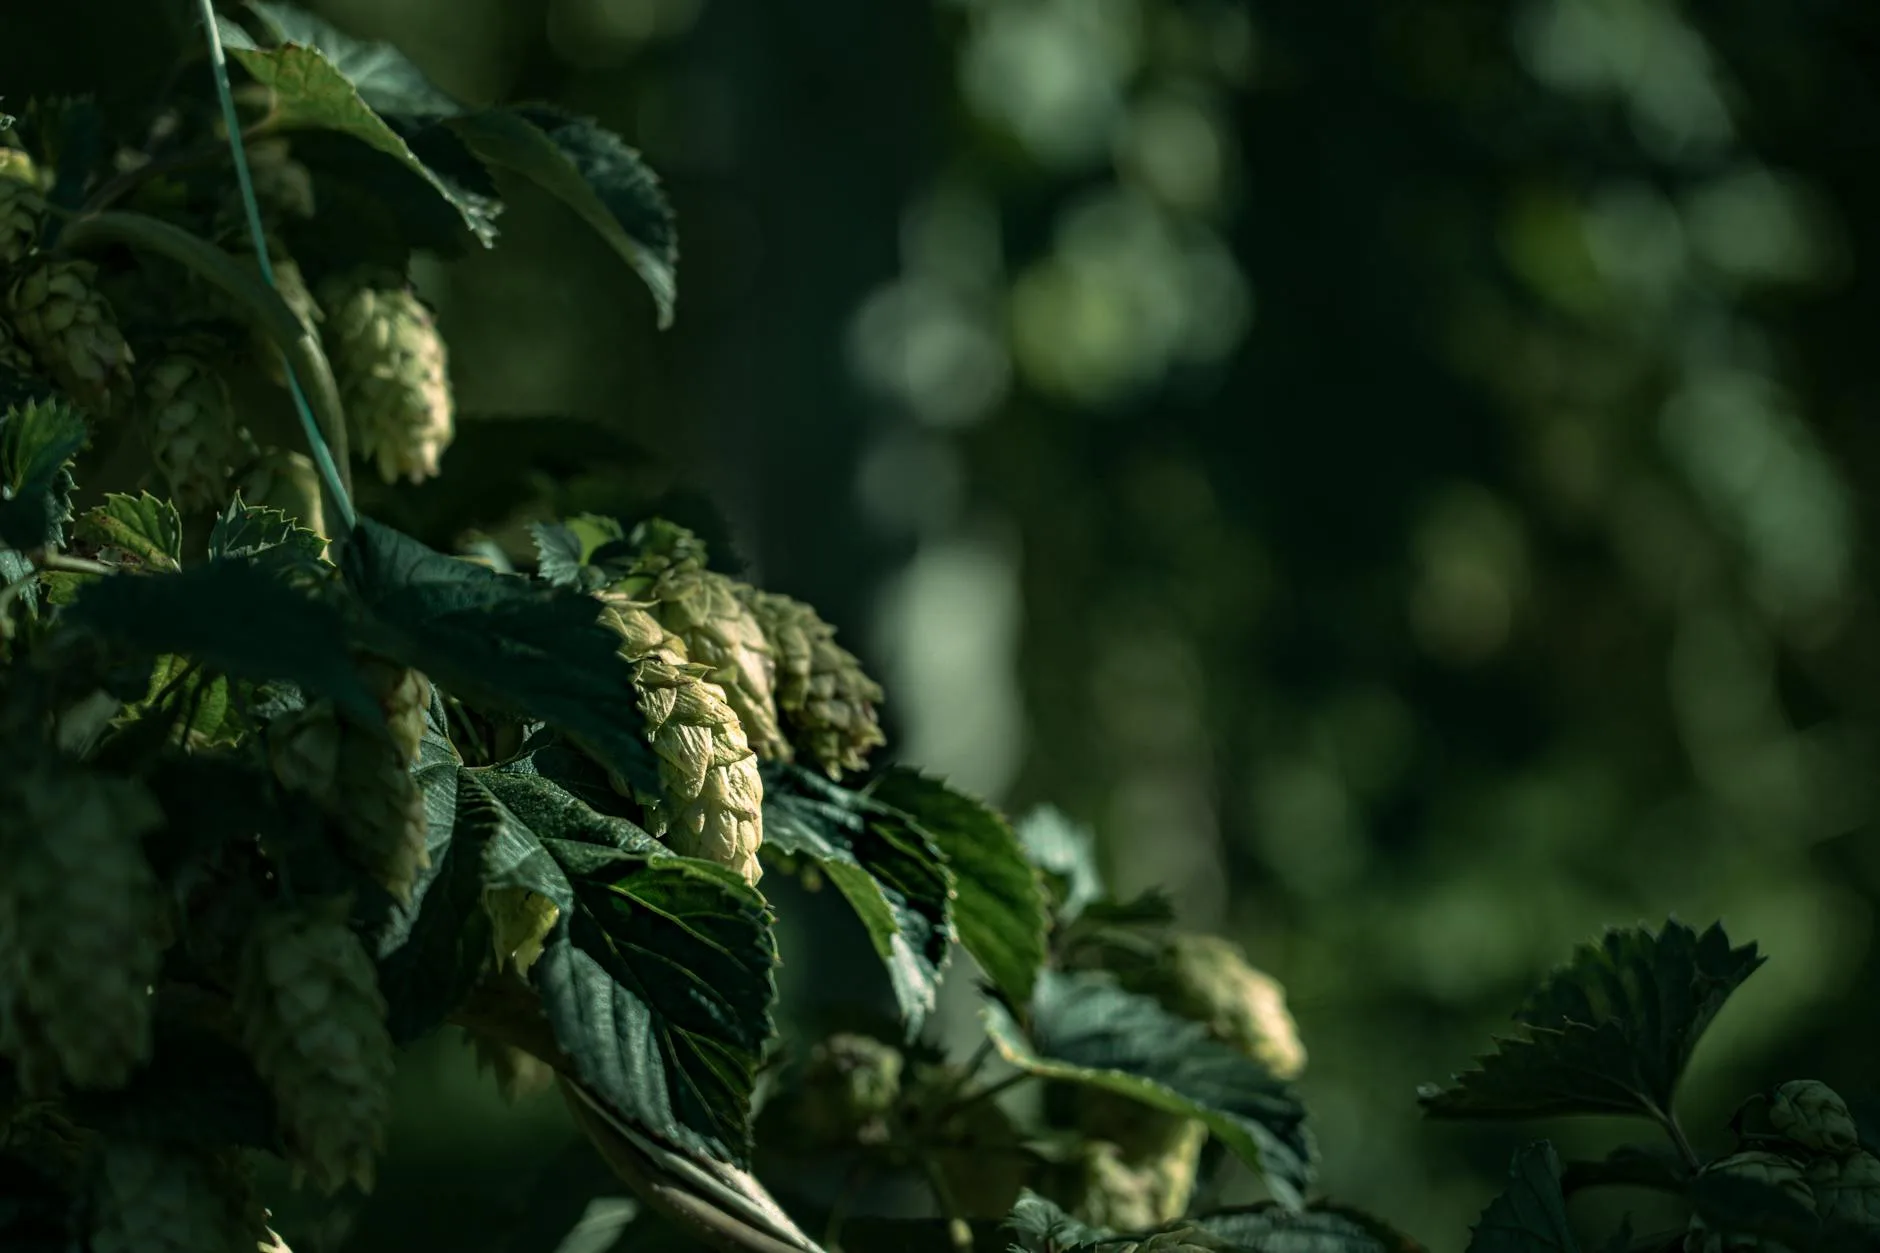
Hop Selection and Schedule
This is where NEIPAs get expensive and exciting. You’ll use more hops than any other homebrew you’ve made, and almost all of them go in late.
Best Hop Varieties for NEIPA
Choose hops that deliver tropical, stone fruit, and citrus character rather than pine or resin:
- Citra — the king of NEIPA hops. Intense mango, passion fruit, and grapefruit. Available from The Malt Miller and Geterbrewed (about £8-12 per 100g).
- Mosaic — blueberry, tropical fruit, earthy undertones. Blends beautifully with Citra.
- Galaxy — Australian hop with explosive passion fruit and peach. Slightly harder to source in the UK but Brew2Bottle usually stocks it.
- Nelson Sauvin — New Zealand hop with white wine and gooseberry character. Use sparingly (20-30% of the hop bill) as it can dominate.
- Sabro — coconut, tangerine, and stone fruit. Relatively new variety that works brilliantly in NEIPAs.
The Hopping Schedule
- 60-minute boil addition: minimal or zero. Perhaps 5-10g of a clean bittering hop if you want to hit 35-40 IBU. Many NEIPA brewers skip this entirely.
- Whirlpool (80°C): 80-120g total. Add hops once the wort drops to 80°C and hold for 20-30 minutes. This is where most of the hop flavour comes from.
- Dry hop #1 (during fermentation): 80-100g added 2-3 days into active fermentation. This technique — called “biotransformation” — allows the yeast to interact with hop compounds, creating new flavour molecules you can’t get from traditional dry hopping.
- Dry hop #2 (after fermentation): 60-80g added once fermentation completes. This provides the fresh aroma punch.
For details on dry hopping technique, see our guide on dry hopping: technique and timing.
Yeast Choice
Yeast selection is critical in NEIPAs. You need a strain that stays in suspension, contributes fruity esters, and doesn’t strip hop oils from the beer as it flocculates.
Recommended Strains
- Lallemand Verdant IPA — the gold standard for homebrew NEIPAs. Co-developed with Verdant Brewing Co. Low flocculation, tropical ester production, stays hazy. About £4-5 per sachet from any UK homebrew shop.
- London Ale III (WLP004 / Wyeast 1318) — classic NEIPA yeast before Verdant existed. Fruity, slightly less hazy than Verdant, excellent mouthfeel contribution.
- Omega Cosmic Punch — extremely tropical ester production. Slightly harder to source in the UK but available from Crossmyloof Brewery shop.
What to Avoid
- US-05 / Safale US-05 — far too clean and flocculant. It’ll strip hop oils and drop crystal clear, giving you a West Coast IPA character.
- Nottingham — same problem. Too efficient, too clean.
- Any “super attenuator” strain — these dry the beer too aggressively, leaving you with a thin NEIPA.
Brew Day: Step by Step
Mash
- Heat strike water to 72°C (targeting a mash temperature of 67°C — slightly higher than normal to preserve body)
- Mash in, stirring thoroughly to avoid dough balls from the oats and wheat
- Hold at 67°C for 60 minutes
- Mash out at 76°C for 10 minutes
Sparge
Batch sparge gently. High-oat grain bills can stick, so recirculate slowly until the runnings clear. Don’t rush this — a stuck mash at this stage means dismantling your setup.
Boil
- Bring to a rolling boil — 60 minutes is fine
- Add minimal bittering hops at 60 minutes (or skip entirely)
- At flameout, cool to 80°C before adding whirlpool hops
- Hold at 80°C for 20-30 minutes with the whirlpool hops
- Cool rapidly to pitching temperature (18-20°C)
Rapid Cooling is Critical
Get the wort from 80°C to 20°C as quickly as possible. Slow cooling oxidises hop compounds and dulls the aroma before fermentation even starts. An immersion chiller or counterflow chiller is essential for NEIPAs — you cannot get away with an ice bath in the sink for this style. For a related angle, see our How to Choose the Right Beer Brewing guide.
Fermentation and Dry Hopping
Primary Fermentation
- Pitch yeast at 18-20°C
- Ferment at 19-20°C (slightly warmer than normal encourages ester production)
- You should see active fermentation within 12-24 hours
- Day 2-3: When fermentation is at its most vigorous (thick krausen), add your first dry hop addition directly into the fermenter
Biotransformation Dry Hop
Adding hops during active fermentation — while the yeast is actively metabolising — creates biotransformation. The yeast converts hop glycosides into new aromatic compounds that don’t exist in the raw hops. This is where NEIPAs get their distinctive juicy character that no amount of post-fermentation dry hopping can replicate.
Simply open the fermenter, dump the hops in (loose or in a weighted muslin bag), close it up. The CO2 from fermentation purges oxygen immediately. Don’t worry about contamination — the active yeast will outcompete anything you introduce.
Post-Fermentation Dry Hop
Once gravity is stable (usually day 5-7):
- Add your second dry hop charge
- Leave for 3-4 days maximum — longer causes grassy, vegetal flavours
- Cold crash to 2-4°C for 24-48 hours (this drops some yeast but the oat proteins maintain haze)

Packaging Without Losing the Haze
NEIPAs are extremely oxidation-sensitive. More so than any other beer style. Oxygen turns the bright tropical flavours into cardboard within days.
Kegging (Preferred)
If you keg, purge your keg thoroughly with CO2 before transferring. Use a closed transfer from fermenter to keg — never open-pour. Force carbonate at 12-14 PSI for 7-10 days, or use the burst carbonation method (30 PSI for 24 hours, then reduce to serving pressure).
Bottle Conditioning (Harder but Possible)
If you bottle condition:
- Purge bottles with CO2 from a SodaStream or small CO2 tank before filling
- Fill from the bottom up using a bottling wand to minimise splashing
- Prime with 4-5g/L dextrose for 2.4-2.6 volumes CO2
- Drink within 4-6 weeks — NEIPAs don’t improve with age. They degrade.
The Freshness Rule
NEIPAs should be consumed as fresh as possible. Professional breweries often put “drink fresh” dates rather than best-before dates on cans. Your homebrew NEIPA will taste best in weeks 2-4 after packaging, and noticeably less vibrant by week 8.
Common NEIPA Mistakes
Using Too Much Crystal Malt
Even 3-5% crystal malt will add sweetness that fights the clean hop fruit you want. Strip the grain bill back to pale malt, oats, and wheat. Nothing else.
Over-Bittering
If your NEIPA tastes like a West Coast IPA, you’ve added too many early boil hops. Keep 60-minute additions under 10g or skip them entirely. All the hop presence should come from late additions. Our Where to Buy Homebrew Ingredients in the UK guide is useful alongside this.
Oxidation During Transfer
The number one NEIPA killer. If your beer starts tasting dull, murky-brown rather than golden, or developing cardboard flavours within a week, oxygen got in during packaging. Invest in a closed transfer system — it’s the single best equipment upgrade for NEIPA brewing.
Dry Hopping Too Long
More than 4-5 days of dry hop contact and you’ll start extracting harsh polyphenols and grassy vegetal compounds. It’s tempting to leave hops in longer “for more flavour” but the opposite happens. Short, intense contact is key.
Wrong Yeast Temperature
Too cold (below 17°C) and you won’t get the ester production that makes NEIPAs fruity. Too warm (above 23°C) and you’ll get fusel alcohols and solvent flavours. Stay in the 19-20°C sweet spot.
The Full Recipe
Batch size: 23 litres. OG: 1.065. FG: 1.014-1.016. ABV: 6.5-6.8%. IBU: 35-45.
Grain Bill
- 4.5kg Maris Otter pale malt (62%)
- 1.2kg flaked oats (16%)
- 0.9kg flaked wheat (12%)
- 0.4kg dextrose (5%, added at 10 minutes)
Hops
- Whirlpool (80°C, 20 min): 60g Citra, 40g Mosaic
- Dry hop 1 (day 2-3): 50g Citra, 40g Galaxy
- Dry hop 2 (day 6-7): 40g Mosaic, 30g Citra
Yeast
- Lallemand Verdant IPA (1 sachet, rehydrated)
Water Adjustments (for soft water)
- 5g calcium chloride to mash
- 2g gypsum to mash
- Target: chloride 180ppm, sulphate 75ppm
Key Temperatures
- Mash: 67°C for 60 minutes
- Fermentation: 19-20°C
- Cold crash: 2-4°C for 24-48 hours before packaging
Timeline
- Day 1: Brew day
- Day 2-3: Add dry hop #1 during peak fermentation
- Day 5-7: Terminal gravity reached, add dry hop #2
- Day 9-11: Cold crash
- Day 11-12: Package (keg or bottle)
- Day 18-25: Ready to drink (allow carbonation time)
Frequently Asked Questions
Why is my NEIPA turning brown within a week? Oxidation. The hop compounds in NEIPAs are extremely sensitive to oxygen — far more so than in other styles. If your beer is browning rapidly, oxygen is getting in during transfer or packaging. Switch to closed transfers, purge your kegs or bottles with CO2, and minimise any splashing. A NEIPA should stay golden-orange for at least 4-6 weeks when packaged properly.
Can I brew a NEIPA with extract rather than all-grain? You can, but the results won’t be quite as good. Use a light malt extract as your base, then add flaked oats and flaked wheat in a partial mash (steep at 67°C for 45 minutes in a grain bag). You’ll get decent haze and body, though not quite the same silky mouthfeel as a full all-grain batch. The hop schedule and yeast selection are identical either way.
How much does a batch of homebrew NEIPA cost? A 23-litre batch typically costs £30-45 for ingredients in the UK, depending on hop choices. Citra and Galaxy are the most expensive hops (£8-12 per 100g) and you’ll use 250-350g total. The grain bill costs roughly £12-15 and yeast is £4-5. That works out to about £1.30-1.95 per pint — much cheaper than the £5-7 you’d pay for a craft NEIPA in a shop.
Do I need special equipment to brew a NEIPA? The minimum additional equipment beyond standard homebrew gear: a wort chiller (immersion or counterflow, about £30-60), a way to cold crash (a spare fridge works), and ideally a way to do closed transfers (a spunding valve or CO2 tank, about £40-80). The chiller is non-negotiable — you cannot make good NEIPAs without rapid cooling after the whirlpool.
Can I use any yeast if I can’t find Verdant IPA? London Ale III (available as Wyeast 1318 or WLP004) is the best widely available alternative — order from The Malt Miller or any UK homebrew shop. Avoid clean American yeasts like US-05 or Nottingham, which will drop clear and strip hop aroma. The yeast choice makes a bigger difference in NEIPAs than in almost any other style.