You have just bottled your third batch of pale ale and something tastes wrong. Not infected-wrong, but a faint plasticky tang that was not there in the first two. You followed the recipe, hit the temperatures, and fermented for the right number of days. The problem is almost always your cleaning routine — or rather, the gap between what you think clean means and what your yeast thinks clean means.
Cleaning and sanitising homebrew equipment is the single most important thing you do as a brewer, and it is also the most boring. Nobody gets into homebrewing because they love scrubbing fermenters. But skip it, rush it, or confuse cleaning with sanitising, and you will learn the hard way why every experienced brewer obsesses over it. This guide covers how to clean and sanitise homebrew equipment properly, what products to use, and the mistakes that ruin otherwise good beer.
In This Article
- Cleaning vs Sanitising: They Are Not the Same Thing
- What You Need: Cleaning Products
- What You Need: Sanitising Products
- How to Clean Your Fermenter
- How to Clean Bottles and Kegs
- How to Clean Tubing, Siphons, and Taps
- The Sanitising Step
- When to Clean and When to Sanitise
- Common Mistakes That Cause Infections
- Cleaning Schedule for Brew Day
- How to Tell If Your Beer Is Infected
- Frequently Asked Questions
Cleaning vs Sanitising: They Are Not the Same Thing
This is the single biggest misconception in homebrewing. Cleaning and sanitising are two separate steps, and you cannot skip either.
What Cleaning Does
Cleaning removes visible and invisible organic matter — dried yeast, hop residue, protein films, beer stone (calcium oxalate), and the general grime that accumulates on equipment. If you do not clean first, sanitiser cannot reach the surface properly. Think of it like washing your hands before applying hand sanitiser — the sanitiser works on skin, not on a layer of mud.
What Sanitising Does
Sanitising reduces microorganism populations to a level where they cannot spoil your beer. It does not sterilise (that requires an autoclave or sustained high-temperature treatment), but it kills enough bacteria and wild yeast to give your chosen brewing yeast a clean start. Sanitising only works on surfaces that have already been cleaned.
The Rule
Clean first, sanitise second. Always. No exceptions. Our best cleaning and sanitising products roundup covers the specific brands, but this guide focuses on the technique.
What You Need: Cleaning Products
PBW (Powdered Brewery Wash) — The Gold Standard
PBW was developed by Coors for their commercial brewery and is now the most widely used cleaning product in homebrewing. It is an alkaline, non-caustic, oxygen-based cleaner that dissolves organic deposits without scrubbing. Mix 15-30g per litre of warm water (around 50-60°C works best), soak for 20-30 minutes, and rinse thoroughly.
Available from The Malt Miller, The Home Brew Shop, and Amazon UK for about £8-15 depending on the size.
Sodium Percarbonate — The Budget Alternative
This is the active ingredient in products like OxiClean and many “brewery wash” brands. It breaks down into hydrogen peroxide and sodium carbonate (washing soda) in water. About 10g per litre in warm water, soak for 20 minutes. It does 90% of what PBW does at about a third of the price. Available from homebrew shops and even supermarkets (look for “oxygen-based stain remover” in the laundry aisle — same stuff, cheaper packaging).
What Not to Use
- Washing-up liquid — leaves a film that kills head retention in your beer. Even trace amounts of surfactant destroy foam.
- Bleach — works but is risky. Difficult to rinse completely, and residual chlorine causes chlorophenol off-flavours (that distinctive plaster/TCP taste). If you must use it, rinse extensively and follow with a no-rinse sanitiser.
- Abrasive scrubbers — steel wool and Brillo pads scratch plastic fermenters, creating microscopic grooves where bacteria hide. Use a soft cloth or non-scratch sponge only.
What You Need: Sanitising Products
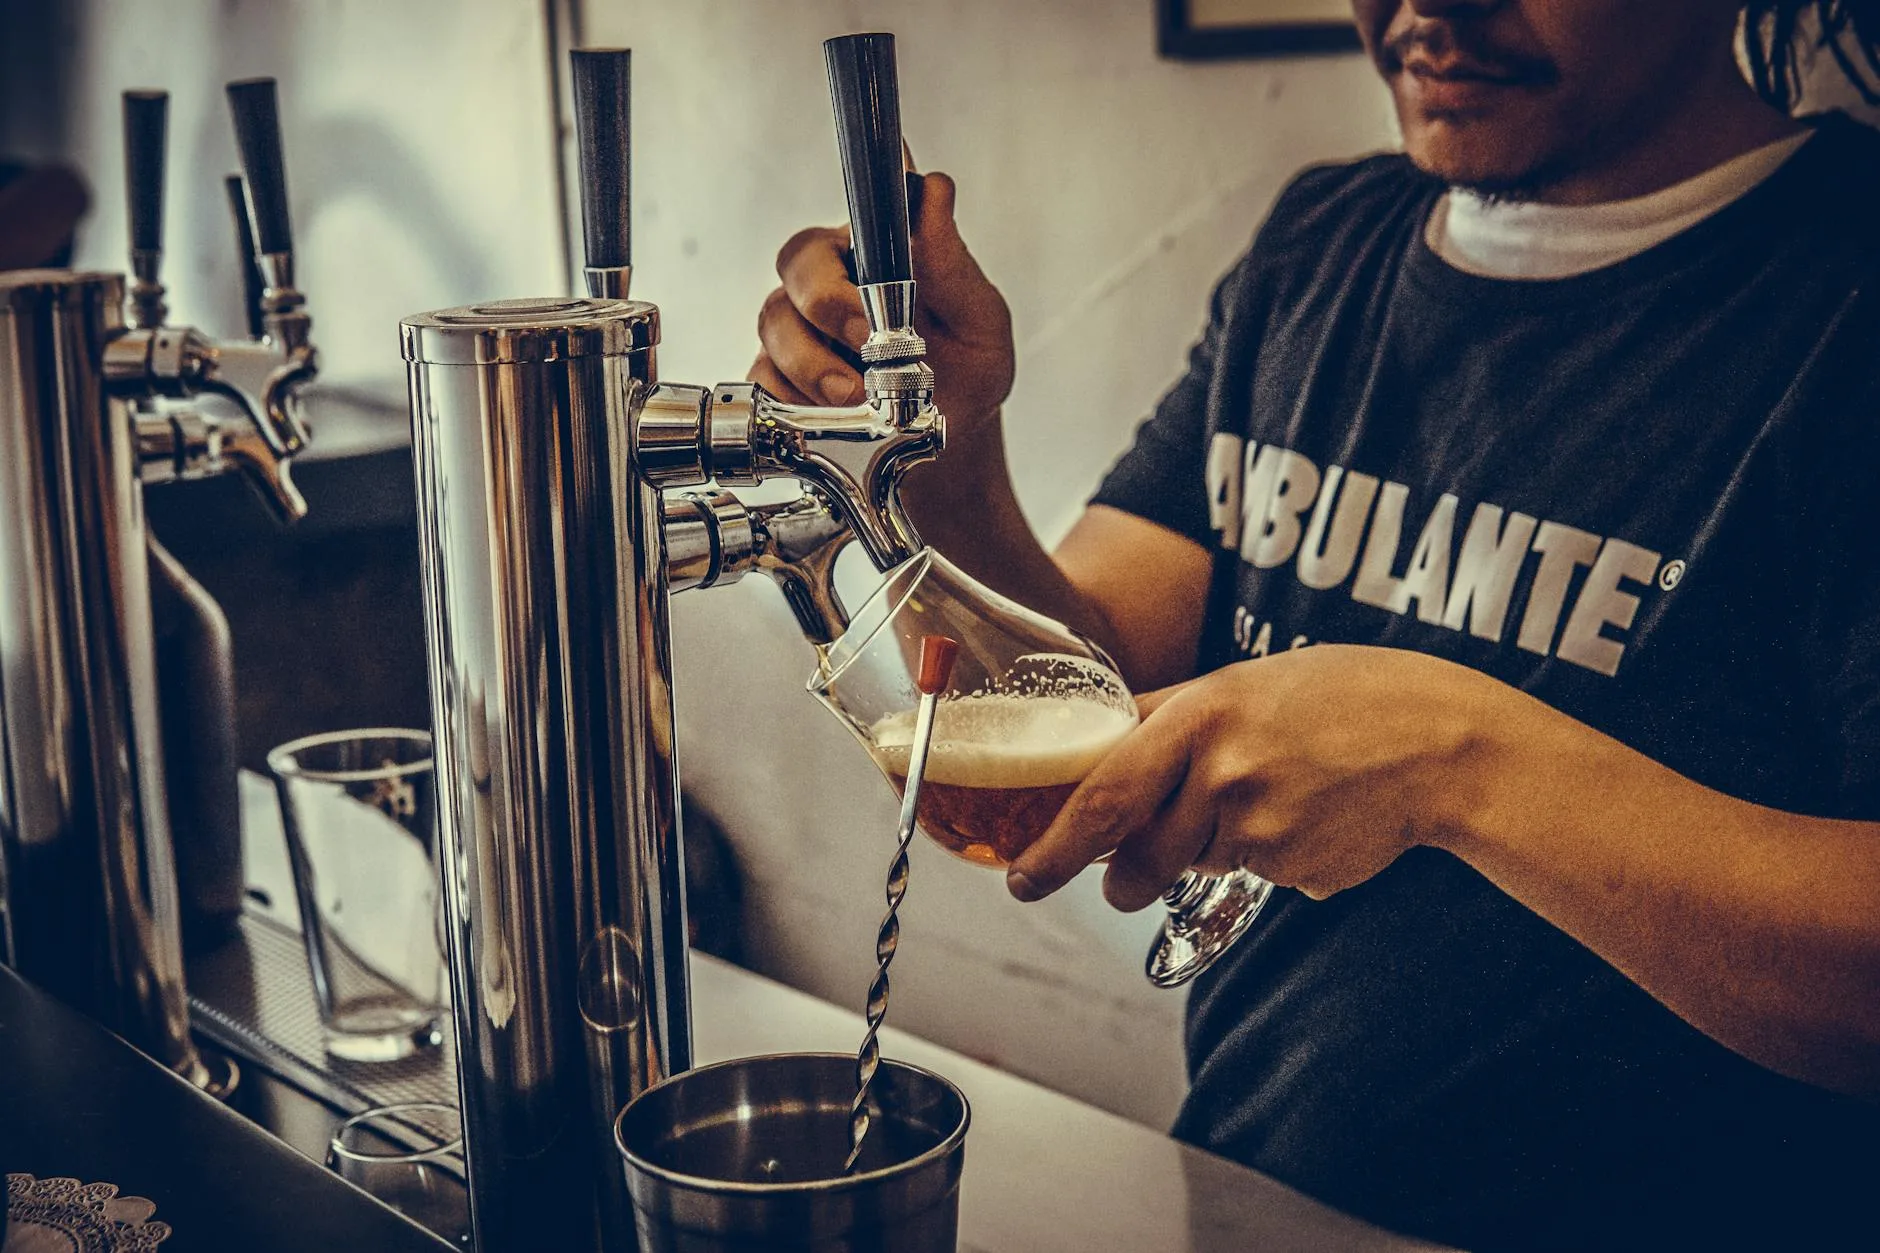
Star San — The Industry Standard
Star San is a phosphoric acid-based no-rinse sanitiser. Mix 1.5ml per litre of water (the bottle has a measuring cap), and the solution kills bacteria and wild yeast on contact within 30 seconds. The foam it produces is food-safe — do not rinse it off. “Don’t fear the foam” is a homebrewing mantra for good reason.
A 237ml bottle costs about £10-14 from UK homebrew retailers and makes roughly 150 litres of solution. At that dilution rate, it is phenomenally cheap per use.
Chemipro Oxi — Popular in the UK
An oxygen-based cleaner and sanitiser in one product. Dissolve 4g per litre, soak for 2-5 minutes. It is not quite as effective as a dedicated two-step (PBW then Star San) process, but it is convenient for quick jobs. About £6-8 for 1kg.
Sodium Metabisulphite — The Old School Option
The traditional sanitiser for winemaking and older homebrewing guides. Dissolve 2-3g per litre of water. It works by releasing sulphur dioxide, which inhibits microbial growth. The downsides: it smells strongly of sulphur, can irritate airways, and is less effective than Star San against the full range of beer-spoiling organisms. Still popular with wine makers, less so with beer brewers. Our extract vs all-grain guide mentions sanitisation at each stage.
How to Clean Your Fermenter
Plastic Fermenters (Buckets and PET Carboys)
- Rinse immediately after emptying — do not let yeast cake dry on the surface. Dried krausen is much harder to remove.
- Fill with warm water (not boiling — you will warp the plastic) and add PBW or sodium percarbonate at the recommended dose.
- Soak for 20-30 minutes. For stubborn deposits, soak overnight.
- Use a soft cloth or dedicated fermenter brush to wipe the interior. Never use abrasive pads.
- Rinse thoroughly with clean water until all cleaner residue is gone.
- Inspect for scratches. If the interior has visible scratches or a rough texture, replace the fermenter — bacteria will hide in those grooves regardless of how well you sanitise. A new plastic bucket costs about £5-8.
Glass Carboys
Glass has a major advantage: it does not scratch, so bacteria have nowhere to hide. Clean with PBW solution and a carboy brush (the L-shaped kind that reaches the bottom). Rinse well. Glass also shows dirt more clearly than opaque plastic, which makes inspection easier.
Stainless Steel Fermenters
The easiest to clean. PBW dissolves organic deposits effortlessly from stainless. Do not use bleach on stainless steel — it causes pitting. Rinse, fill with PBW solution, soak 15 minutes, rinse again. Check the weld seams around taps and fittings, where residue tends to accumulate.
How to Clean Bottles and Kegs
Bottles
The most tedious part of homebrewing. Rinse each bottle immediately after pouring the beer — this prevents yeast cake from drying inside. If you do this consistently, a quick soak in PBW on bottling day is all you need.
For bottles with dried-on residue:
- Soak overnight in PBW solution (one batch in a large bucket or bathtub)
- Use a bottle brush on each one
- Rinse three times with clean water
- Sanitise with Star San on bottling day
A bottle washer attachment for your tap (about £5 from homebrew shops) speeds up rinsing enormously. The Avvinatore-style bottle rinser is worth the investment if you bottle regularly.
Kegs (Corny Kegs)
- Depressurise and disassemble — remove the lid, dip tubes, and poppets
- Soak all parts in PBW solution for 30 minutes
- Use a keg brush on the interior
- Clean the dip tubes with a thin tube brush — residue collects inside the liquid dip tube
- Reassemble and fill with Star San solution, pressurise briefly to push sanitiser through the taps
- Our kegging guide covers the full process including cleaning.
How to Clean Tubing, Siphons, and Taps
Tubing is where infections often start because residue hides inside and you cannot see it. Silicone tubing is easier to clean than vinyl because it tolerates higher temperatures and does not absorb flavours.
The Process
- Run hot PBW solution through the tubing immediately after use
- Flush with clean water
- On brew day, run Star San solution through before use
- Replace vinyl tubing every 3-4 batches — it stains, absorbs odours, and harbours bacteria. Silicone lasts much longer but should still be inspected for cloudiness or discolouration.
Taps and Spigots
Disassemble the tap from your fermenter or bottling bucket. Clean the internal threads and any rubber gaskets with a small brush (a baby bottle nipple brush works well). These are common infection points because residue collects in the threads.
The Sanitising Step
How to Use Star San
- Mix 1.5ml per litre of cold or lukewarm water in a spray bottle and a bucket
- Submerge or spray all equipment that will touch your beer post-boil — fermenter, lid, airlock, spoon, hydrometer, thermometer, tubing, bottling wand
- Allow 30 seconds of contact time minimum (60 seconds is safer)
- Do not rinse — the residual foam is food-safe and breaks down into yeast nutrients (phosphoric acid is a yeast nutrient at trace levels)
- Mixed Star San solution lasts weeks in a sealed container if the pH stays below 3.5. Buy a pH strip and check before each use.
Spray Bottle Method
Keep a spray bottle of Star San on your brewing bench. Spray anything that is about to touch your wort or beer. Scissors for opening yeast packs, the outside of the yeast sachet itself, your hands, the bench surface. Paranoia is your friend.
What Gets Sanitised (And What Does Not)
Everything that touches your beer after the boil needs sanitising. The boil itself is a sterilisation step — anything before the boil (mash tun, kettle, sparge arm) only needs cleaning, not sanitising. The critical dividing line is the moment you start cooling your wort.
When to Clean and When to Sanitise
Always Both
- Fermenters — clean after each batch, sanitise before each batch
- Bottles and kegs — clean after emptying, sanitise on filling day
- Tubing and siphons — clean after use, sanitise before use
- Brewing spoons, paddles, hydrometers — clean after use, sanitise before touching cooled wort
Cleaning Only (No Sanitising Needed)
- Mash tun — operates above 60°C, which kills most spoilage organisms
- Brew kettle — the boil sterilises everything
- Heating elements — clean to remove mineral deposits, but sanitising is unnecessary
Common Mistakes That Cause Infections
Using Sanitiser on Dirty Equipment
The most common error. Sanitiser needs contact with the surface to work. A film of dried yeast or hop debris blocks that contact, creating a shelter for bacteria underneath. Clean first, always.
Not Replacing Plastic Equipment
Plastic fermenters, bottling buckets, and vinyl tubing degrade over time. After 15-20 batches, even well-maintained plastic buckets have microscopic surface wear. Budget about £5-8 per year for a replacement bucket — it is cheap insurance. The Brewers Association recommends replacing plastic fermenters regularly for this reason.
Skipping the Small Parts
Airlocks, grommets, tap washers, and thermometer probes are easy to forget. They all touch your beer. They all need cleaning and sanitising.
Rinsing Star San
Star San is specifically designed as a no-rinse sanitiser. Rinsing it off with tap water after sanitising defeats the purpose — tap water is not sterile and reintroduces potential contaminants. Trust the chemistry. The foam is harmless.
Storing Equipment Wet
After cleaning, let everything dry completely before storing. Damp equipment in a closed cupboard grows mould. Store fermenters upside down with the lid off. Store bottles inverted in a bottle tree or rack.
Cleaning Schedule for Brew Day
Before Brewing
- Clean and sanitise the fermenter, lid, airlock, and any post-boil equipment
- Prepare a spray bottle of Star San
- Clean the mash tun and kettle (no sanitising needed)
During Brewing
- While the wort boils, sanitise the chiller coils (run them through Star San or submerge the immersion chiller in the boiling wort for the last 15 minutes)
- Sanitise the fermenter spoon, hydrometer, and sample jar before taking a gravity reading
- Sanitise tubing and connections before transferring cooled wort
After Brewing
- Rinse the kettle and mash tun immediately
- Soak any equipment with stuck-on residue in PBW
- Rinse and dry all equipment before storing
- Our beginner’s brewing guide includes a simplified version of this schedule for first-time brewers.

How to Tell If Your Beer Is Infected
Visual Signs
- Pellicle — a white, filmy, sometimes bubbly raft on the surface of fermenting or fermented beer. This is a biofilm produced by wild yeast or bacteria. Not all pellicles mean the beer is ruined — some wild fermentations are intentional (lambics, Flanders reds). But in a clean ale, a pellicle means contamination.
- Ropy, slimy texture — the beer pours thick and almost viscous. Caused by Pediococcus bacteria producing exopolysaccharides. Unpleasant.
- Unusual haziness — not from yeast in suspension (which settles), but a persistent haze that does not clear over weeks.
Flavour Signs
- Sour or tart (when you did not intend it) — Lactobacillus or Acetobacter infection. The beer tastes like vinegar or lemon.
- Medicinal, plasticky, or TCP-like — chlorophenol, often from bleach residue or wild yeast interacting with chlorinated water.
- Buttery or butterscotch (diacetyl) — can be a fermentation issue, but persistent diacetyl after conditioning sometimes indicates Pediococcus.
- Barnyard, wet horse blanket — Brettanomyces. Intentional in some Belgian styles, a contamination in everything else. Our off-flavours guide covers identification and fixes in detail.
What to Do
If you suspect infection, dump the batch (painful but necessary), strip down all equipment, deep-clean everything with PBW, and consider replacing plastic items. One infected batch is a learning experience. Two in a row means your cleaning process has a gap.
Frequently Asked Questions
Do I need to rinse Star San off my homebrew equipment? No. Star San is a no-rinse sanitiser by design. The residual foam is food-safe and breaks down into phosphoric acid, which is actually a yeast nutrient at trace levels. Rinsing with tap water reintroduces potential contaminants and defeats the purpose of sanitising.
Can I use washing-up liquid to clean homebrew equipment? No. Washing-up liquid contains surfactants that leave a residue on surfaces, destroying the head retention in your finished beer. Use PBW, sodium percarbonate, or a dedicated brewery cleaner instead.
How often should I replace my plastic fermenter? After about 15-20 batches, or sooner if you notice scratches, discolouration, or persistent off-flavours despite thorough cleaning. A new fermenter bucket costs about £5-8, making replacement cheap insurance against infection.
Is bleach safe to use for sanitising homebrew equipment? Bleach works as a sanitiser but carries risks. It is difficult to rinse completely, and residual chlorine causes chlorophenol off-flavours (a medicinal, TCP-like taste). It also damages stainless steel through pitting. Star San is safer, easier, and more reliable.
What temperature water should I use for cleaning homebrew equipment? Warm water around 50-60°C works best for PBW and sodium percarbonate — it activates the cleaning agents without damaging plastic equipment. Never use boiling water on plastic fermenters or vinyl tubing as it can warp or degrade the material.