You fancy a beer on a Tuesday evening but don’t want the hangover. Or maybe you’re doing a sober month and miss the ritual of cracking open something hoppy after work. The alcohol-free section in Tesco has improved noticeably — BrewDog Punk AF, Lucky Saint — but at £1.50–2 a can, drinking them regularly adds up fast. Here’s the thing: you can brew low-alcohol beer at home for a fraction of the cost, and with a bit of care, it’ll taste better than most of what’s on the supermarket shelf.
In This Article
- What Counts as Low-Alcohol Beer?
- Why Low-Alcohol Beer Is Trickier to Brew
- The Three Main Methods
- Method 1: Arrested Fermentation
- Method 2: Low-Gravity Brewing
- Method 3: High-Temperature Mashing
- The Flavour Challenge: Making It Taste Good
- The Hop-Forward Approach
- A Simple Low-Alcohol Pale Ale Recipe
- Carbonation Tips for Low-ABV Beers
- Common Mistakes
- Frequently Asked Questions
What Counts as Low-Alcohol Beer?
In the UK, labelling rules are simple:
- Alcohol-free: 0.05% ABV or below
- De-alcoholised: up to 0.5% ABV
- Low-alcohol: up to 1.2% ABV
For homebrewing purposes, most people aiming for “low-alcohol” are targeting somewhere between 0.5% and 2.5% ABV. True 0.0% is extremely difficult without industrial equipment (vacuum distillation, reverse osmosis), so this guide focuses on making flavourful beer in the 0.5–2.5% range — what the UK government’s alcohol labelling guidance classifies as low-strength.
Getting below 0.5% at home is possible but requires precise control and usually sacrifices flavour. In my experience, 1.5–2% is the sweet spot for homebrewed low-alcohol beer — low enough to drink several without effect, high enough to carry decent flavour.
Why Low-Alcohol Beer Is Trickier to Brew
Alcohol isn’t just something beer has — it’s something beer needs. Ethanol contributes body, mouthfeel, and perceived sweetness. Remove it, and you’re left with a thin, watery liquid that tastes more like hop tea than beer.
The Body Problem
Regular beer gets its satisfying weight from alcohol and residual sugars. Low-ABV beer has less of both. The challenge is creating body through other means — unfermentable sugars, protein-rich grains, and oat additions that add texture without adding alcohol.
The Shelf-Life Problem
Alcohol is a natural preservative. Beers under 2% ABV are more susceptible to bacterial infection, so sanitation becomes even more critical than usual. Drink low-alcohol homebrew within 2–3 weeks, or keep it refrigerated. If you need a refresher on cleaning practices, our home brewing for beginners guide covers sanitation fundamentals.
The Three Main Methods
There are three practical approaches to brewing low-alcohol beer at home. Each has trade-offs.
Quick Comparison
- Arrested fermentation: Start normal, kill the yeast early. Simple but requires precise timing
- Low-gravity brewing: Use less malt to produce less alcohol. Easiest method but can taste thin
- High-temperature mashing: Create unfermentable sugars that yeast can’t convert to alcohol. Best results but needs all-grain equipment
Method 1: Arrested Fermentation
How It Works
Brew a normal-strength wort, pitch yeast, then stop fermentation early by crashing the temperature to near-freezing (0–2°C). The yeast goes dormant before converting all the sugars to alcohol.
Step by Step
- Brew as normal — your regular recipe and process
- Pitch yeast at a lower rate — about half your normal pitch rate. This slows fermentation
- Monitor gravity constantly — take readings every 6–12 hours once fermentation starts
- Cold crash when you hit your target ABV — drop temperature to 0–2°C as quickly as possible. A fermentation fridge with a temperature controller is essential here
- Fine and rack immediately — get the beer off the yeast to prevent further fermentation during packaging
Pros and Cons
- Pro: can use any existing recipe as a starting point
- Pro: retains some residual sweetness from unfermented sugars
- Con: requires precise temperature control and constant monitoring
- Con: residual sugars can restart fermentation in bottles — risk of bottle bombs if not pasteurised or kegged
I tried this method for my first low-ABV batch and it was nerve-wracking — checking gravity readings at 2am because fermentation was moving faster than expected. It works, but the low-gravity method is less stressful.
Method 2: Low-Gravity Brewing
How It Works
Simply use less fermentable material (malt extract or grain) to produce a wort with a lower original gravity. Less sugar means less alcohol after fermentation.
Targeting Your ABV
The relationship between original gravity (OG) and ABV is roughly:
- OG 1.015–1.020: approximately 1.0–1.5% ABV after full fermentation
- OG 1.020–1.025: approximately 1.5–2.0% ABV
- OG 1.025–1.030: approximately 2.0–2.5% ABV
For comparison, a typical session IPA starts at around OG 1.045. You’re working with roughly half the malt bill — or less.
Step by Step
- Calculate your grain bill — use a brewing calculator (Brewfather, Brewer’s Friend) to determine how much malt gives you your target OG
- Mash and boil as normal — same process, just less grain
- Hop generously — the bitterness-to-gravity ratio needs to be higher than a normal beer, or it’ll taste sweet and flat. We’ll cover this in detail below
- Ferment at the lower end of your yeast’s range — cooler fermentation produces cleaner flavours that are more important when there’s less malt character to hide behind
- Package normally — since fermentation completes fully, there’s no risk of bottle bombs
Pros and Cons
- Pro: simplest method — no special equipment or monitoring needed
- Pro: fermentation completes normally, so bottles are safe
- Pro: cheapest — you’re literally using less ingredients
- Con: can taste thin and watery without careful recipe design
- Con: less malt = less colour, body, and complexity
Method 3: High-Temperature Mashing
How It Works
This is an all-grain technique. By mashing at a higher temperature (72–76°C instead of the usual 64–67°C), you create more long-chain dextrin sugars that yeast cannot ferment. The result: body and sweetness without the alcohol.
Why It Works
At higher mash temperatures, the alpha-amylase enzyme (which produces unfermentable sugars) dominates, while beta-amylase (which produces fermentable sugars) is largely denatured. You get a wort that’s sweet and full-bodied but produces very little alcohol when fermented.
Step by Step
- Use a normal grain bill — same amount of malt as a standard-strength beer
- Mash at 74–76°C for 60 minutes — this is notably higher than a normal mash
- Expect low attenuation — the yeast will only ferment 30–40% of the sugars instead of the usual 70–80%
- Target OG 1.035–1.040 — with low attenuation, this produces about 1.5–2.5% ABV
Pros and Cons
- Pro: best body and mouthfeel of all three methods
- Pro: tastes closest to a “real” beer
- Con: requires all-grain setup and precise temperature control during mashing
- Con: high residual sweetness can be cloying if not balanced with assertive hopping
This is my preferred method now. The beer has genuine body — none of that watery, hollow feel you get with low-gravity brewing. It takes more equipment and effort, but the result is worth it. If you’re interested in going all-grain, our guide on beer styles explains what distinguishes different styles and helps you choose a starting point.
The Flavour Challenge: Making It Taste Good
Adding Body Without Alcohol
- Flaked oats (10–15% of grain bill): add silky body and a smooth mouthfeel. The best single addition you can make to a low-ABV recipe
- Wheat malt (10–20%): improves head retention and adds a slight haze that makes the beer feel more substantial
- Carapils/dextrin malt (5–10%): adds unfermentable sugars for body without colour or flavour
- Maltodextrin powder: a cheat that works — add at packaging for body. About 50g per 23 litres gives noticeable improvement
Grain Choices for Flavour
With less malt overall, every grain addition counts more. Crystal malts (30–60L) add caramel sweetness. Vienna or Munich malt as your base (instead of pale malt) adds depth and complexity. Even a small amount (3–5%) of chocolate or roasted barley adds colour and flavour notes that make the beer feel more complete.
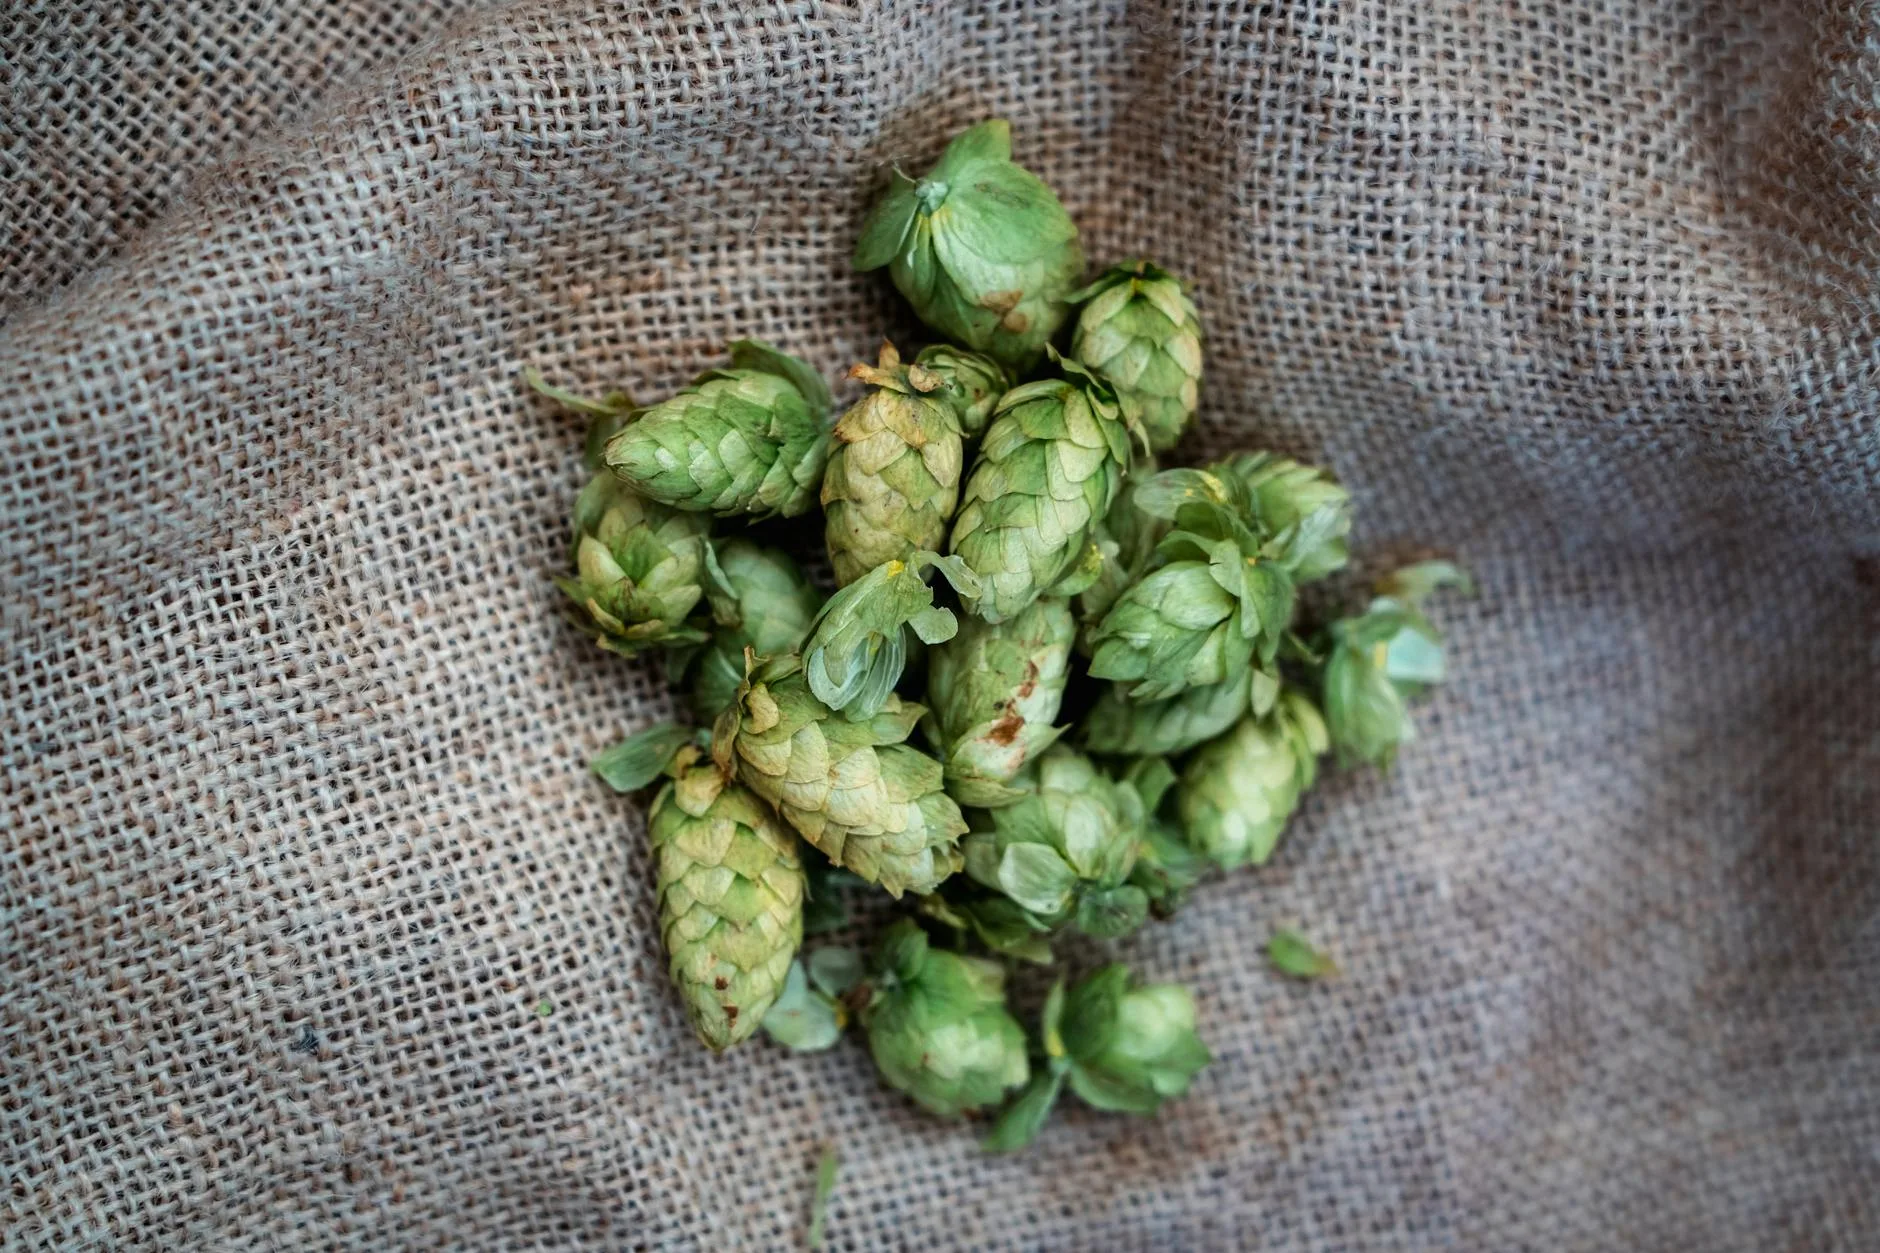
The Hop-Forward Approach
Why Hops Save Low-ABV Beer
Hops are your best friend when brewing low-alcohol beer. A hop-forward approach — heavy late additions, whirlpool hops, and dry hopping — adds flavour, aroma, and the perception of complexity that the reduced malt bill lacks.
Most successful commercial low-alcohol beers (BrewDog Punk AF, Big Drop Pale Ale) are heavily hopped. There’s a reason for that.
Hopping Strategy
- Moderate bittering addition: aim for 20–30 IBU. More than a session beer normally has relative to gravity, but it balances the residual sweetness
- Heavy whirlpool additions: add 2–3g/litre of aromatic hops at flameout or during a 20-minute whirlpool at 80°C
- Generous dry hop: 3–5g/litre for 3–5 days. This is where the magic happens. Citra, Mosaic, Simcoe, and Galaxy are all excellent choices
For more on dry hopping technique and timing, see our guide on dry hopping explained.
A Simple Low-Alcohol Pale Ale Recipe
This is a 23-litre (5-gallon) recipe using the low-gravity method. It produces a refreshing, hop-forward pale ale at approximately 1.8% ABV.
Grain Bill (All-Grain)
- 1.5kg Maris Otter pale malt (base)
- 300g flaked oats (body)
- 200g wheat malt (head retention)
- 150g Carapils (body)
- 100g Crystal 40 (caramel sweetness)
Hops
- 10g Magnum at 60 minutes (bittering, ~20 IBU)
- 30g Citra at flameout (flavour)
- 50g Citra dry hop for 4 days (aroma)
Yeast
- Safale US-05 — clean, reliable, attenuates well at lower temperatures
- Ferment at 16–18°C for a clean profile
Process
- Mash at 67°C for 60 minutes (slightly higher than normal for a touch more body)
- Target OG: 1.022
- Expected FG: 1.006
- Expected ABV: ~1.8%
Extract Version
Replace the grain bill with 800g light dry malt extract (DME) plus 150g Carapils steeped at 65°C for 30 minutes. Same hops and yeast. Target the same OG of 1.022.
Carbonation Tips for Low-ABV Beers
Bottle Conditioning
Low-ABV beers can be bottle conditioned normally if fermentation completed fully (low-gravity or high-temp mash methods). Use the same priming sugar rate as any other beer — about 4–5g of table sugar per litre.
For arrested fermentation beers, bottle conditioning is risky. Residual yeast may restart and over-carbonate. Keg and force-carbonate instead.
Force Carbonation
If you keg, force-carbonate at 12 PSI for 5–7 days at 2–4°C. Low-ABV beers benefit from slightly higher carbonation than normal — the extra fizz adds a crispness that compensates for the lighter body.
Common Mistakes
Not Hopping Enough
By far the most common error. People scale down the hop bill proportionally with the malt, ending up with a beer that tastes like slightly hoppy water. Keep your late hops and dry hops at the same level as a full-strength pale ale.
Skipping the Body Additions
Brewing with just pale malt and no oats, wheat, or dextrin malt produces a beer with zero texture. Body additions are non-negotiable for low-ABV brewing.
Poor Sanitation
Low-alcohol beer spoils faster. Sanitise everything twice if you have to. Star San is cheap, effective, and available from any UK homebrew supplier (The Malt Miller, BrewUK, Get Er Brewed) for about £8–12.
Keeping It Too Long
Low-ABV homebrew is best within 2–3 weeks of packaging. It doesn’t age well — off-flavours develop faster without alcohol’s preservative effect. Brew small batches and drink fresh.
Ignoring Water Chemistry
Water matters more in low-ABV beer because there’s less malt to mask it. If your local water is very hard or has high chlorine, use a Campden tablet (sodium metabisulphite) to remove chlorine and consider adjusting mineral content with brewing salts. A touch of gypsum (calcium sulphate) brightens hop character.
Frequently Asked Questions
Can I brew genuinely alcohol-free beer at home? It’s extremely difficult below 0.5% ABV without specialist equipment. The most reliable home method is high-temperature mashing combined with very low-gravity wort, which can produce beer around 0.5–1%. True 0.0% requires vacuum distillation or reverse osmosis — impractical for home use. Most homebrewers target 1–2% for the best flavour results.
Is low-alcohol homebrew cheaper than buying alcohol-free beer? Much cheaper. A 23-litre batch of low-gravity pale ale costs about £8–12 in ingredients — roughly 40–50p per pint versus £1.50–2 per can from the supermarket. You also get to customise the recipe to your exact taste preferences.
How long does low-alcohol homebrew last? Drink it within 2–3 weeks for best quality, and keep it refrigerated after packaging. Low-alcohol beer lacks the preservative effect of ethanol, so it spoils faster than regular homebrew. Small batch sizes (10–12 litres) are sensible if you’re the only one drinking it.
What’s the easiest method for a beginner? Low-gravity brewing — simply using less malt extract or grain. It requires no special equipment beyond your normal homebrew setup. Start with a kit beer and reduce the malt extract by 50–60%, then add generous late hops and dry hops for flavour.
Will low-alcohol beer still give me a hangover? At 1–2% ABV, you would need to drink an impractical amount to feel any alcohol effects. For context, you’d need roughly 6–8 pints of 2% beer to equal the alcohol in 2 pints of regular 4.5% beer. Most people drink low-ABV beer for the taste and ritual rather than the buzz.