It’s autumn, the local farm shop has bags of mixed apples for a pound, and you’ve just remembered that cider exists. Not the mass-produced fizzy stuff from Tesco — proper cider, the kind that tastes like the orchard it came from. The good news: making hard cider at home is one of the easiest fermentation projects you can do. Easier than beer, far less fussy than wine, and the ingredients are literally falling off trees.
We started making cider four years ago with a bag of wonky Bramleys from a neighbour’s garden and a plastic bucket. The first batch was rough but drinkable. The second was good. By the third autumn, we were making cider that friends actually asked for by name. Here’s everything you need to know to make your own.
In This Article
- What You Need to Get Started
- Choosing Your Apples
- Equipment List
- Step-by-Step Hard Cider Recipe
- Fermentation: What to Expect
- Racking and Clearing
- Bottling Your Cider
- Still vs Sparkling Cider
- Flavouring and Variations
- Troubleshooting Common Problems
- How Long Does Homemade Cider Last
- Bottom Line
- Frequently Asked Questions
What You Need to Get Started
Making cider requires three things: apple juice, yeast, and patience. That’s it. Unlike beer, there’s no grain to mash. Unlike wine, there’s no complicated chemistry. You press apples, add yeast, wait, and drink.
The total cost for a first batch is about £30-50 if you’re buying equipment from scratch. If you’ve already got basic homebrewing kit from making beer or wine, you probably have everything you need already.
The Basic Process
- Get apple juice (pressed from fresh apples or bought as pasteurised juice)
- Add yeast
- Let it ferment for 2-4 weeks
- Rack (transfer) off the sediment
- Wait another 2-4 weeks for it to clear
- Bottle
- Drink
That’s genuinely all there is to it. The rest of this article covers how to do each step well, but the process itself is beautifully simple.
Choosing Your Apples
The apples matter more than anything else. Get this right and mediocre technique still produces good cider. Get it wrong and perfect technique won’t save you.
The Best Apples for Cider
Traditional cider apples — varieties like Kingston Black, Dabinett, and Yarlington Mill — make the best single-variety ciders. They have the right balance of sugar, acid, and tannin that eating and cooking apples lack.
But here’s the practical reality: unless you live in Somerset, Herefordshire, or Devon, finding dedicated cider apples is hard. So most home cider makers use what’s available:
- A mix of dessert and cooking apples gives the best results. Aim for roughly 60% sweet eating apples (Braeburn, Cox’s, Gala) and 40% sharp cooking apples (Bramley, Granny Smith).
- Crab apples add excellent tannin and acidity. If you can find some, blend them in at 10-20%.
- Foraged and windfall apples work brilliantly. Cut out any bruised or rotten sections and the rest is fine. Imperfect apples make excellent cider.
- Single-variety cider from eating apples alone tends to be thin and one-dimensional. It’s drinkable but won’t excite you.
Using Shop-Bought Juice
If you don’t have access to fresh apples, you can make perfectly good cider from pasteurised apple juice. The rules:
- 100% pressed apple juice — no concentrates, no added sugar, no preservatives
- Not from concentrate — concentrated juice has been heated and loses flavour compounds
- No potassium sorbate — this preservative kills yeast. Check the ingredients label. Ascorbic acid (vitamin C) is fine.
- Supermarket own-brand pressed apple juice from Waitrose, Sainsbury’s, or Lidl works well. Copella is the go-to brand.
How Much Do You Need?
- 5 litres of apple juice makes about 5 litres of cider (roughly 8 pint bottles)
- 23 litres fills a standard homebrew demijohn/carboy — this is the classic batch size
- If pressing fresh apples, expect roughly 1 litre of juice per 1.5-2kg of apples depending on variety and ripeness
Equipment List
You probably own half of this already. The rest is cheap from any homebrew shop or Amazon.
Essential
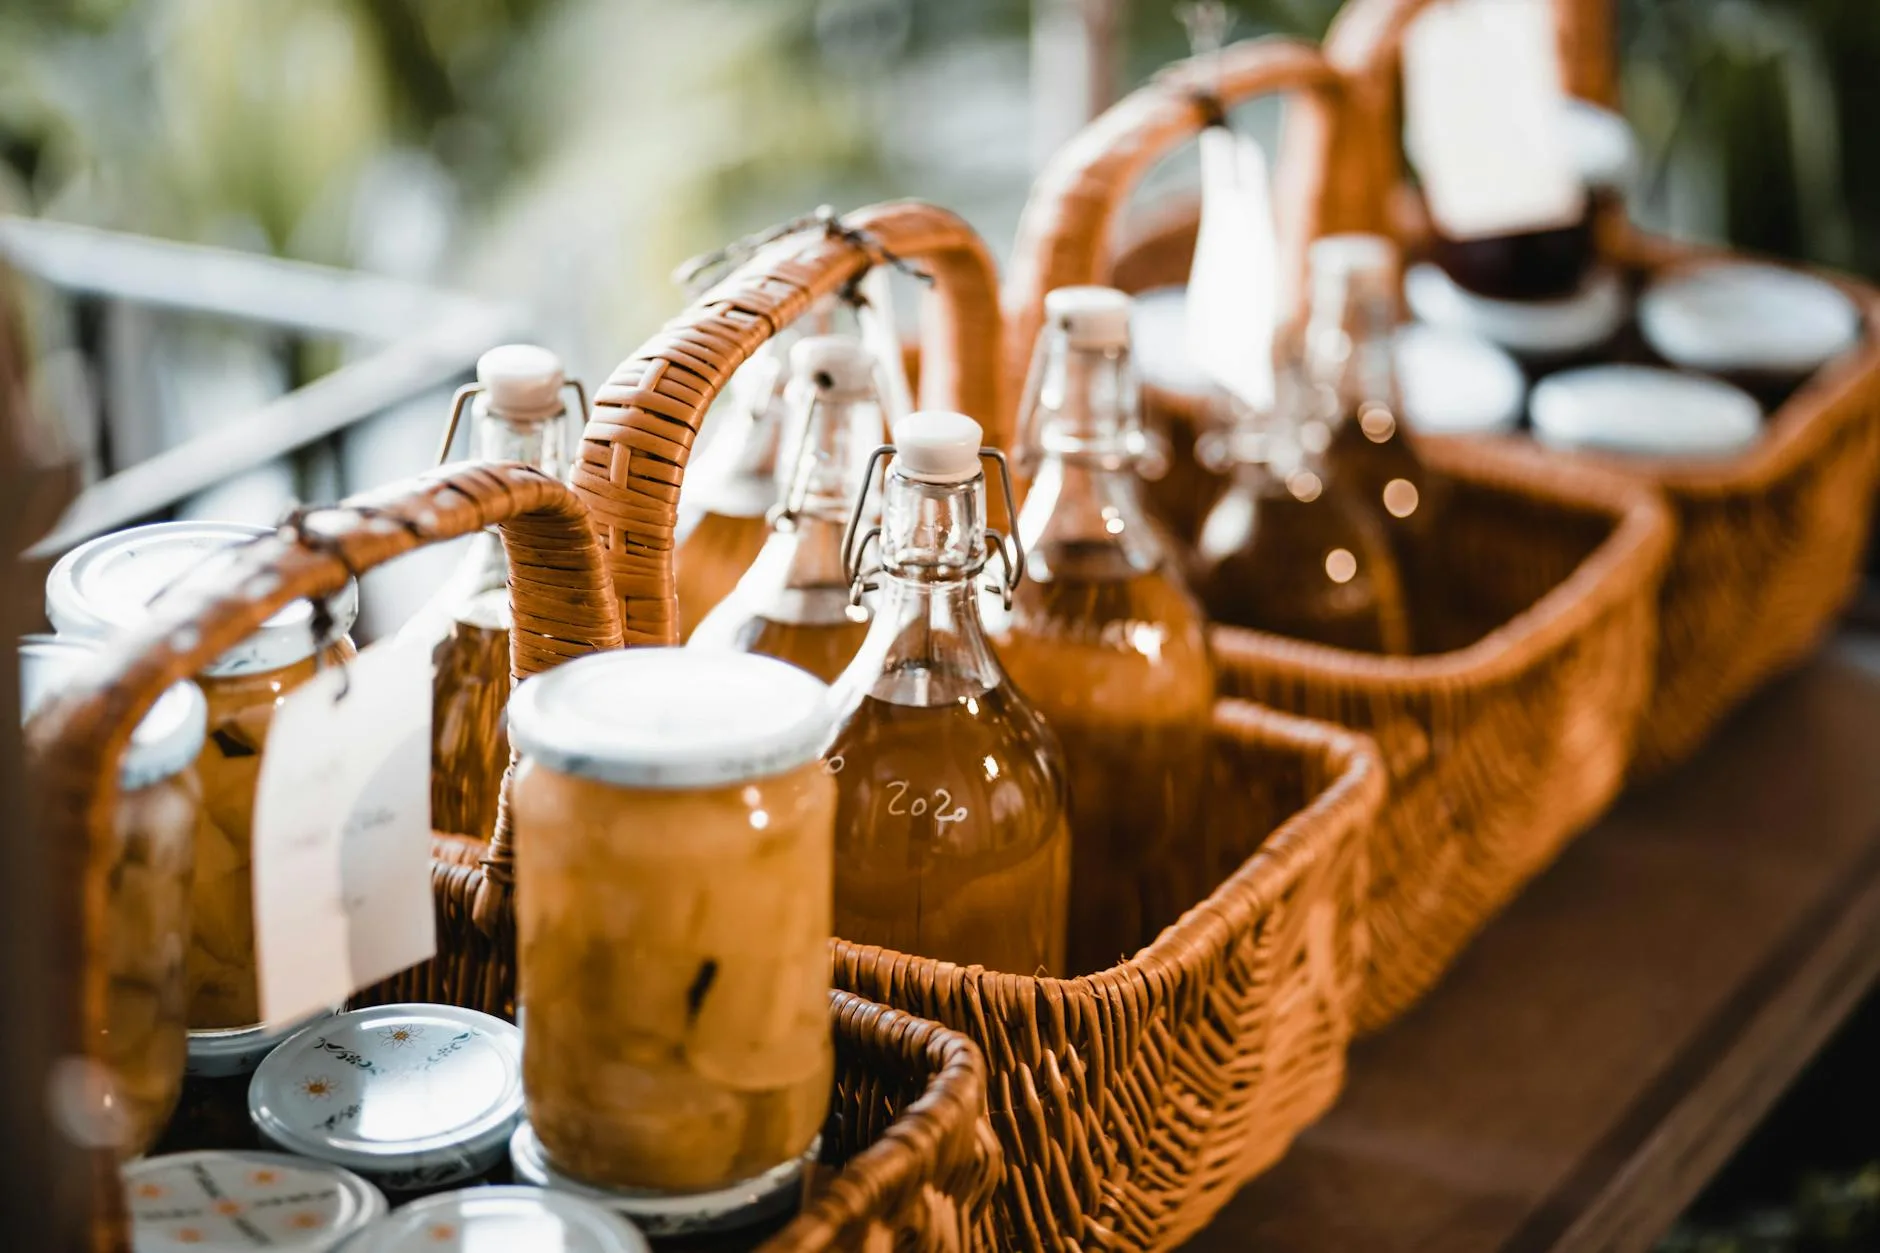
- Fermentation vessel — a food-grade plastic bucket (5-25L) with a lid, or a glass demijohn. Our fermentation vessel guide covers options at every price.
- Airlock and bung — fits into the lid of your fermenter. Lets CO2 escape without letting air in. About £2.
- Siphon tube — for transferring cider off the sediment without disturbing it. £5-8.
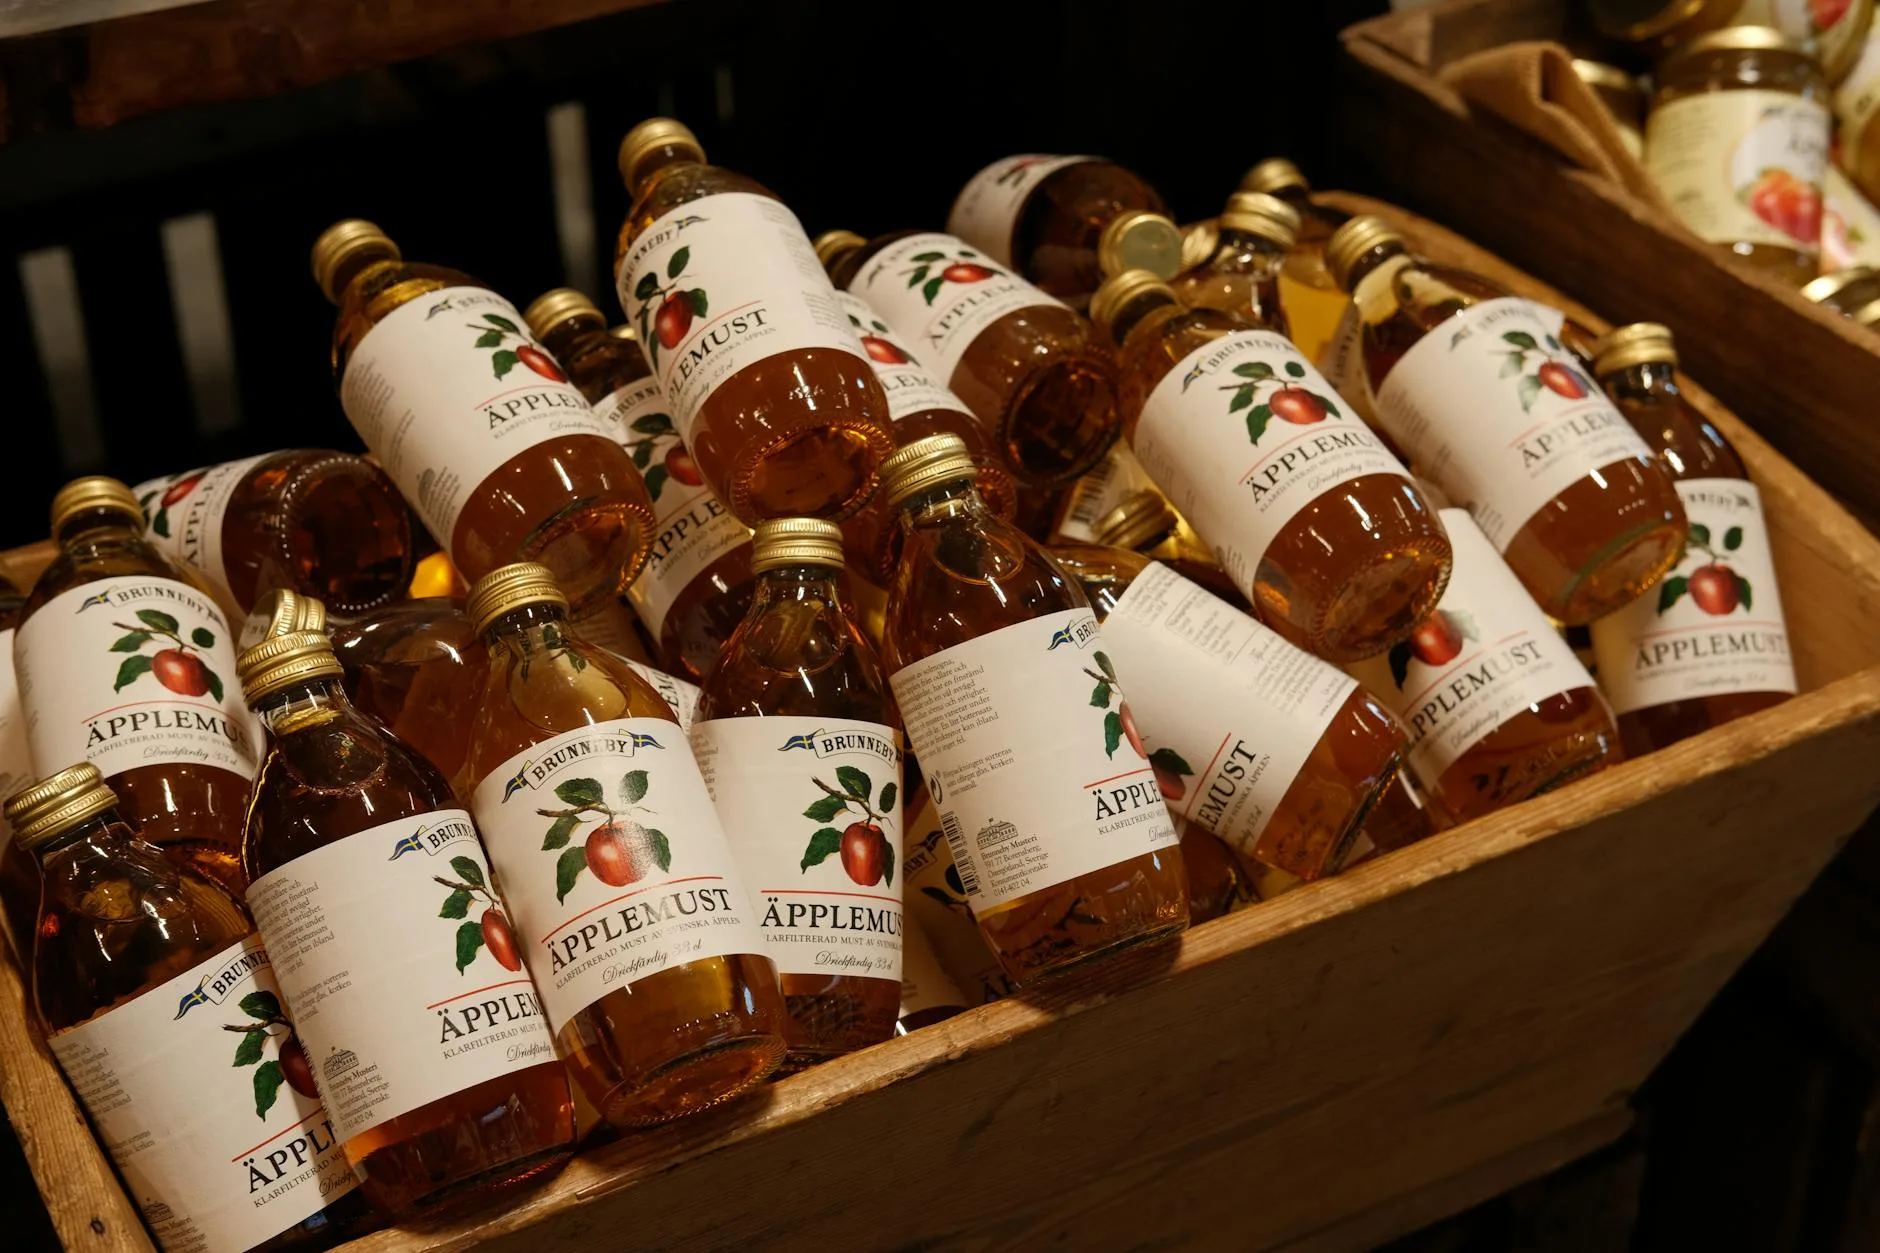
- Bottles — swing-top glass bottles, recycled screw-cap cider bottles, or PET plastic bottles. You need about 8 bottles per 5 litres.
- Sanitiser — VWP or sodium metabisulphite. Everything that touches the cider must be sanitised. This is non-negotiable. About £4 for a tub that lasts years.
- Yeast — cider yeast, champagne yeast, or ale yeast all work. One sachet per 23 litres. About £1-2.
Optional But Helpful
- Hydrometer — measures sugar content so you can track fermentation and calculate ABV. £5-8.
- Pectinase — an enzyme that breaks down pectin and helps the cider clear faster. Particularly useful with fresh-pressed juice. About £3.
- Campden tablets — sodium metabisulphite tablets used to kill wild yeast before adding your chosen yeast. One crushed tablet per 5 litres, wait 24 hours before pitching yeast. £3 for 50 tablets.
- Apple press or juicer — for fresh apples. A basic fruit press costs £40-80. A centrifugal juicer works too but produces cloudier juice.
Step-by-Step Hard Cider Recipe
This recipe makes 5 litres of medium-dry still cider at roughly 5-6% ABV. Scale up for larger batches.
Ingredients
- 5 litres of fresh-pressed apple juice OR pasteurised apple juice (no preservatives)
- 1 sachet of cider yeast or champagne yeast (e.g., Mangrove Jack’s Cider Yeast or Lalvin EC-1118)
- 1 teaspoon of pectinase (optional, for clarity)
- 1 crushed Campden tablet (optional, if using fresh-pressed juice)
Method
- Sanitise everything. Your fermenter, airlock, spoon, and anything else that touches the juice. Rinse thoroughly after sanitising. Contamination is the only thing that reliably ruins cider.
- Pour the apple juice into your fermenter. If using fresh-pressed juice and you want to kill wild yeast, add a crushed Campden tablet now and wait 24 hours before proceeding to step 3. If using pasteurised shop-bought juice, skip the Campden tablet — it’s already sterile.
- Add pectinase if using it. Stir in one teaspoon per 5 litres. This helps the cider clear faster and produces a brighter finished product.
- Take a hydrometer reading if you have one. Record the original gravity (OG). Apple juice typically reads 1.045-1.055, which will give you a cider of 5-7% ABV.
- Pitch the yeast. Sprinkle the yeast sachet directly onto the surface of the juice. Don’t stir it in — let it rehydrate on the surface for 15 minutes, then give it a gentle stir.
- Seal the fermenter and fit the airlock. Fill the airlock to the line with water or sanitiser.
- Place somewhere warm (18-22°C). An airing cupboard, a kitchen worktop, or anywhere with a reasonably stable temperature. Avoid direct sunlight.
- Wait. Within 24-48 hours, you should see bubbling through the airlock. This is fermentation — the yeast is converting sugar into alcohol and CO2.
Fermentation: What to Expect
The First Few Days
The airlock should start bubbling within 24-48 hours of pitching yeast. The activity will be vigorous — potentially a bubble every few seconds. The juice will develop a foamy head (called a kräusen in beer terms). This is normal and healthy.
If nothing happens after 48 hours, the room might be too cold (move somewhere warmer) or the yeast might be old (add a fresh sachet).
Week 1-2
Fermentation is most active during the first week. The bubbling gradually slows as the yeast consumes the available sugar. The juice colour shifts from bright apple gold to a murkier, brownish-gold.
Week 2-4
Bubbling slows to one bubble every 30 seconds to one minute. A layer of sediment (lees) builds up on the bottom of the fermenter. The cider above the sediment gradually clears.
How Do You Know It’s Done?
Fermentation is complete when the airlock stops bubbling entirely and the hydrometer reads below 1.000 (typically 0.995-1.002 for a dry cider). If you don’t have a hydrometer, wait until there’s been no airlock activity for three consecutive days.
Most ciders finish fermenting in 2-3 weeks at room temperature. Cold temperatures slow it down — a garage in winter might take 6-8 weeks.
Racking and Clearing
Once fermentation is complete, the cider needs to be separated from the sediment. Leaving it on the lees for too long creates off-flavours — yeasty, sulphurous, unpleasant.
How to Rack
- Place the fermenter on a table and the empty vessel on the floor
- Insert the siphon tube into the cider, keeping the tip above the sediment layer
- Start the siphon (a gentle suck or use an auto-siphon)
- Let the cider flow into the clean vessel, stopping when you start pulling sediment
- Fit a clean airlock
Clearing
After racking, the cider continues to clear. Over 2-4 weeks, suspended particles settle and the cider goes from hazy to clear. Cooler temperatures help — if you can put the vessel in a garage or shed at 8-12°C, clearing is faster. For a related angle, see our How to Make Wine at Home: A Beginner’s Guide guide.
If it’s still hazy after a month, finings (available from homebrew shops) speed things up. But patience usually does the job.
Bottling Your Cider
Once the cider is clear and stable (no bubbling, no sediment forming), it’s ready to bottle.
Choosing Bottles
- Swing-top glass bottles (Grolsch-style) — the easiest option. Reusable, no capping equipment needed.
- Screw-cap cider bottles — recycled Strongbow or Bulmers bottles work perfectly. Make sure the caps seal properly.
- PET plastic bottles — cheap, lightweight, and you can squeeze them to check carbonation. Good for sparkling cider.
- Beer bottles with crown caps — work fine but you’ll need a capping tool (about £15).
The Process
- Sanitise all bottles and caps
- Siphon the clear cider into bottles, leaving 2-3cm headspace
- Seal immediately
- Store upright in a cool, dark place
If you’re making still cider, that’s it — drink it whenever you like. For sparkling, see the next section.
Still vs Sparkling Cider
Still Cider
Bottle it as-is after clearing. The cider will be flat (no carbonation) — this is traditional farmhouse cider. It has a clean, pure apple flavour and is how most craft ciders in the West Country are served. If you’re new to cider making, start here — no risk of bottle bombs.
Sparkling Cider
To carbonate, add a small amount of sugar at bottling. The residual yeast in the cider ferments this sugar in the sealed bottle, producing CO2 that dissolves into the cider.
- Add ½ teaspoon of sugar per 500ml bottle (or 80g per 23 litres if batch-priming)
- Seal the bottle
- Store at room temperature for 2 weeks to carbonate
- Move to cold storage (fridge or cold garage) to stop further fermentation
⚠️ Important: Only use pressure-rated bottles for sparkling cider. Glass bottles without proper closures can explode if pressure builds too high. PET bottles are the safest option for beginners — they bulge visibly before they burst, giving you warning.
Flavouring and Variations
Plain apple cider is brilliant on its own, but you can also experiment:
Spiced Cider
Add a cinnamon stick, 3-4 cloves, and a slice of fresh ginger to the secondary fermentation (after racking). Leave for 1-2 weeks, then bottle. Tastes like a liquid apple crumble. Excellent warm in winter.
Perry (Pear Cider)
Replace 50-100% of the apple juice with pear juice. True perry uses specific perry pear varieties, but blending supermarket pear juice with apple juice makes a lovely light drink. Ferment identically to apple cider.
Berry Cider
Add 200-500g of crushed blackberries, raspberries, or blackcurrants per 5 litres after primary fermentation. Rack onto the fruit and leave for 1-2 weeks. Strain out the fruit when bottling. The colour is stunning and the flavour is excellent.
Cyser (Apple Mead)
Replace 20-30% of the apple juice with honey dissolved in warm water. This produces a stronger, sweeter drink (7-9% ABV) with honey and apple notes. Ferment with a wine yeast rather than cider yeast — the higher sugar content needs a more alcohol-tolerant strain. Our Best Home Brewing Starter Kits 2026: UK Reviewed guide is useful alongside this.
For more fruit-based fermentation ideas, our fruit wine recipe collection covers everything from elderflower to blackberry.
Troubleshooting Common Problems
Cider Smells Like Rotten Eggs
Hydrogen sulphide — common during fermentation, especially with some yeast strains. Usually clears up during racking. If it persists after racking, add a crushed Campden tablet and rack again after 24 hours.
Cider Won’t Clear
Give it more time — some batches take 6-8 weeks. If still hazy, add pectinase (if you didn’t at the start) or use commercial finings. Cold temperatures speed clearing.
Cider Tastes Like Vinegar
Acetobacter contamination — acetic acid bacteria turned your alcohol into vinegar. This happens when the cider was exposed to air during fermentation (loose-fitting airlock, opened the fermenter too often). Unfortunately, there’s no fix. Use it as apple cider vinegar for cooking and sanitise everything more carefully next time.
Cider Is Bone Dry and Harsh
All the sugar fermented out, leaving a very dry cider. This is normal — most cider yeasts ferment to dryness. To sweeten:
- Back-sweeten at serving time by adding apple juice to each glass
- Stabilise and sweeten by adding potassium sorbate (to stop fermentation) then sugar or apple juice
- Accept it. Many traditional ciders are dry and develop complexity with age. Give it a month in the bottle before writing it off.
Bottles Are Over-Carbonated
Too much priming sugar or bottled before fermentation was truly complete. Vent the bottles carefully (outside, wrapped in a towel) by opening slowly to release pressure. Refrigerate immediately — cold suppresses further CO2 production. Next time, use less sugar and confirm fermentation is complete with a hydrometer.
The National Association of Cider Makers has resources on traditional UK cider making if you want to dive deeper into heritage techniques and apple varieties.
How Long Does Homemade Cider Last
If you’re wondering about your cider’s shelf life, our home brewing guide covers storage best practices for all fermented drinks.
Still Cider
Keeps 6-12 months in sealed bottles stored in a cool, dark place. The flavour improves over the first 2-3 months as harsh edges soften. After 12 months, it’s still safe but may start to taste tired.
Sparkling Cider
Keeps 3-6 months. The carbonation gradually fades over time, and the yeast sediment in the bottle can create off-flavours after 6+ months. Drink it relatively fresh for the best experience.
Signs It’s Gone Off
- Vinegar smell or taste — Acetobacter contamination. Safe to drink (it’s vinegar) but unpleasant as cider.
- Ropy or slimy texture — Lactobacillus contamination. Pour it out.
- Moudy film on the surface — usually fine if the cider underneath tastes OK. Skim it off. But if the cider tastes musty, bin it.
Bottom Line
Making hard cider at home is the most accessible fermentation project for UK beginners. Fresh apples or shop-bought juice, yeast, a fermenter, and 4-6 weeks of patience — that’s all it takes. The equipment costs under £50, the ingredients are cheaper than buying cider from a shop, and the results get better every year as you learn what works with your local apples.
Start simple. A 5-litre batch with pasteurised apple juice and a sachet of cider yeast. Don’t overthink it. If the juice is good and everything is clean, the cider will be good. And once you’ve tasted your own, the supermarket stuff won’t cut it anymore.
Frequently Asked Questions
How long does it take to make hard cider at home? About 6-8 weeks from start to drinking. Primary fermentation takes 2-3 weeks, clearing and racking takes another 2-4 weeks, plus a few days for bottling. Sparkling cider needs an extra 2 weeks for bottle conditioning.
Can I make cider from shop-bought apple juice? Yes — pasteurised 100% pressed apple juice works well. Avoid juice from concentrate and check there’s no potassium sorbate in the ingredients, as it kills yeast. Copella, Waitrose own-brand, and Lidl pressed juice all work.
What yeast should I use for cider? Cider-specific yeast (like Mangrove Jack’s Cider Yeast) gives the cleanest results. Champagne yeast (Lalvin EC-1118) produces a drier, crisper cider. Ale yeast works but gives a slightly bread-like character. All are fine for beginners.
How strong is homemade cider? Typically 5-7% ABV, depending on the sugar content of your apples or juice. A hydrometer reading before and after fermentation gives you the exact number. Apple juice with an original gravity of 1.050 produces cider around 6% ABV.
Is it legal to make cider at home in the UK? Yes. You can make as much cider as you like at home for personal consumption in the UK without any licence. You only need a licence if you sell it. The same applies to beer and wine.