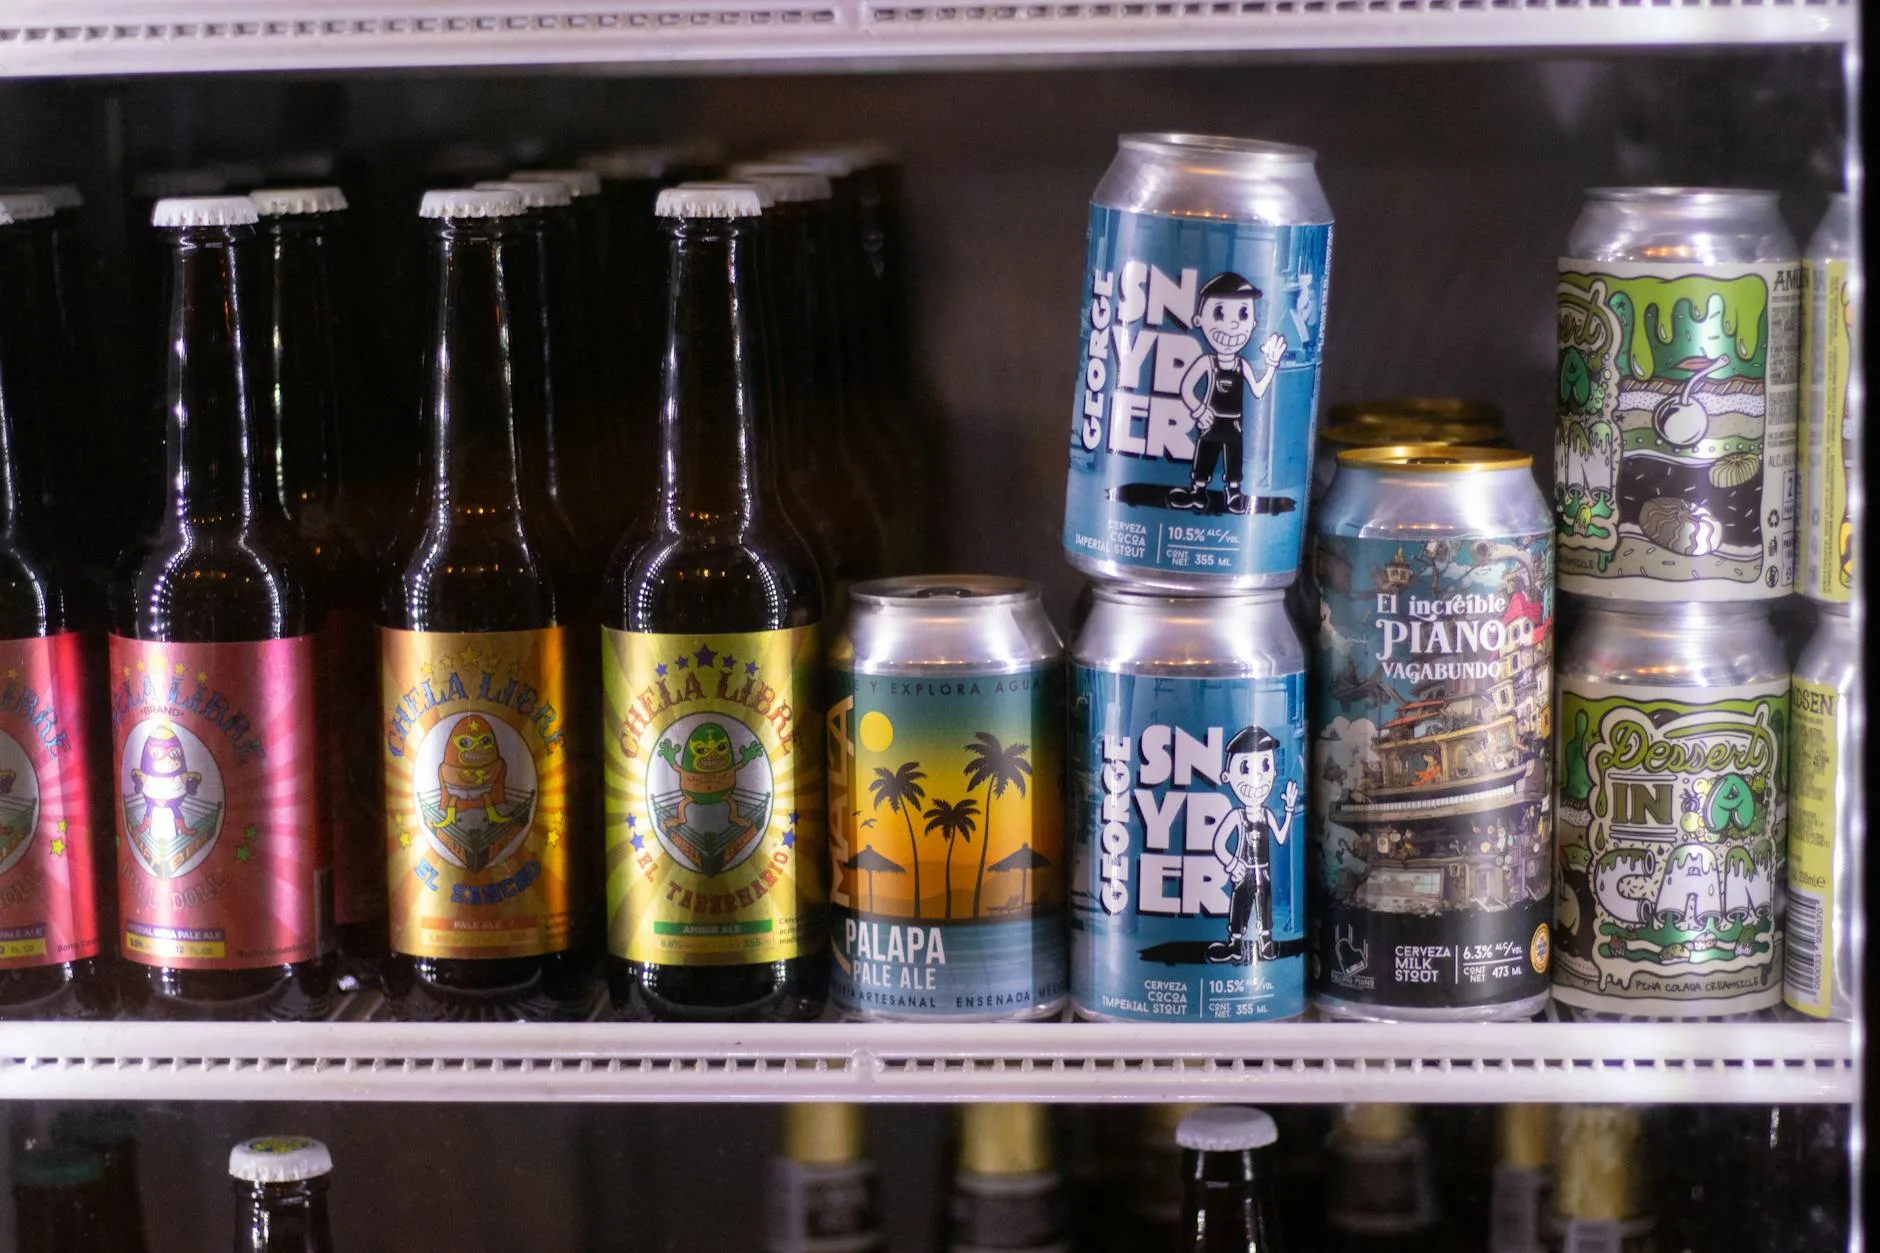
You pitched your yeast at the right temperature, left the fermenter in the spare room, and came back three days later to a beer that tastes like banana bread mixed with nail polish remover. The spare room hit 26°C during that warm spell, and your Safale US-05 — which should have been fermenting at 18-20°C — threw off more esters and fusel alcohols than a Belgian tripel. If you’re still choosing between yeast strains, getting the temperature right matters more than which packet you pick. Temperature control is probably the single biggest improvement most homebrewers can make, and it costs surprisingly little to get right.
In This Article
- Best Overall Pick
- Why Fermentation Temperature Matters
- Types of Temperature Controller
- Best Digital Temperature Controllers
- Best Heating Solutions
- Best Cooling Solutions
- DIY Fermentation Chamber Setup
- Smart Controllers and Wi-Fi Options
- Where to Buy in the UK
- Common Temperature Control Mistakes
- Frequently Asked Questions
Best Overall Pick
The Inkbird ITC-308 at about £30-35 from Amazon UK. It’s a dual-stage controller (manages both heating and cooling from a single unit), has a clear digital display, and supports a temperature range of -50°C to 120°C with 0.1°C accuracy. Plug your heater into one socket, your fridge into the other, set your target temperature, and the Inkbird handles the rest.
It’s become the default recommendation in the UK homebrew community for good reason — it’s cheap, reliable, and does exactly what it says. For most homebrewers fermenting in a converted mini fridge or chest freezer, this is all you need.
Why Fermentation Temperature Matters
What Temperature Does to Yeast
Yeast is a living organism, and like all living things, it behaves differently at different temperatures. Too cold and it goes dormant — fermentation stalls or never starts. Too warm and it gets stressed, producing off-flavours that no amount of conditioning will fix.
The main culprits at high temperatures:
- Fusel alcohols — harsh, hot, solvent-like flavours that give you a headache. Produced when yeast metabolises amino acids at elevated temperatures
- Excessive esters — fruity flavours (banana, pear, bubblegum) that are desirable in some styles but overwhelming in others. Belgian yeasts want warmth; English and American yeasts don’t
- Acetaldehyde — green apple flavour that normally gets cleaned up during conditioning, but excessive production from heat stress can persist
Too cold brings its own problems:
- Stalled fermentation — yeast drops out of suspension before finishing the job
- Slow attenuation — the beer finishes sweeter than intended because the yeast couldn’t chew through all the sugars
- Sulphur compounds — some lager yeasts produce hydrogen sulphide at low temperatures, though this usually dissipates with time
The Critical Window
The first 48-72 hours of fermentation are the most temperature-sensitive. This is when yeast activity peaks, and the exothermic reaction of fermentation can raise the temperature inside your fermenter 2-4°C above ambient. Taking accurate gravity readings alongside temperature monitoring helps you spot when fermentation is most active. So if your room is 22°C, your beer might be fermenting at 25-26°C — well above the comfortable range for most ale yeasts.
After the initial vigorous phase, temperature becomes less critical but still matters. Many brewers raise the temperature by 2-3°C towards the end of fermentation (a “diacetyl rest”) to help the yeast clean up unwanted byproducts. A temperature controller makes this kind of deliberate profiling easy.
Types of Temperature Controller
Single-Stage Controllers
These manage either heating or cooling, but not both from the same unit. You’d plug in a heat pad for winter brewing, or a fridge for summer brewing, but switching between the two means physically swapping plugs. Fine if your ambient temperature is consistent enough that you only ever need one.
Dual-Stage Controllers
The standard for most homebrewers. Two power outlets — one for heating, one for cooling. The controller switches between them automatically based on the temperature reading from the probe. If the beer drops below target, it kicks the heater on. If it rises above, it switches the fridge on. Set and forget.
Programmable and Profile Controllers
These let you programme temperature changes over time — start fermentation at 18°C, raise to 20°C after three days, hold at 22°C for a diacetyl rest, then crash cool to 2°C for cold conditioning. The Brewers Association style guidelines list ideal fermentation temperatures for every beer style, and profile controllers let you hit those targets precisely.
Useful for lager brewing (which requires gradual temperature reductions over weeks) and for advanced ale techniques, but overkill for most homebrewers starting out.
Best Digital Temperature Controllers
Inkbird ITC-308
Price: about £30-35 from Amazon UK Type: dual-stage Range: -50°C to 120°C Accuracy: ±0.1°C Probe: NTC sensor, waterproof (insulate with tape for thermowell use)
The homebrew community’s default choice, and deservedly so. The ITC-308 is simple — two outlets, one probe, one display. The compressor delay function prevents your fridge from short-cycling (turning on and off rapidly, which kills compressors). The calibration function lets you offset the probe reading if you find it consistently reads a degree high or low.
One tip: strap the probe directly to the fermenter wall with insulated tape rather than dangling it in the air. Air temperature fluctuates faster than liquid temperature, and you want to control the beer’s temperature, not the fridge’s.
Inkbird ITC-310T
Price: about £40-50 from Amazon UK Type: dual-stage with timer/profile function Range: -50°C to 120°C Stages: up to 12 programmable steps
The step-up model for brewers who want temperature profiling. You can programme up to 12 temperature steps with hold durations, which covers lager schedules, diacetyl rests, and crash cooling. The interface isn’t the most intuitive — setting up a 6-step profile involves pressing small buttons in a specific sequence — but once configured, it runs unattended.
Worth the extra £10-15 if you plan to brew lagers or want to experiment with ramping temperatures.
STC-1000 (Budget Option)
Price: about £10-15 from Amazon UK or eBay Type: dual-stage (requires wiring) Range: -50°C to 110°C
The cheapest option, but it comes as a bare controller — you need to wire it into an enclosure yourself, connecting the relay outputs to mains sockets. If you’re comfortable with basic electrical work (and understand the safety implications of mains wiring), you can build a fully functional dual-stage controller for under £25 including the enclosure and sockets.
If mains wiring makes you nervous, spend the extra £15 on the Inkbird ITC-308 and get a plug-and-play unit with proper safety certifications.
Best Heating Solutions
Brew Belt / Brew Heater
Price: about £10-15 from The Home Brew Shop or Amazon UK Power: 25-40 watts
A flexible heating band that wraps around your fermenter. Gentle, even heat that raises the temperature 3-5°C above ambient. The most popular option for UK homebrewers who ferment in garages or spare rooms during winter. The low wattage means it won’t overshoot badly, but it also means it struggles if your ambient temperature drops below 10°C.
Tubular Heater
Price: about £15-25 from Amazon UK or Screwfix Power: 55-120 watts
The kind of tube heater you’d use in a greenhouse. Place it inside your fermentation chamber (fridge, chest freezer, or insulated box) and let the controller manage it. More powerful than a brew belt, which makes it better for unheated spaces, but also more risk of overshooting if the controller fails. Always use a quality controller with a defined hysteresis setting.
Heat Mat
Price: about £12-20 from Amazon UK Power: 20-30 watts
Sits underneath the fermenter. Even, gentle heat from below. Works well for smaller fermenters (5-10 litres) but struggles with full-size 23-litre batches because the heat only reaches the bottom portion. Better for secondary applications like maintaining bottle conditioning temperature.
Best Cooling Solutions
Mini Fridge Conversion
Price: about £80-150 for a suitable fridge (second-hand from Facebook Marketplace or Gumtree, or new from Argos/Currys) Capacity: fits a standard 25-30 litre fermenter
The most popular cooling solution in the UK homebrew scene. Find a mini fridge tall enough to fit your fermenter (measure before buying — many are too short), plug it into your temperature controller’s cooling outlet, and you’ve got a fermentation chamber that can maintain 16-20°C even during a British summer.
Second-hand larder fridges (the ones without a freezer compartment) are ideal — they have more internal height. Check Facebook Marketplace and Gumtree; you can usually find one for £40-80.
Chest Freezer Conversion
Price: about £150-250 new, or £50-100 second-hand Capacity: fits 2-4 fermenters depending on size
The upgrade path when one fermenter isn’t enough. A chest freezer with a temperature controller can maintain lager temperatures (2-12°C) that a mini fridge can’t reach. The horizontal format means you can fit multiple fermenters side by side.
Use a collar (a wooden frame between the lid and the body) to add height if your fermenters are too tall. Many UK homebrewers build insulated wooden collars that add 20-30cm of usable space.
Wet T-Shirt / Swamp Cooler (Budget)
Price: essentially free Cooling effect: 3-5°C below ambient
Wrap a wet towel or old t-shirt around the fermenter and point a fan at it. Evaporative cooling drops the temperature a few degrees, which can be enough during mild summers. Not precise, not automated, and doesn’t work when ambient humidity is high — but it costs nothing and has saved many a summer brew from overheating.
DIY Fermentation Chamber Setup
The Standard UK Build
The most common DIY setup uses these components:
- Second-hand mini fridge or chest freezer — the chamber itself (£50-150)
- Inkbird ITC-308 — the brain (£30-35)
- Tubular heater or brew belt — for heating (£10-25)
- Total cost: about £90-210
Step-by-Step Assembly
- Place the fridge or freezer in position — somewhere with adequate ventilation around the compressor coils (at least 10cm clearance at the back and sides)
- Run the Inkbird’s temperature probe through the fridge door seal — the seal is flexible enough to close over a thin cable without breaking the seal. Route it through the hinge side, not the latch side
- Plug the fridge into the Inkbird’s cooling outlet
- Place the heater inside the chamber and plug it into the Inkbird’s heating outlet
- Set your target temperature and compressor delay (3-5 minutes prevents short-cycling)
- Strap the probe to the fermenter with insulated tape — wrap a piece of foam or bubble wrap over the probe to insulate it from air temperature fluctuations
Pro Tips
- Label the plugs — “HEAT” and “COOL” — so you don’t accidentally plug the fridge into the heating outlet (it happens more often than you’d think)
- Drill a hole in the fridge wall for the probe cable if you don’t want to route it through the door seal. Use silicone sealant to waterproof the hole
- Add a small fan inside the chamber to circulate air evenly, especially in chest freezers where cold air settles to the bottom
- Monitor remotely if using an Inkbird ITC-308 WiFi model — check temperatures from your phone while at work
Smart Controllers and Wi-Fi Options
Inkbird ITC-308 WiFi
Price: about £40-50 from Amazon UK App: Inkbird Pro (iOS and Android)
The connected version of the standard ITC-308. Same dual-stage functionality, but adds WiFi monitoring and alerts. You can check the current temperature, see historical data, and get notifications if the temperature goes out of range. Useful if your fermentation chamber is in a garage or shed and you don’t want to check it physically every day.
BrewPiLess / BrewPi Remix
Price: about £30-50 for hardware (ESP8266 or ESP32 board, relay module, temp sensors) Skill level: moderate (requires flashing firmware and basic wiring)
An open-source temperature controller that runs on a small microcontroller board. It offers full temperature profiling with a web interface — set your fermentation schedule in a browser and monitor it remotely. The community behind it is active and helpful.
This is the enthusiast option. If you enjoy tinkering with electronics and want maximum flexibility, BrewPiLess is excellent. If you just want to plug something in and have it work, stick with the Inkbird.
Tilt Hydrometer Integration
Some smart controllers can read data from a Tilt wireless hydrometer (about £100-120), which floats inside the fermenter and transmits both temperature and gravity readings via Bluetooth. Pair it with BrewPiLess or a Raspberry Pi setup, and you can monitor fermentation progress and temperature simultaneously without opening the fermenter.
Where to Buy in the UK
Specialist Homebrew Retailers
- The Malt Miller (themaltmiller.co.uk) — excellent range of fermentation equipment, controllers, and accessories. Fast UK delivery.
- The Home Brew Shop (the-home-brew-shop.co.uk) — long-established retailer with a wide range including brew belts and fermentation accessories.
- Geterbrewed (geterbrewed.com) — Northern Ireland-based, great selection of brewing equipment including Inkbird controllers.
General Retailers
- Amazon UK — widest range of Inkbird controllers and heating/cooling accessories. Check for genuine products from the Inkbird official store.
- Screwfix — surprisingly good for tubular heaters and basic electrical enclosures if you’re building a DIY controller.
- Facebook Marketplace / Gumtree — the best source for cheap second-hand fridges and chest freezers. Search “larder fridge” or “chest freezer” and measure before collecting.
Common Temperature Control Mistakes
Measuring Air Instead of Beer
The probe should be strapped to the fermenter wall, insulated from the surrounding air. Air temperature inside a fridge swings 2-3°C every time the compressor cycles. The beer’s thermal mass keeps it much more stable, but if your probe is reading air temperature, the controller will chase those swings and over-correct.
Forgetting the Exothermic Effect
Active fermentation generates heat. During the first 48 hours, the beer inside the fermenter can be 2-4°C warmer than the probe reading on the outside wall. Some brewers place the probe inside a thermowell (a sealed tube that sits inside the fermenter) for more accurate readings, though this requires a fermenter with a thermowell port.
No Compressor Delay
Fridges and freezers need a delay between compressor cycles to protect the motor. The Inkbird ITC-308 has a built-in compressor delay setting — set it to at least 3 minutes. Without this, rapid on-off cycling will burn out your fridge compressor within months.
Oversized Heater in a Small Chamber
A 120-watt tubular heater in a mini fridge will overshoot the target temperature before the controller can react. Match the heater power to the chamber size — 25-40 watts for a mini fridge, 55-80 watts for a chest freezer. The controller can always keep a low-power heater running longer, but it can’t make a high-power heater run for less than its minimum cycle.
Ignoring Ambient Extremes
If your garage hits -5°C in January, no brew belt will keep a fermenter at 18°C in an uninsulated space. And if it hits 35°C in the conservatory during a heatwave, your mini fridge will run constantly and still struggle. Place your fermentation chamber somewhere with moderate, stable ambient temperatures — a cupboard under the stairs, a spare room, or an insulated garage.
Frequently Asked Questions
What temperature should I ferment ale at? Most ale yeasts perform best at 18-20°C. Check the recommended range on your yeast packet — it’ll be printed on the back. Some British ale yeasts (like Safale S-04) prefer the lower end around 17-18°C, while Belgian yeasts may want 20-25°C for their characteristic flavours.
Do I need temperature control for lager? Yes — lager fermentation requires 8-13°C for primary and 0-4°C for lagering (cold conditioning). These temperatures are impossible to maintain in a UK home without a fridge or freezer connected to a temperature controller. Lager is where temperature control goes from “nice to have” to “essential.”
Can I use a domestic fridge as a fermentation chamber? Yes, and most UK homebrewers do. A standard mini fridge or larder fridge with the shelves removed fits a 25-30 litre fermenter. Connect it to a temperature controller like the Inkbird ITC-308, and you have precise temperature management for about £80-120 total.
How accurate does temperature control need to be? Within ±1°C is good enough for most brewing. The Inkbird ITC-308 offers ±0.1°C accuracy, which is more than sufficient. Don’t obsess over decimal places — maintaining a stable temperature is more important than hitting an exact number.
Is a heat belt enough for winter brewing in the UK? In a heated house (ambient 15°C+), a brew belt raising the temperature 3-5°C will keep most ale fermentations in range. In an unheated garage or shed (ambient below 10°C), you’ll need a more powerful heating solution inside an insulated chamber.