Every June, elderflower bushes erupt across the UK — in hedgerows, canal paths, park edges, and back gardens. For about three weeks, the creamy-white flower heads fill the air with a sweet, floral scent that smells exactly like summer should. Most people walk past them. Some make cordial. A few of us make wine, and once you’ve tasted a properly made elderflower wine — dry, crisp, and faintly honeyed — you’ll wonder why you ever bought Pinot Grigio.
Elderflower wine is one of the easiest country wines to make. The ingredients are mostly free, the process is forgiving, and the result is a genuinely impressive white wine that tastes nothing like the syrupy homebrew people imagine. Here’s how to make it from picking to pouring.
In This Article
- When and Where to Pick Elderflowers
- Equipment You Need
- Ingredients
- The Recipe Step by Step
- Primary Fermentation
- Secondary Fermentation
- Racking and Clearing
- Bottling
- How Long to Age It
- Troubleshooting Common Problems
- Variations and Experiments
- Frequently Asked Questions
When and Where to Pick Elderflowers
Timing
Elder trees (Sambucus nigra) flower from late May to early July in most of the UK, with peak season typically in mid-June. Southern England gets flowers first, Scotland a week or two later. The window is short — individual flower heads last about two weeks before the petals begin to brown and fall.
Pick on a warm, dry day, ideally mid-morning after the dew has dried but before the afternoon heat. The flowers are at their most fragrant when freshly opened — look for heads where most florets are open but the tiny central buds haven’t yet gone brown.
Where to Find Them
Elder grows almost everywhere in the UK — hedgerows, woodland edges, canal towpaths, railway embankments, parks, and waste ground. Look for bushes with flat-topped clusters of creamy-white flowers on a shrub or small tree with compound leaves. The smell is unmistakable once you know it — sweet, muscat-like, with a hint of honey.
Where NOT to Pick
- Busy roadsides — exhaust fumes and road grime coat the flowers
- Recently sprayed farmland edges — pesticide residue
- Dog-walking paths at nose height — use your imagination
- Private land without permission — foraging on common land and public footpaths is legal under the Countryside and Rights of Way Act, but picking from private hedgerows without permission is technically theft
The Woodland Trust has an excellent tree identification guide if you’re not sure whether you’re looking at elder or something else. Elder has a distinctive musty smell in the bark and compound leaves with 5-7 serrated leaflets.
How Much to Pick
For a standard gallon (4.5 litres) of wine, you need about 10-12 large flower heads. Pick generously — it’s better to have slightly too many than not enough. Shake each head gently before putting it in your bag to dislodge any insects. Bring a large carrier bag or basket, not a plastic bag that squashes the flowers.
Equipment You Need
You don’t need specialist equipment to start, but a few items make the process much easier.
Essential
- Large food-grade bucket with lid (10-15 litres) — your primary fermenter. A home brew bucket from any brew shop costs about £8-12. A clean food-grade bucket from a hardware shop works too
- Demijohn (4.5 litres) — glass or PET plastic. About £5-8 from brew shops or Amazon
- Airlock and bung — fits into the demijohn neck. About £2. Lets CO2 escape during fermentation while keeping air and contaminants out
- Siphon tube — about £3-5. For transferring (racking) wine between containers without disturbing the sediment
- Muslin cloth or straining bag — for separating the flowers from the liquid
- Bottles — 6 standard wine bottles per gallon batch. Save old wine bottles and buy new corks (about £5 for 30)
Nice to Have
- Hydrometer — measures sugar content and lets you calculate alcohol percentage. About £5-8. Not essential for your first batch but useful for consistency
- Wine corker — a hand corker makes bottling faster and more reliable than pushing corks in by hand. About £15-25
- Campden tablets — sodium metabisulphite for sterilising equipment and stabilising wine. About £3 for 50 tablets
Our guide to homebrew starter kits covers what comes in a typical kit if you’d rather buy everything in one go.
Ingredients
For one gallon (4.5 litres / 6 bottles):
- 10-12 large elderflower heads — freshly picked, shaken free of insects
- 1.2 kg granulated white sugar — standard supermarket sugar. Don’t use brown sugar — it adds colour and flavour you don’t want in a delicate white wine
- 4 litres water — tap water is fine in most UK areas. If your tap water is heavily chlorinated, let it stand overnight or use filtered water
- 2 lemons — juice and zest. Adds acidity that balances the sweetness and prevents the wine tasting flat
- 1 teaspoon yeast nutrient — feeds the yeast and promotes clean fermentation. About £3 for enough to last dozens of batches
- 1 sachet wine yeast — a white wine yeast like Gervin No. 3 or Lalvin EC-1118. About £1 per sachet. Do not use bread yeast — it produces off-flavours and stops fermenting at lower alcohol levels
- 1 teaspoon pectolase (pectic enzyme) — breaks down pectin from the flowers, helping the wine clear. Optional but recommended
The Recipe Step by Step
Step 1: Prepare the Flowers
Strip the tiny florets from the green stems using a fork or your fingers. The green stems taste bitter and will taint the wine — remove as much green material as possible. This is the most tedious part of the process and takes about 30-40 minutes for a gallon batch. Put music on.
Don’t wash the flowers — the natural yeasts and pollen on the surface contribute to the flavour. Shaking off insects during picking is sufficient.
Step 2: Make the Must
Boil 2 litres of water and dissolve the sugar in it, stirring until completely clear. Pour this sugar syrup into your sterilised fermenting bucket. Add the remaining 2 litres of cold water. The temperature should now be warm but not hot — around 30-40°C is ideal.
Add the elderflower florets, lemon juice, lemon zest, and pectolase. Stir well. Cover the bucket with its lid or a clean tea towel secured with an elastic band.
Step 3: Add Yeast (Next Day)
Wait 24 hours for the pectolase to work, then sprinkle the wine yeast and yeast nutrient onto the surface. Don’t stir — let the yeast hydrate for 15 minutes, then give it a gentle stir. Replace the lid.
Primary Fermentation
Primary fermentation happens in the bucket and lasts 5-7 days. During this phase, the yeast is most active — consuming sugar and producing alcohol and CO2.
What to Expect
Within 24-48 hours of adding yeast, you’ll see bubbles forming on the surface and the liquid will develop a frothy cap. The smell changes from sweet and floral to yeasty and slightly alcoholic. This is normal and means fermentation is working.
Daily Stirring
Stir the must once daily for the first 5 days to keep the flowers submerged and ensure even extraction. Push the flower cap down with a sterilised spoon. The liquid will become increasingly fizzy and cloudy — this is the yeast at work.
Temperature
Keep the bucket in a warm room — ideally 18-22°C. Too cold (below 15°C) and fermentation slows or stalls. Too warm (above 28°C) and the yeast produces harsh off-flavours. A kitchen or airing cupboard works well for most UK homes. For a related angle, see our Country Wine Recipes: Elderflower, Blackberry & More guide.
When Primary Is Done
After 5-7 days, the vigorous bubbling slows. The flower heads have given up their flavour and colour. Time to strain.
Secondary Fermentation
Straining
Pour the must through a muslin cloth or straining bag into a sterilised demijohn. Squeeze the muslin gently to extract remaining liquid from the flowers, but don’t squeeze hard — excessive pressure extracts bitter compounds from the plant material. Discard the spent flowers (they make excellent compost).
Into the Demijohn
The demijohn should be filled to just below the neck — leaving about 3cm of airspace. If you’re short, top up with a little cooled boiled water. Fit the bung and airlock. Half-fill the airlock with water or sanitiser solution.
What Happens Now
The airlock will bubble as CO2 escapes — initially every few seconds, then gradually slowing over the following weeks. Secondary fermentation is gentler than primary — the yeast is still working but at a slower, steadier pace. The wine begins to clear as yeast cells and particles settle to the bottom, forming a layer of sediment called lees.
How Long
Leave the wine in the demijohn for at least 6-8 weeks. Don’t rush this — patience here is the difference between rough homebrew and something you’d proudly serve to guests.
Racking and Clearing
First Rack (8 Weeks)
After 6-8 weeks, a thick layer of sediment will have settled at the bottom of the demijohn. Racking means siphoning the clear wine off the sediment into a clean, sterilised demijohn, leaving the lees behind.
Place the full demijohn on a table and the empty one on the floor. Insert the siphon tube into the wine, keeping the end above the sediment layer. Start the siphon (a gentle suck on the tube works, though auto-siphons are more hygienic) and let gravity transfer the wine. Our Best Beer Recipe Kits 2026 UK: IPA, Stout & Lager guide is useful alongside this.
Why Racking Matters
Wine sitting on lees for too long develops unpleasant flavours — a yeasty, bready taste that masks the delicate elderflower character. Racking removes the dead yeast and allows the wine to continue clearing.
Second Rack (Optional, 4-6 Weeks Later)
If the wine is still hazy after the first rack, leave it for another 4-6 weeks and rack again. Most elderflower wine clears naturally with one or two rackings. If it refuses to clear, a wine finings product (available from any homebrew shop for about £2) speeds the process. Our guide to making fruit wine covers fining techniques in more detail.
Bottling
When to Bottle
The wine is ready to bottle when:
- It’s clear — you can read text through the demijohn when held up to light
- Fermentation has stopped — the airlock hasn’t bubbled for at least 2-3 weeks
- It tastes dry — no residual sweetness (unless you want a sweeter wine, in which case stabilise first)
The Process
- Sterilise your bottles (rinse with a Campden tablet solution or use VWP cleaner)
- Siphon the wine from the demijohn into bottles, leaving 2-3cm of headspace below the cork
- Cork the bottles firmly — a hand corker makes this much easier
- Label with the date and batch name
How Many Bottles?
One gallon produces roughly 5-6 standard 750ml bottles, depending on how much wine you lose to sediment during racking.
How Long to Age It
Minimum
Elderflower wine is drinkable after bottling, but it improves noticeably with age. At a minimum, leave it for 3 months before opening the first bottle.
Sweet Spot
6-12 months produces the best results. The floral notes round out, any remaining harshness from fermentation mellows, and the wine develops a complexity that fresh batches lack. A year-old elderflower wine served chilled is something special.
Maximum
Elderflower wine doesn’t improve indefinitely. After 2-3 years, the delicate floral character fades and the wine tastes increasingly neutral. Drink it within 18 months for the best flavour, though it remains perfectly safe for years beyond that.
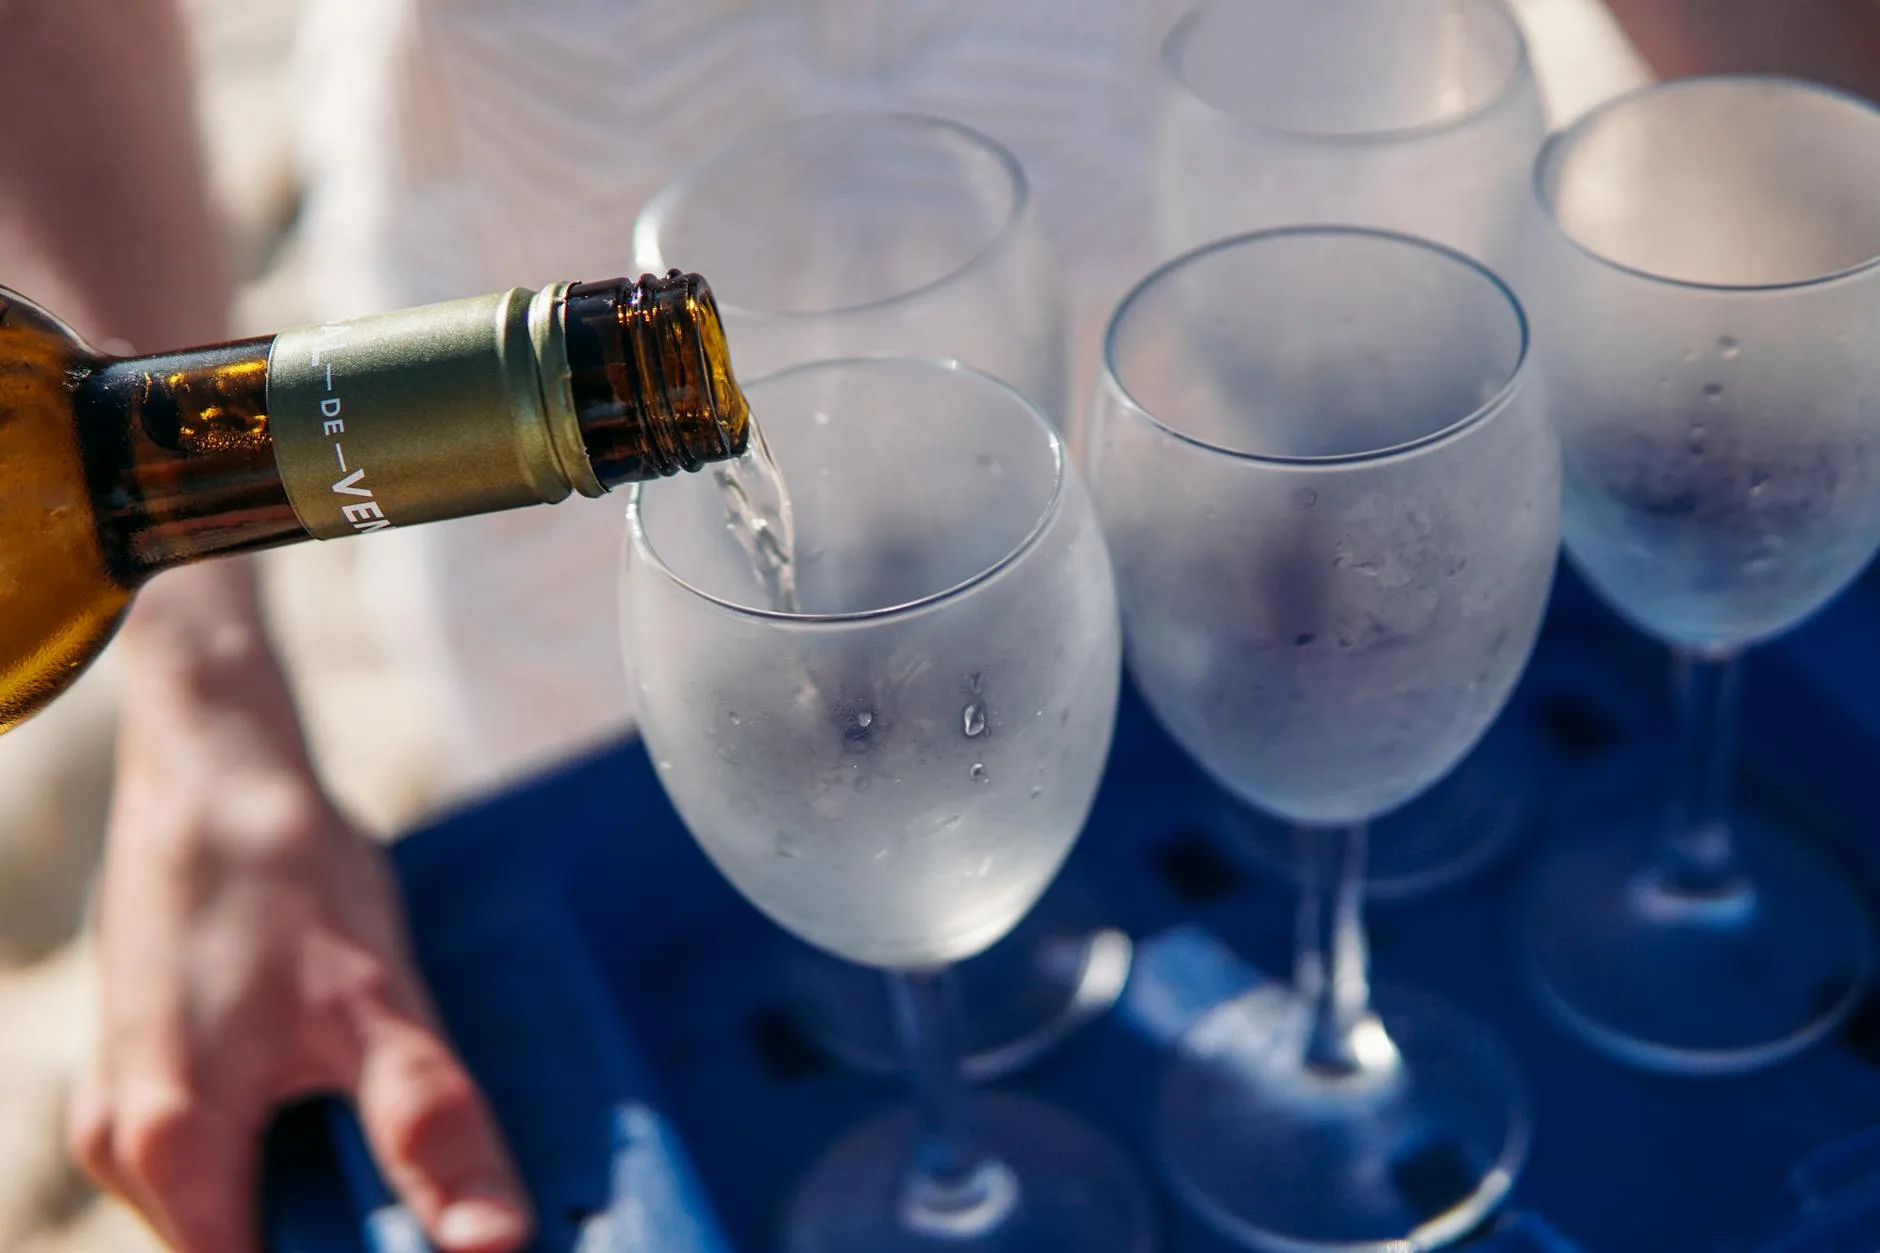
Serving
Serve chilled, like a Sauvignon Blanc. Elderflower wine pairs well with light summer food — salads, fish, chicken, and soft cheeses. It also makes an excellent base for cocktails — elderflower wine spritz with soda water and a sprig of mint is summer in a glass. We cover a similar decision in Easy Pale Ale Recipe for Beginners.
Troubleshooting Common Problems
Fermentation Won’t Start
- Temperature too low — move the bucket to a warmer room. Yeast is dormant below about 15°C
- Dead yeast — the sachet may be old or improperly stored. Add a fresh sachet
- Too much sulphite — if you used Campden tablets to sterilise the must, wait 24 hours before adding yeast. Sulphite kills yeast if the concentration is too high
Wine Won’t Clear
- Pectin haze — you didn’t use pectolase, or didn’t add enough. Add more at any stage and leave for a week
- Starch haze — rare in flower wines but possible. An amylase enzyme treatment clears this
- Suspended yeast — the wine needs more time. Move it to a cooler location (10-15°C) and wait. Cold helps yeast settle
Wine Tastes Too Sweet
Fermentation may have stopped before all the sugar was consumed. This happens if the temperature dropped or the yeast reached its alcohol tolerance. Add fresh yeast and move to a warm room. If the yeast has reached its limit (~14% for most wine yeasts), the wine will remain sweet — consider blending it with a dry batch or using it as a dessert wine.
Wine Tastes Too Dry or Harsh
Some elderflower wines finish very dry and slightly harsh. Back-sweetening helps: dissolve 50-100g of sugar in a little warm water, add gradually to the finished wine, taste as you go. Stabilise with a Campden tablet and potassium sorbate before back-sweetening to prevent re-fermentation in the bottle.
Wine Smells of Rotten Eggs
Hydrogen sulphide — produced by stressed yeast or a lack of nutrients. Rack the wine immediately to get it off the lees. A copper coin dropped into the wine (and removed after a day) can neutralise the smell in mild cases. In severe cases, the batch may be beyond rescue. The National Association of Wine and Beermakers has troubleshooting resources for common homebrew problems.
Variations and Experiments
Elderflower Champagne (Sparkling)
A lighter, lower-alcohol sparkling version. Use less sugar (800g instead of 1.2kg), ferment for a shorter period, and bottle while still slightly sweet. The residual sugar ferments in the bottle, creating natural carbonation. Use champagne bottles and wire cages — standard wine bottles can explode under pressure. This is not a beginner project.
Elderflower and Gooseberry
Add 500g of gooseberries (crushed) to the primary fermentation alongside the flowers. The gooseberries add tartness and body, creating a more complex wine that ages well. Pick gooseberries at the same time as elderflowers — they’re in season simultaneously.
Elderflower and Grape Juice
Replace 1 litre of water with 1 litre of white grape juice concentrate. This adds body and vinous character, making the wine taste closer to a conventional white wine with elderflower undertones. Good for people who find pure elderflower wine too delicate.
Dry vs Sweet Styles
The recipe above produces a dry wine. For a medium-sweet version, back-sweeten with 100-150g of sugar after fermentation, stabilising with potassium sorbate to prevent refermentation. For a sweet dessert style, use 1.5kg of sugar in the initial must — the higher sugar content will produce a higher alcohol wine that retains some sweetness.
Frequently Asked Questions
How long does elderflower wine take to make?
From picking flowers to bottling takes about 3-4 months. Primary fermentation is 5-7 days, secondary fermentation is 6-8 weeks, plus another 4-6 weeks for clearing and a final rack. Add 3-6 months of bottle aging for the best flavour. You’re looking at about 6-10 months from flower to glass for optimal results.
Can I use dried elderflowers?
Yes, but the result is less aromatic than fresh flowers. Use about 30-50g of dried elderflowers per gallon. Dried flowers are available from herbalists and online shops year-round. Fresh flowers picked at peak bloom produce a noticeably more fragrant wine.
Is elderflower wine actually wine?
Technically it’s a country wine or flower wine rather than grape wine. It’s made by fermenting a sugar solution infused with elderflower flavour, using the same yeast and process as grape wine. The result tastes like a light, floral white wine and is served the same way.
What alcohol percentage does elderflower wine reach?
With 1.2kg of sugar per gallon and a standard wine yeast, expect about 12-14% ABV. A hydrometer reading before and after fermentation gives you the exact figure. The alcohol level depends on sugar content and yeast tolerance — most wine yeasts work up to 14-16% before stopping.
Can I pick elderflowers from public land?
Yes. Under the Countryside and Rights of Way Act 2000, you can pick wild flowers, fruit, and foliage for personal use from public land and common land in England and Wales. Don’t strip a bush bare — take a few heads from multiple trees rather than clearing one. Picking from private land requires the landowner’s permission.
Can beginners make wine at home? Yes. Country wines are approachable if you use clean equipment, good yeast and patient fermentation rather than rushing bottling.
How long does homemade wine take? Fermentation may finish in weeks, but clearing and ageing often take months. Bottling too early can cause haze or pressure problems.
What equipment do you need for homemade wine? A demijohn, airlock, sanitiser, syphon, hydrometer and bottles cover most beginner fruit wine recipes.
What should I check first with How to Make Elderflower Wine: A Classic Country Recipe? Start with the real use case, then check size, compatibility, running costs and maintenance. A product that looks good on paper can still be the wrong fit if it does not suit the room, routine or budget.
How do I avoid wasting money on How to Make Elderflower Wine: A Classic Country Recipe? Avoid buying on one headline feature alone. Compare the practical details, read the warranty or returns terms, and choose the option that solves your main problem rather than the one with the longest specification list.