Bottle too early and homemade wine can throw sediment, push corks or taste rough for months. Bottle too late and you risk dull, tired fruit character, especially with lighter country wines. This bottle cork homemade wine guide is about getting the timing, bottles, corks and filling routine right so the wine you have nursed through fermentation does not fall at the final hurdle.
In This Article
- Bottle cork homemade wine guide: the quick answer
- When homemade wine is ready to bottle
- The kit you need before you start
- How to clean, sanitise and prepare bottles
- How to fill wine bottles without splashing
- How to cork homemade wine properly
- Caps, labels and the first 24 hours
- How to store bottled homemade wine
- Frequently Asked Questions
Bottle Cork Homemade Wine Guide: The Quick Answer
For most still homemade wine, bottle only when fermentation has finished, the wine is stable, and it has cleared enough that you are not dragging sludge into every bottle. Clean first, sanitise second, fill gently through a siphon or bottling wand, leave about 2-3cm of headspace, then insert a suitable wine cork with a hand or floor corker.
The short version looks like this:
- Check fermentation is finished: use a hydrometer, not wishful thinking.
- Rack off sediment: move the wine into a clean vessel before bottling.
- Clean and sanitise bottles: dirty bottles ruin good wine faster than almost anything else.
- Fill without splashing: oxygen is useful at the start of fermentation, not at bottling.
- Cork firmly: use the right size corks and a corker that does not crush them.
- Stand bottles upright first: give corks time to expand and seal before laying bottles down.
If your wine is still cloudy, start with the site guide to clearing cloudy homemade wine before you reach for bottles. Bottling haze is not a clever shortcut; it is just haze with a label on it.
When Homemade Wine Is Ready to Bottle
The best bottling day is boring. The airlock is quiet, the hydrometer readings are stable, the wine tastes settled rather than sharp and fizzy, and there is no fresh layer of sediment forming every few days.
Check gravity first
Use a hydrometer to confirm fermentation has finished. If the reading is still moving over several days, wait. A basic homebrew hydrometer costs about £4-£8, while a trial jar is another £3-£6. That is cheap insurance compared with a batch of pushed corks or fizzy still wine.
The site’s hydrometer guide explains the measuring process in more detail, but the bottling rule is simple: stable readings matter more than airlock bubbles. Airlocks can stop bubbling because of temperature, leaks or pressure changes.
Let the wine clear
Young wine often looks good in a demijohn and less good once it is lined up in clear bottles on the kitchen table. Give it time. For kit wines, that may be a few weeks after fermentation and stabilising. For country wines made from garden fruit, it can be several months.
If you are following a full recipe, keep the wider process in mind. The guide to making wine at home covers fermentation, racking and settling before bottling, while wine fermentation explained helps with the “is it done yet?” panic that hits every new winemaker eventually.
Taste before bottling
Taste a small sample. It does not need to taste finished, but it should not taste actively yeasty, harshly fizzy or sweet in a way you did not intend. If it tastes sharp but clean, ageing may help. If it smells of rotten eggs, vinegar or mould, bottling will not rescue it.
One practical check I like: pour a sample into a glass, swirl it, and leave it for ten minutes. If it throws obvious fizz or smells sharply solvent-like, give the wine more time and investigate before bottling.
The Kit You Need Before You Start
You do not need commercial winery equipment, but you do need the right small tools. Trying to bottle wine with a funnel and hope is how people oxidise half a batch and decorate the kitchen floor.
Basic bottling kit
For a 23-litre batch, which gives roughly 30 standard 750ml bottles, I would have this ready:
- Wine bottles: reused clean bottles are fine; new 750ml bottles are often about £12-£20 per dozen from UK homebrew shops.
- Corks: standard wine corks can be around £2-£6 for small packs or £8-£15 for larger 100 packs, depending on grade.
- Corker: a twin-handle corker is around £14.64 at The Home Brew Shop; floor corkers are usually nearer £55-£90.
- Siphon tube: about £4-£8, or £8-£15 for an auto-siphon.
- Bottling wand: about £4-£7 and worth it for clean fills.
- No-rinse sanitiser: about £5-£10 for a tub or bottle, depending on brand.
- Labels or marker pen: £3-£10, because mystery demijohn wine is funny once and annoying forever.
The site’s homebrew bottling equipment guide is useful if you are deciding what is worth buying once and what can stay budget.
Hand corker or floor corker?
A twin-handle corker is fine for occasional batches. It is cheap, compact and works with standard wine bottles. The trade-off is effort: after 30 bottles, your shoulders may have opinions. A floor corker costs more but makes cork insertion smoother, more consistent and less sweary.
The Home Brew Shop’s twin-handle corker listing says it fits standard 22mm wine bottle corks and is not compatible with Champagne corks. That detail matters. Sparkling wine bottles, mushroom corks and crown caps are a different job, not a “push harder” version of still wine bottling.
Natural or synthetic corks?
Natural corks suit wine you plan to age, but quality varies. Synthetic corks are consistent and easy to buy, but some cheap ones are harder to insert and can be awkward with budget corkers. Agglomerated corks are common for home winemaking and usually fine for wine you will drink within a year or two.
For a first batch, I would buy decent homebrew wine corks from a specialist supplier rather than the cheapest marketplace listing. Saving £3 on closures feels daft if the wine took three months to make.
How to Clean, Sanitise and Prepare Bottles
Clean and sanitise are not the same thing. Cleaning removes visible dirt, yeast residue and old label glue. Sanitising knocks down microbes on already-clean surfaces. The Food Standards Agency’s cleaning and disinfectant guidance explains why disinfectants need visibly clean surfaces, and the same basic principle applies at home: sanitiser is not magic if the bottle still has dried wine in the punt.
Start bottle prep earlier than bottling day if you can. Removing labels from 30 bottles takes longer than people expect, and wet paper glue has a special talent for making a normal adult question their hobbies.
Bottle prep routine
- Inspect every bottle: reject chips, cracks, mouldy interiors and screw-top bottles if you plan to cork.
- Soak labels: warm water and washing-up liquid works for many bottles; stubborn glue may need a scraper.
- Clean inside: use a bottle brush if there is visible residue.
- Rinse well: detergent residue can affect aroma and headspace bubbles.
- Sanitise just before use: follow the product dose and contact time.
- Drain upside down: a bottle tree costs about £15-£25 and makes this much easier.
The site’s cleaning and sanitising homebrew equipment guide goes deeper on products, but the bottling-day habit is simple: clean in advance, sanitise on the day.
Do not cork screw-top bottles
Some screw-top wine bottles have thinner glass around the neck and are not designed for corking. They can crack under corker pressure. Keep screw-top bottles for screw caps if the cap still seals properly, or use proper cork-finish wine bottles for corks.
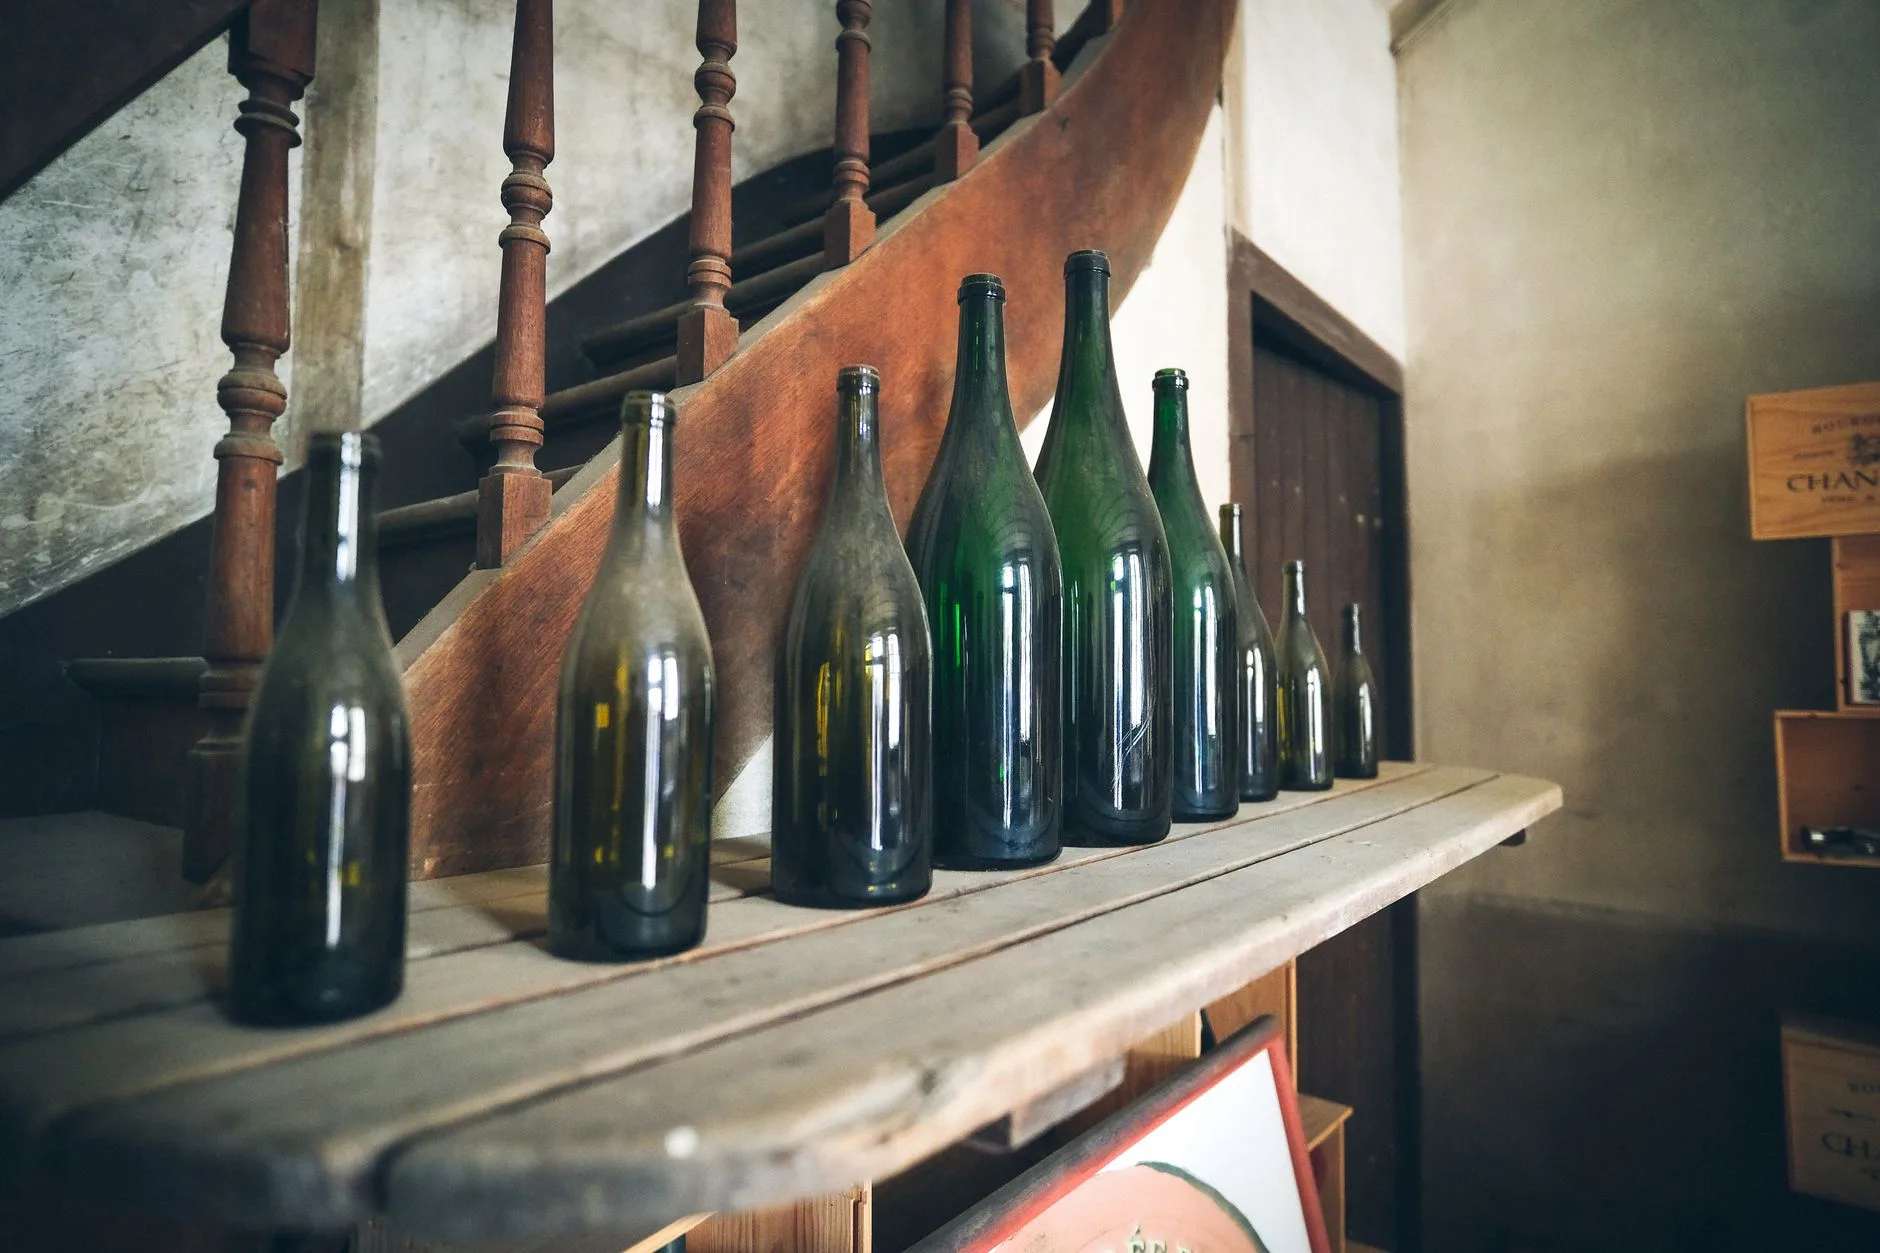
If you are buying new bottles, choose standard 750ml cork-finish wine bottles for still wine. Clear bottles show colour beautifully but give less light protection. Green or brown glass is safer for wines that will sit around for months.
How to Fill Wine Bottles Without Splashing
The filling stage is where a calm setup pays off. Put the wine vessel higher than the bottles, keep the siphon tube below the liquid surface where possible, and use a bottling wand to control flow at the bottom of each bottle.
Splashing is the enemy because it drags oxygen into finished wine. A little oxygen exposure is hard to avoid at home, but you can reduce it by moving slowly and avoiding glugging funnels.
Set up the work area
Put the demijohn or bucket on a stable worktop and the bottles lower down. Lay a towel under the bottles. Keep corks covered or in sanitiser if your chosen cork type and supplier instructions allow it. Keep a jug nearby for the last awkward bit of wine and a small glass for tasting. Quality control, obviously.
Before filling, rack the wine off sediment into a clean bottling bucket if the original vessel has a thick layer of lees. That one extra transfer can make bottling cleaner. Do it gently.
Fill to the right level
Most still wine bottles want around 2-3cm between the bottom of the cork and the wine. A bottling wand helps because the liquid level drops slightly when you remove the wand. Fill one test bottle, cork it, then check the headspace before doing the whole batch.
Too much headspace means more oxygen. Too little can make corking messy or leave no room for temperature expansion. Aim for consistent, not perfect.
If you are bottling a kit wine, check the kit instructions as well. Some wine making kits are designed to be drinkable young, while heavier reds often benefit from more bottle age.
How to Cork Homemade Wine Properly
Corking should feel firm and controlled, not like a gym challenge. If the corker is crushing corks, pushing them in at an angle or leaving them proud of the bottle neck, stop and test with an empty bottle.
Prepare the corks
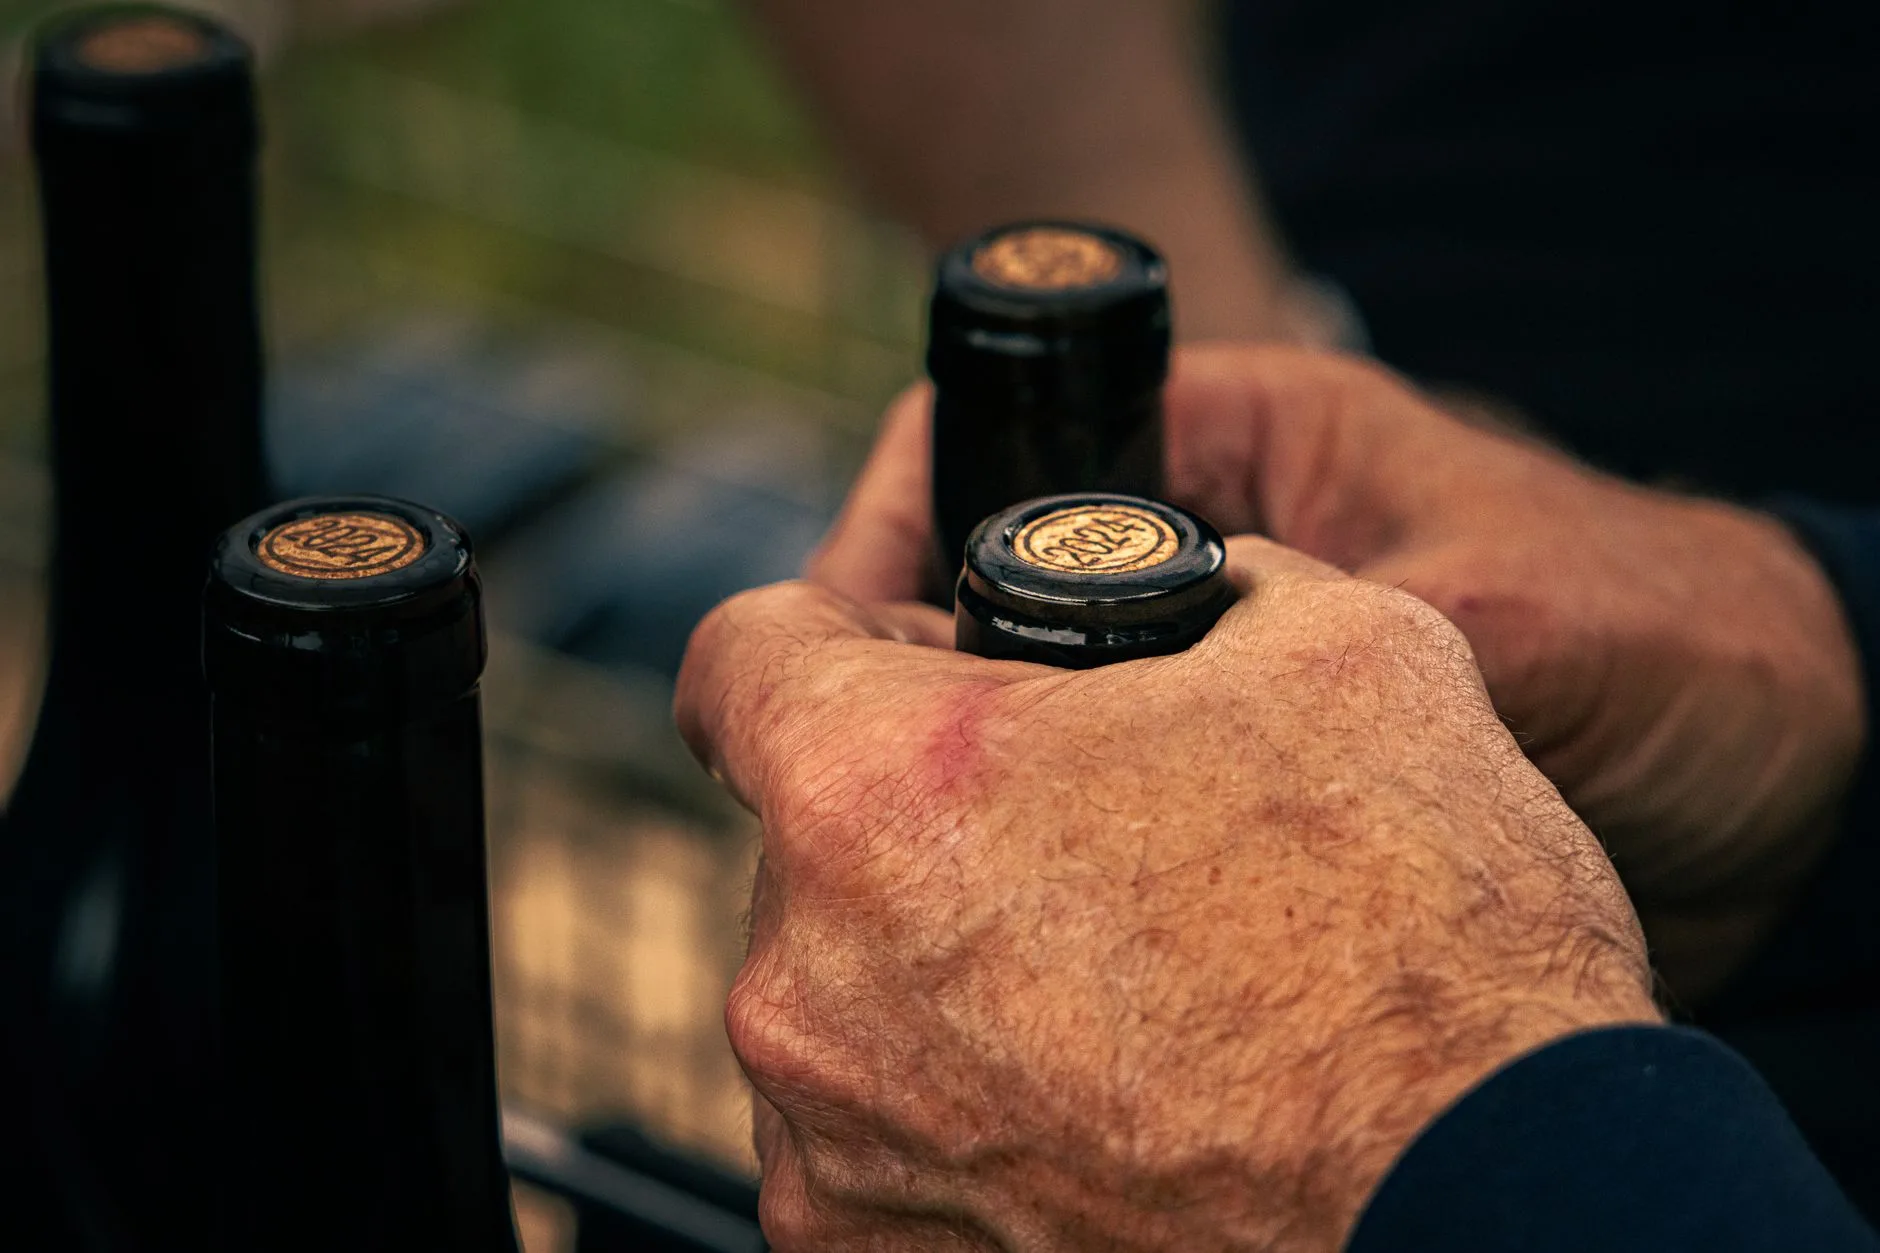
Follow the cork supplier’s instructions. Some corks are sold ready to use after sanitising; others benefit from a brief soak in sanitiser. Do not boil corks unless the supplier specifically says to. Boiling can make some corks crumble or deform, which is a miserable way to finish a batch.
Use wine corks that match your bottle and corker. Standard straight wine corks are not Champagne corks. T-corks are handy for spirits and short-term storage, but they are not my choice for ageing still wine.
Use a twin-handle corker
Place the bottle on a stable surface, load the cork, centre the corker over the neck, then bring both handles down evenly. Keep your face and hands away from the bottle neck in case a flawed bottle cracks. It is rare, but broken glass is not a learning experience anyone needs.
Check the cork depth. You want it just below or level with the top of the bottle, not sticking out like a nervous meerkat. If the first cork sits badly, adjust before continuing.
Use a floor corker
With a floor corker, adjust the plunger depth first, then test with an empty bottle. The advantage is consistency. If you make wine regularly, a floor corker is one of the few bigger purchases I would defend, because it turns bottling from a wrestle into a rhythm.
For one batch a year, borrow one from a club or friend if you can. For several batches a year, £55-£90 starts to make sense.
Caps, Labels and the First 24 Hours
After corking, stand bottles upright for the first 24 hours. This lets compressed corks expand and helps you spot leaks before wine ends up across a shelf. After that, natural-corked bottles can be stored on their side so the cork stays moist.
Heat-shrink capsules are optional. They make bottles look finished and cost around £3-£8 for a pack, but they do not fix a poor cork seal. Labels are more useful. At minimum, write:
- Wine type: blackberry, elderflower, red kit, white kit or blend.
- Bottling date: useful for ageing and comparison.
- Batch notes: yeast, sugar tweaks, oak, finings or anything you changed.
- Expected drinking window: “try after September” saves premature disappointment.
This is where the site’s homebrew record keeping guide earns its place. Your future self will not remember which demijohn had extra raisins, despite what current you confidently believes.
How to Store Bottled Homemade Wine
Store homemade wine somewhere cool, dark and stable. A spare cupboard is better than a sunny kitchen rack. Avoid radiators, conservatories and sheds that swing from freezing to roasting.
For corked bottles, side storage keeps natural corks in contact with wine. For screw caps, upright is fine. Keep bottles away from vibration and strong smells. Wine closures are not force fields; paint, fuel and cleaning chemicals do not belong nearby.
When to open the first bottle
Light white kit wines may be pleasant within a few weeks. Fruit wines and heavier reds often need several months. If the wine tastes sharp at bottling, put a note on the box and leave it alone. Opening a bottle every Friday “just to check” is research, but it does reduce the sample size.
I like opening one bottle after a month, one after three months and one after six. That gives a real sense of whether the wine is improving or simply surviving.
What bad storage looks like
Raised corks, leaks, browning colour, stale apple aromas and vinegar sharpness all point to problems. One faulty bottle does not always mean the whole batch is gone, but repeated issues usually trace back to bottling too early, poor sanitising, excess oxygen or bad corks.
Good bottling does not make average wine brilliant. It does protect the work you have already done.
Frequently Asked Questions
Can I cork homemade wine in screw-top bottles? It is better not to. Screw-top bottles may have thinner neck glass and are not designed for cork pressure. Use cork-finish wine bottles if you plan to cork.
How long should homemade wine stand after corking? Stand bottles upright for about 24 hours after corking so the corks can expand and you can spot leaks. After that, natural-corked bottles can usually be stored on their side.
Do I need a floor corker for homemade wine? No. A twin-handle corker around £15 is fine for occasional batches. A £55-£90 floor corker is worth considering if you bottle several batches a year.
Should I soak wine corks before using them? Follow the cork supplier’s instructions. A brief sanitiser soak may be suitable for some corks, but boiling corks can damage them and is not a default step.
How much headspace should I leave in wine bottles? Aim for roughly 2-3cm between the wine and the bottom of the cork. Too much headspace increases oxygen exposure; too little makes corking messy.
Can I bottle wine while it is still cloudy? You can, but it is usually a mistake unless the style is meant to be cloudy. Most homemade wine should be clear and stable before bottling.