A brewing kettle size guide should begin with the beer you want in the fermenter, not the number stamped on a pot. A 30L kettle does not hold a safe 30L rolling boil, and a 50L vessel can be a nuisance if you mostly brew small batches on a kitchen hob. For a compact extract brew, 15L may be enough; for a full-volume brew around 20L, 30L is often the practical starting point; for substantially larger batches, assess 50L against your actual workspace and equipment.
In This Article
- Brewing kettle size guide: start with finished volume
- How much space a boil really needs
- 15L kettles: the small-batch choice
- 30L kettles: the practical middle ground
- 50L kettles: room to grow, with trade-offs
- Extract, grain and all-in-one methods change the answer
- Hob, electric, storage and handling checks
- A worked calculation and final size recommendation
- Frequently Asked Questions
Brewing kettle size guide: start with finished volume
The useful starting number is your usual volume into the fermenter, followed by the amount you expect to package. Those figures differ. Some wort remains with hops and sediment in the kettle; more beer may be left with yeast in the fermenter. Decide which measurement you mean before comparing equipment. A recipe labelled “20L” may describe packaged beer, fermenter volume or a nominal kit size. Those are different planning problems.
For a full-volume boil, the kettle has to hold more liquid before the boil than reaches the fermenter afterwards. Water evaporates; hops and trub retain wort; a chiller, tap or filter can leave more behind. On top of that liquid volume, you need free space for foam and a vigorous boil. The manufacturer’s maximum working fill is therefore more useful than the total volume measured to the rim.
A partial-boil extract brew changes the arithmetic. You can boil a smaller, concentrated amount of wort and add suitable water later according to the recipe. That is why a 15L pot can help make a larger kit batch without ever holding the whole batch. Treat that as a method-specific choice, not proof that a 15L vessel is a suitable full-boil kettle for the same volume.
The table offers planning examples, not guaranteed yields. The pre-boil ranges assume ordinary homebrew losses and deliberate headspace; your recipe, boil intensity and kettle’s working-fill mark decide the actual figures. If the required pre-boil volume exceeds the maker’s permitted working level, choose a bigger vessel or a different method.
| Nominal kettle | Practical starting use | Illustrative pre-boil volume | Headspace decision |
|---|---|---|---|
| 15L | Small full-volume batches, often around 5–8L into the fermenter; larger extract batches only with planned dilution | Roughly 8–11L for a small full boil | Check the actual working fill; several litres below the rim may still be needed |
| 30L | Many full-volume batches around 18–20L into the fermenter, subject to losses and the maker’s fill line | Often around 23–26L | At the upper end, a 25L working limit can be the binding constraint |
| 50L | Larger full-volume batches or extra margin around the mid-20-litre range | Recipe-dependent; a 30–40L pre-boil may be plausible only within the model’s working limit | Allow the manufacturer’s boil margin, internal fittings and enough room to manage foam |
These are illustrations for choosing a class of kettle, not a promise that every 30L model can deliver 20L of packaged beer. The distinction is visible in real equipment: the Brewferm Brewer 30L retailer specification gives a 30L nominal capacity but a 25L maximum fill line, and describes it as designed for around 20L brewing batches. That model-specific limit should take precedence over a generic table.
How much space a boil really needs
Work backwards through the losses
Start with your intended fermenter volume. Add the wort you expect to leave in the kettle with hops and trub, then add anticipated evaporation during the boil. The result is your target pre-boil liquid volume. A kettle must accommodate that liquid and the foam space above it. If you are targeting packaged beer rather than fermenter volume, first add any expected fermenter loss too.
A practical calculation is: required pre-boil liquid = desired fermenter volume + kettle loss + expected boil-off. Each term belongs to your own recipe and setup. Boil-off depends on vessel shape, heating and time; it is especially worth measuring once with water in the actual kettle. A wide pot and a narrow electric unit can behave differently even when both say 30L.
Record three separate quantities after each brew:
- Before boiling: the actual liquid volume in the kettle, below its approved fill level.
- After boiling: the cooled wort volume remaining before transfer.
- Into the fermenter: the amount recovered after kettle losses.
Keep a written note for your first few brews: starting volume, volume after the boil and amount transferred. The next kettle choice or recipe adjustment can then use your measured figures instead of somebody else’s neat rule of thumb. Our first-brew walkthrough explains the brewing sequence if those stages are new to you.
Leave room for foam, fittings and a boil-over
Wort can foam strongly as it comes to the boil. A vessel filled close to its nominal brim leaves little control margin. Follow the manufacturer’s maximum boil or fill marking, keep an eye on the rise and reduce heat as necessary. Brewtools’ system guidance explicitly warns users to stay below the maximum mark and reduce power to avoid boil-over and scalding. It also explains that its model names refer to recommended maximum boil volume; that is a useful reminder to read the individual product documentation, not a universal conversion for other brands.
Internal hardware can reduce usable liquid space. A grain basket, element, filter, immersion chiller or hop spider may occupy volume or alter the safe operating level. Where an element requires submersion, follow that equipment’s instructions throughout heating and transfer. Dead space below a tap or filter works the opposite way: that liquid may fit in the kettle but fail to reach the fermenter. Capacity, working fill and recoverable wort are three separate figures.
15L kettles: the small-batch choice
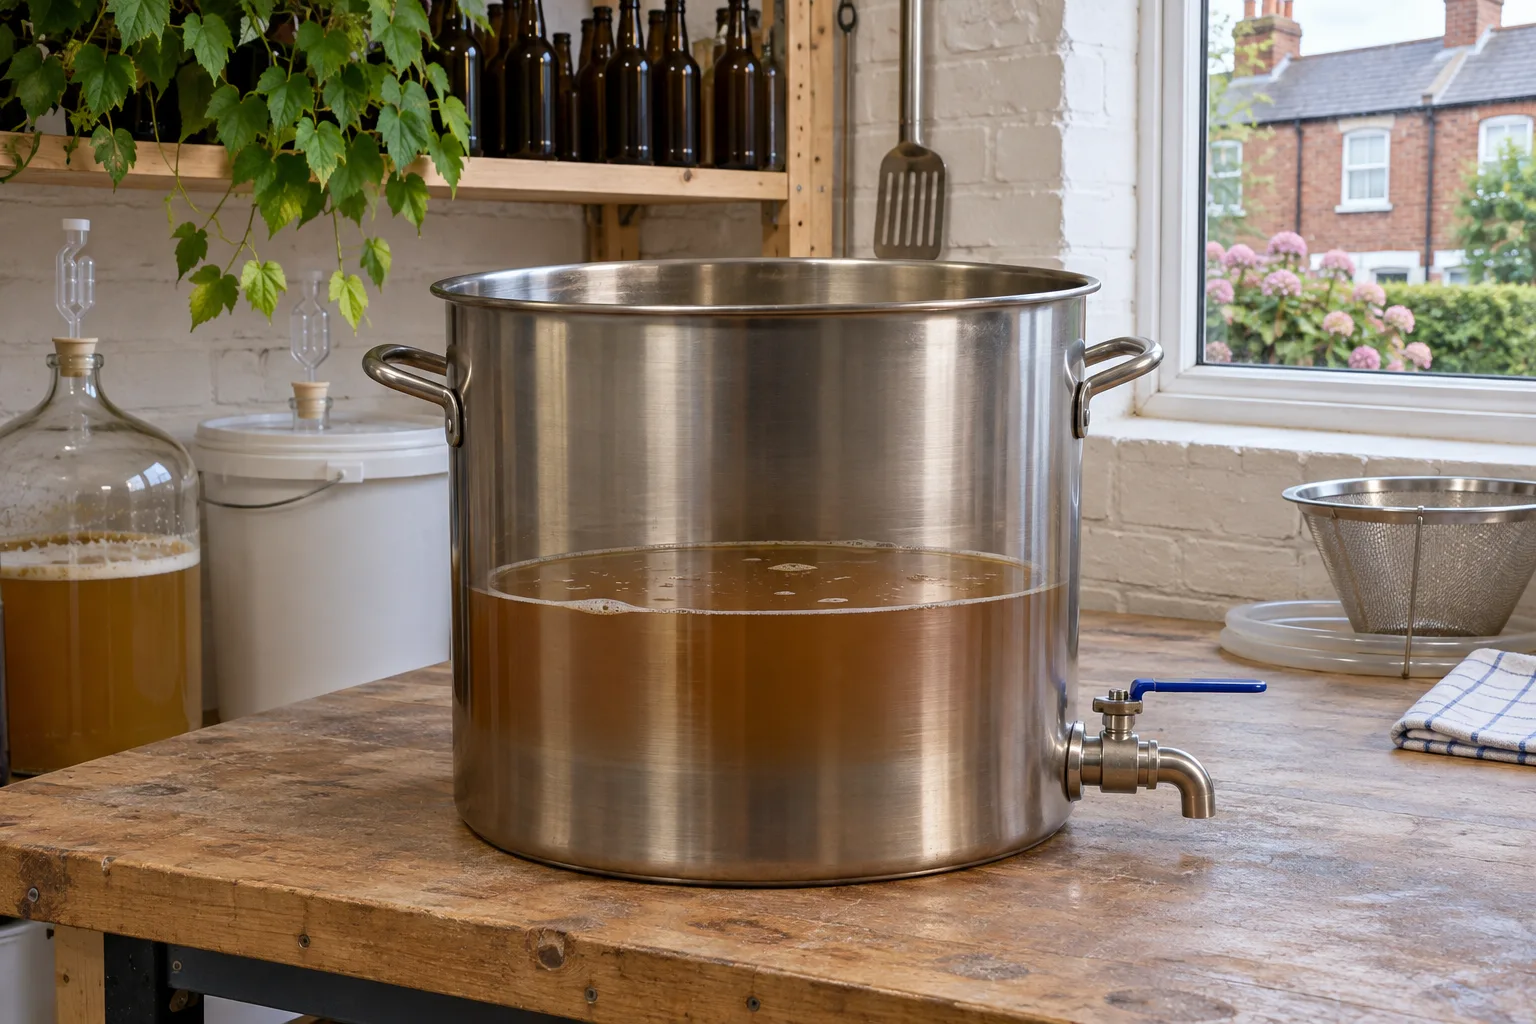
A 15L kettle makes sense when you deliberately brew small full-volume batches and value an ordinary kitchen footprint. For a modest 5–8L into the fermenter, a pre-boil quantity around 8–11L might leave room for a controlled boil, depending on the pot and recipe. Measure the actual rim-to-liquid clearance rather than accepting that estimate blindly. Small batches are useful for trying a recipe before committing a larger quantity of ingredients or bottles.
The extract-brewing exception
Extract brewers can boil a concentrated portion, then top up as the recipe specifies. In that arrangement the fermenter may receive far more liquid than the kettle ever held. The pot still needs enough room for the concentrate to foam, and the top-up method must fit the recipe and your cleanliness routine. A tiny pot can also make a concentrated boil awkward to manage, so “possible” and “pleasant to use every month” are different standards.
If you are deciding between extract and all-grain rather than choosing a pot, our overview of brewing approaches covers that broader decision. This page stays with vessel size.
The small-pot trade-off
A compact kettle is easy to store and may suit a hob with limited room. Its main limit is flexibility. A recipe that needs a full-volume 20L fermenter batch is unlikely to fit once boil-off and headspace are counted. Repeatedly dividing a recipe into separate boils adds time and variability. Buy a 15L kettle because small-batch or partial-boil brewing is the plan, rather than hoping its nominal label will stretch into a conventional full-volume brew.
30L kettles: the practical middle ground
For many UK home brewers aiming at roughly 18–20L into the fermenter, 30L is the first size worth calculating. It keeps the equipment manageable in many homes while offering substantially more room than a stockpot. This is a conditional recommendation: if your recipe needs 26L pre-boil and a particular kettle’s permitted fill is 25L, that kettle is too tight for the plan despite its 30L name.
Check the working fill, not the headline
The Brewferm example above demonstrates the point clearly: 30L total, 25L maximum fill. A target near 25L before boiling leaves no spare tolerance beyond the model’s stated line. Another 30L unit may have different geometry or internal parts. Compare the published maximum working or recommended boil volume with your calculated starting volume, and prefer comfortable margin over a brim-level calculation.
If you brew with an all-in-one system, its capacity and process details may be more important than the number on a plain kettle. Our all-in-one brewing systems guide discusses that equipment decision separately. Here, the core question is whether your actual pre-boil wort fits the approved operating range.
Where 30L starts to feel cramped
A high-gravity recipe may call for a larger grain load or different water balance. A longer boil can increase evaporation. A recipe intended to package a full 20L may need more than 20L into the fermenter before fermentation losses. Any of those can push the required pre-boil amount upwards. A 30L vessel can still be right if you mostly brew ordinary batches and occasionally adjust the method; it is a poor choice if your normal recipe lives on its fill line.
50L kettles: room to grow, with trade-offs
A 50L kettle offers more space for a larger full-volume boil and more headroom for many mid-sized recipes. It is the sensible direction when measured pre-boil demand repeatedly exceeds the working limit of 30L equipment. It may also leave more room for foam and additions, provided the manufacturer approves the chosen working level and all fitted components operate as intended.
Bigger is a workflow choice
The vessel’s empty dimensions and filled weight matter. Check whether it fits its permanent brewing position, can be cleaned there, and can be stored without occupying a family kitchen for the rest of the week. A wider or taller pot may obstruct cupboards or an extractor. A 50L system can take more time and cleaning effort even when you brew a modest batch in it. Some electric systems also have a minimum liquid level for their elements or pumps; consult the specific manual before treating one vessel as ideal for both tiny and large batches.
Never plan to lift or carry a full hot vessel. Arrange a safe, stable work position and a suitable transfer method before brew day. If a proposed setup only works by moving hot wort through the house, change the setup. This guide does not cover electrical installation or burner arrangements; use the appliance instructions and qualified help where appropriate.
Future expansion without overbuying
Buying extra capacity can save a second kettle purchase if larger batches are likely. But “perhaps one day” is a weak reason to accept a vessel you cannot comfortably house or operate today. Write down the batch size you actually expect over the next year and the largest recipe you plan to brew. A 30L unit with clear margin often beats a 50L unit that turns every small brew into a storage problem.
Extract, grain and all-in-one methods change the answer
Partial-boil extract brewing
This method separates kettle volume from final fermenter volume most clearly. A smaller concentrated boil can be diluted later according to the recipe, so the minimum kettle may be far below the intended beer volume. You still need to account for boil foam, hop additions and losses within the smaller pot. Check how the recipe expects its final gravity and volume to be reached; avoid copying full-boil assumptions into a partial-boil plan.
Full-volume all-grain brewing
Here the kettle usually receives the collected sweet wort before boiling, so its working capacity must cover the actual pre-boil volume. Grain absorption occurs earlier in the process and affects how much water you start with, while kettle trub and evaporation affect what reaches the fermenter. Confusing those losses can make a nominal 30L kettle appear more generous than it is. If a grain basket sits in the same vessel during mashing, check the maker’s grain and liquid limits separately from the boil limit.
All-in-one systems
An integrated unit is a process system rather than a bare pot. Heating elements, pumps, baskets, return pipes and minimum liquid levels can all affect useful capacity. Brewtools describes its own model names by recommended maximum boil volume; another maker may use total tank volume instead. Compare like with like and follow the current manual for the exact variant. Our starter-kit picks are about getting into the hobby, not a substitute for a kettle-volume calculation.
Hob, electric, storage and handling checks
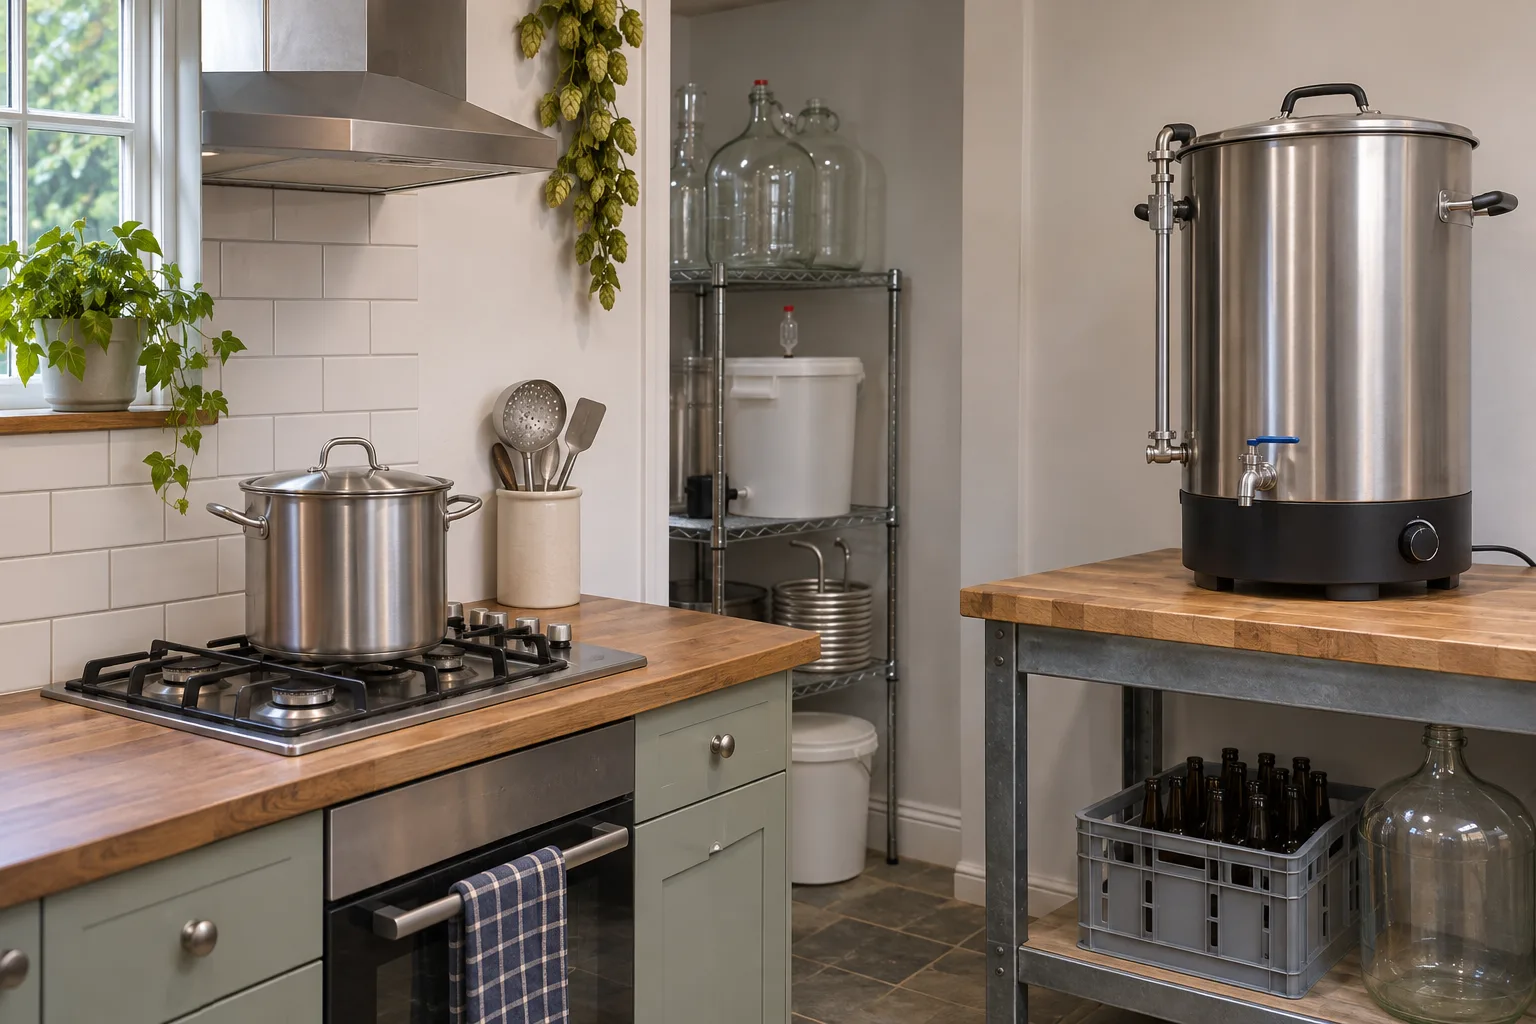
A kettle that passes the volume calculation must still fit the place where it will be used. A compact pot may sit on a suitable hob; a larger electric brewing system needs the stable work surface and clearances specified by its maker. Check the appliance dimensions, the lid or basket clearance, the route for filling and draining, and where you will clean the empty vessel. If you have to squeeze around a hot pot to reach the sink, the size is working against you.
Five checks before choosing
- Working fill: Find the maker’s recommended maximum boil or fill level for the exact model.
- Recipe volume: Calculate pre-boil liquid from your target fermenter volume, measured losses and boil-off.
- Internals: Allow for baskets, filters, elements and any minimum liquid requirement in the instructions.
- Physical fit: Measure height, width, lid clearance, storage and the stable brewing position.
- Transfer plan: Decide how cooled wort reaches the fermenter without carrying a full hot kettle.
A larger vessel also means more surface to clean. Plan that routine alongside your homebrew cleaning and sanitising equipment rather than after the first awkward brew day. The right capacity should make the whole process easier, not merely make the volume arithmetic possible.
A worked calculation and final size recommendation
Suppose your goal is 20L into the fermenter. For an illustrative recipe, allow 1L left behind with hops and trub and 3L evaporation over the chosen boil. Required pre-boil liquid is 20 + 1 + 3 = 24L. That figure still needs foam headspace and must stay inside the specific kettle’s maximum working level. A 30L model with a 25L permitted fill may work, but the margin is modest. If your measured boil-off or losses are larger, it may fail the calculation. Do a water-volume check before committing ingredients.
The numerical example is deliberately transparent so you can replace each assumption. A different target, boil length, vessel shape or transfer loss changes the answer. For 7L into the fermenter with smaller losses, a 15L kettle may be ample. For a recipe requiring more than a 30L model’s approved boil level, move up to a suitably rated larger vessel. Do not infer that “50L” means a 50L safe boil; read its own working limit.
My recommendation: choose 15L for deliberate small-batch full boils or planned partial-boil extract brewing. Choose 30L for a regular roughly 18–20L fermenter target only after your calculated pre-boil volume fits the model’s working mark with sensible foam margin. Choose 50L when your measured volumes exceed that mark regularly and the physical setup supports a larger, stationary vessel. The common mistake is buying by nominal capacity and discovering on brew day that the safe boil level is several litres lower.
Frequently Asked Questions
Can I brew 20L of beer in a 20L kettle? A full-volume brew needs more than the target fermenter volume before boiling, plus room for foam. A partial-boil extract recipe may use a smaller kettle with planned dilution.
Is a 30L brewing kettle big enough for a 20L batch? Often, but calculate the recipe’s pre-boil volume and compare it with the exact model’s maximum working fill. A 30L nominal kettle may have a lower permitted fill line.
What is the difference between kettle capacity and working volume? Nominal capacity describes the vessel’s total volume. Working volume is the level its maker allows for use, which may leave space for foam, fittings and safe operation.
Should I buy a 50L kettle for small batches? Only if the exact equipment supports low-volume operation and you have the space to use and clean it. Extra capacity is most useful when you plan larger full-volume brews.
How do I estimate pre-boil volume? Add your desired fermenter volume, expected kettle loss and expected evaporation. If your goal is packaged beer, include expected fermenter loss first; measure your own process over several brews.
Can I carry a full kettle after boiling? Plan the setup so you never need to carry a full hot vessel. Use a stable brewing position and follow the equipment’s instructions for cooling and transferring wort.