Setting up a home brewery on a budget is mostly about resisting shiny kit. You need somewhere clean to work, one reliable fermenter, basic measuring tools, bottles, sanitiser and a way to keep the beer at a steady temperature.
In This Article
- Home Brewery on a Budget: What You Actually Need
- Choose the Brewing Space Before You Buy Kit
- The £75-£120 Starter Setup
- What to Buy Used and What to Buy New
- Fermentation Control Without Expensive Gear
- Bottling, Storage and Hidden Costs
- Upgrade Path: Where Extra Money Helps
- Frequently Asked Questions
Home Brewery on a Budget: What You Actually Need
A budget home brewery is not a miniature pub. It is a small, repeatable setup that lets you make beer safely, cleanly and without turning the kitchen into a sticky obstacle course.
For a first beer kit, the core setup is simple:
- A fermenter: usually a 25-30 litre plastic bucket with lid, tap and airlock.
- A way to clean and sanitise: cleaner for grime, no-rinse sanitiser for contact surfaces.
- A way to measure fermentation: hydrometer, trial jar and thermometer.
- A way to move beer: siphon tube or bottling wand.
- A way to package it: bottles, caps and capper, or PET screw-top bottles.
- A stable place to ferment: ideally 18-22°C for most ale kits.
That is enough. Not glamorous, but enough.
The Young’s beer-making equipment catalogue is a useful benchmark because it shows the sensible basics: fermenting vessels, airlocks, siphons, hydrometers, cappers and cleaning equipment. You do not have to buy one brand, but it shows the shape of a proper starter setup.
Set a realistic first-brew budget
For UK beginners, I would split the budget like this:
- £75-£90: bare-bones setup if you reuse bottles and avoid extras.
- £100-£120: better beginner setup with capper, bottles, hydrometer, sanitiser and fewer annoyances.
- £150-£200: comfortable setup with temperature help, bottle drying rack and spare fermenter.
- £300+: only if you already know you want all-grain brewing or an electric all-in-one system.
The sweet spot is about £100-£120 before ingredients. Spend less than £70 and you usually end up missing something boring but important. Spend £300 on day one and you may discover you enjoy drinking beer more than cleaning fermenters. No shame in that; cleaning is half the hobby.
If you want a kit-ranking article, use our best home brewing starter kits guide. This article is about building the setup around the kit so you do not waste money twice.
Choose the Brewing Space Before You Buy Kit
The cheapest home brewery is the one that fits your house. Measure the space before buying anything, because a 30 litre fermenter is bigger and more awkward than it looks online.
The kitchen is easiest, but not always best
A kitchen gives you a sink, worktop, hot water and easy clean-down. For extract beer kits, that is usually enough. The problem is family traffic, cooking smells, pets, toddlers, and the fact that a fermenter full of beer is not something you want nudged by a chair leg.
If you brew in the kitchen, choose a worktop near the sink, clear the draining board, and put towels down before you start. A sticky malt extract spill finds cupboard edges with impressive commitment.
Utility room, garage or cupboard
A utility room is often better if it holds a steady temperature. A garage can work in spring and autumn, but UK garages swing cold in winter and hot in summer. A cupboard under the stairs can be excellent for fermentation if it sits around 18-20°C and has enough floor space.
Check three things:
- Water access: you need to rinse, clean and fill equipment without carrying sloshing buckets through the house.
- Temperature: most ale yeasts behave best around 18-22°C; too cold stalls fermentation, too warm can produce harsh flavours.
- Clean storage: bottles, caps, siphons and sanitiser need a dust-free box or shelf.
If your only option is a cold garage, budget for a heat belt or heat pad from the start. The Malt Miller lists 30 watt heat belts at around £16.20, while basic heat pads are commonly £18-£30 from Brew2Bottle, Love Brewing or Amazon UK.
Protect floors and relationships
Fermenters can drip from taps. Siphons can jump. Bottles can foam. Put the fermenter in a cheap plastic storage crate or builders’ tray. B&Q and Wickes sell mixing trays and storage tubs in the £8-£20 range, and they are less annoying than explaining malt syrup on a carpet.
If you are brewing in shared space, agree where the fermenter will sit for two weeks. Moving it daily stirs sediment and increases the chance of leaks. Also, the airlock bubbling is fun for about ten minutes, then it becomes background plumbing theatre.
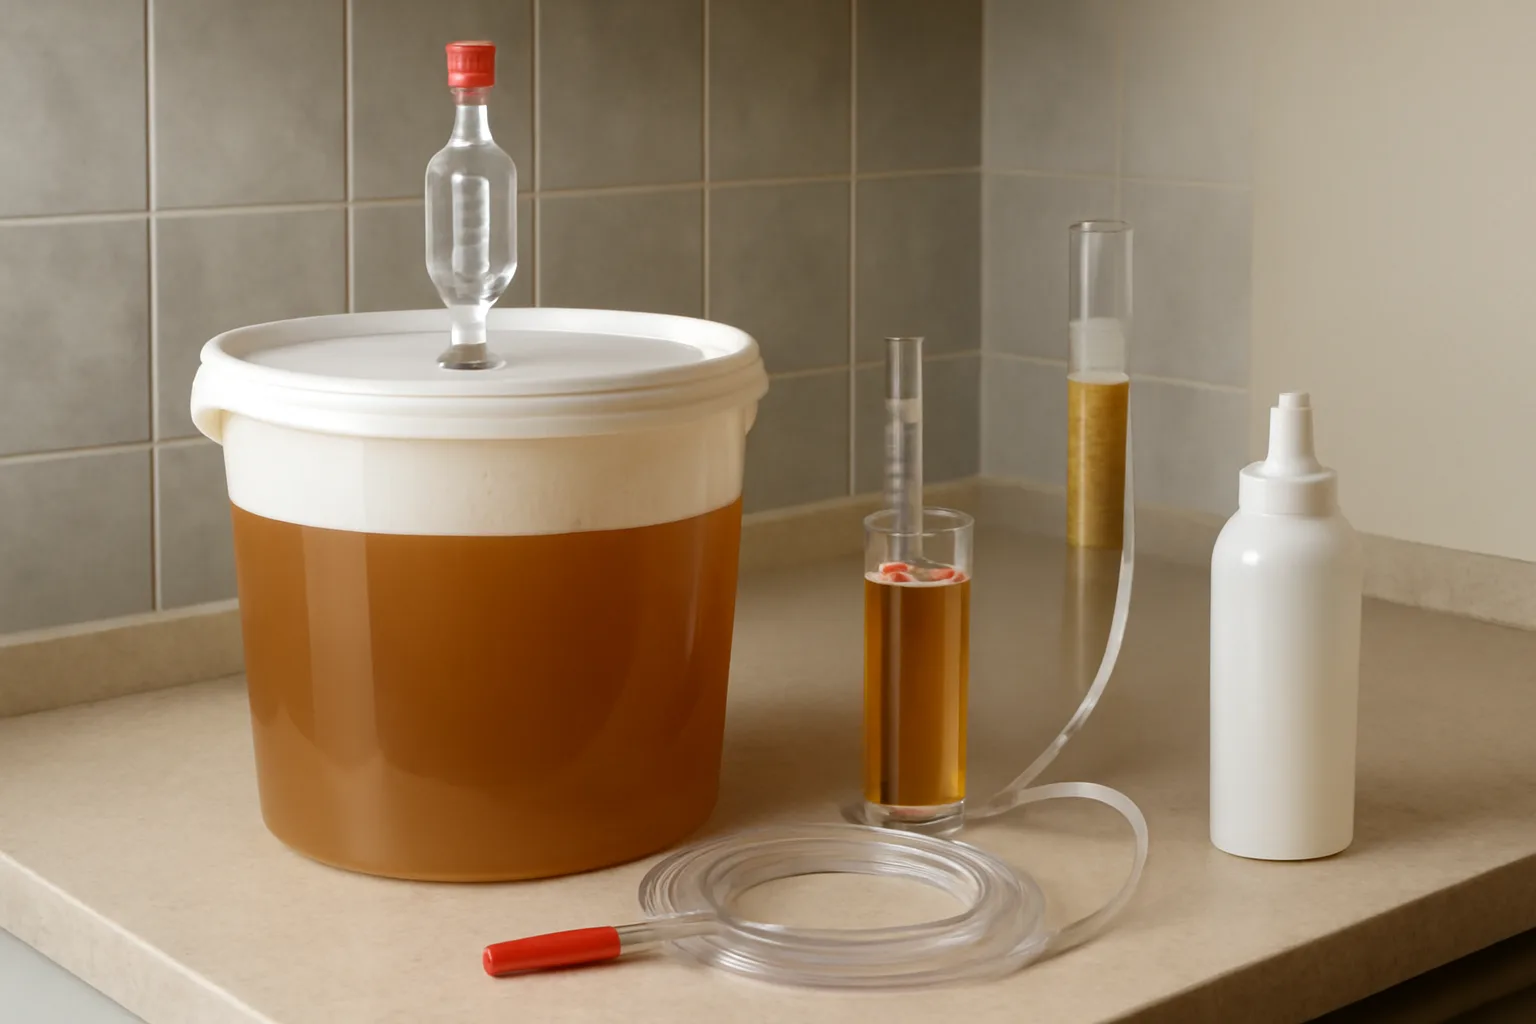
The £75-£120 Starter Setup
Here is the budget setup I would buy if starting again and trying to keep costs sensible. Prices move, but these are realistic UK ranges from homebrew shops, Amazon UK and general retailers.
Fermentation basics
Buy these new:
- 30 litre fermenting bucket with lid, tap and airlock: £12-£22. A bucket with a tap is worth the small extra cost.
- Hydrometer: £5-£8. You need it to know fermentation has finished, not just to calculate ABV.
- Trial jar: £4-£6. Some people use the hydrometer tube, but a proper jar is easier.
- Long brewing spoon or paddle: £4-£8. A normal wooden spoon is too short and harder to sanitise well.
- Stick-on thermometer strip: £2-£4. Cheap, imperfect, useful.
The fermenter is where I would avoid the absolute cheapest no-name option. A thin lid that never seals or a tap that drips is not a bargain. A Young’s, Ritchies, Brew2Bottle or The Malt Miller bucket is usually fine.
Cleaning and sanitising
This is not where to save £3. Cleaner removes dirt and residue. Sanitiser deals with microbes on already-clean surfaces. They are not the same job.
Budget for:
- No-rinse sanitiser: Chemsan or Star San-style products, about £4-£8 for a small bottle.
- Cleaner: Chemclean, VWP or PBW-style cleaner, roughly £4-£10 depending on size.
- Bottle brush: £3-£6 if reusing glass bottles.
- Spray bottle: £1.50-£3 from a supermarket or Screwfix, useful for sanitiser.
Our guide to cleaning and sanitising homebrew equipment goes deeper, but the short version is simple: clean first, sanitise second, and do not trust anything that was “probably rinsed last time”.
Bottling basics
Bottling is where cheap setups often fall over. You can ferment beer for £40 of equipment, then realise you have nowhere sensible to put it.
For glass bottles:
- Crown capper: £12-£18 for a twin-lever capper.
- Crown caps, 100-200 pack: £3-£6.
- Bottling wand: £4-£7.
- Siphon tube or auto-siphon: £5-£15.
For PET bottles:
- Reusable PET beer bottles: roughly £12-£20 for 24 x 500ml.
- Replacement screw caps: £3-£6 for a pack.
PET is not elegant, but it is practical. It is light, cheap and lets you squeeze the bottle to feel carbonation building. If you want glass, start collecting brown beer bottles early and avoid twist-off bottles because they do not cap as reliably.
For a fuller bottling setup, see our homebrew bottling equipment guide. On a tight budget, prioritise the bottling wand and capper before bottle trees or drying racks.
What to Buy Used and What to Buy New
Second-hand brewing kit can save money, but hygiene matters. Anything scratched, porous or hard to clean can carry old residue into a new batch.
Buy used with care
These are usually safe second-hand if clean and undamaged:
- Large stainless stockpot: £20-£50 used, versus £35-£80 new for a 15-20 litre pot.
- Bottle tree: £8-£15 used, versus £18-£30 new.
- Crown capper: £5-£12 used, versus £12-£18 new.
- Plastic crates: £3-£10 used or from household storage.
- Old fridge for temperature control: £30-£80 on Facebook Marketplace, if clean and working.
Stainless steel is forgiving because it does not scratch as easily as plastic and can be cleaned hard. Used bottle trees and cappers are fine if they are not rusty or grimy.
Buy new for hygiene-critical plastic
Buy these new unless you know exactly how they were treated:
- Fermenting bucket: scratches inside plastic can hold residue.
- Siphon tubing: cheap enough to replace and impossible to inspect properly.
- Bottling wand: small valves are fiddly to clean.
- Airlocks and bungs: low cost, easy to start fresh.
- Bottle brush: not worth inheriting someone else’s dried yeast museum.
This is where the budget advice sounds boring because it is. A £16 new fermenter is better than a free scratched bucket that ruins a £25 beer kit.
Ingredient kits are not equipment
Do not forget ingredients. A basic beer kit can cost £15-£25. Better two-can kits and premium pouches often sit around £25-£40. If your total budget is £100, do not spend all £100 on equipment and then act surprised when there is no beer.
If you are not sure what style to make first, our beer recipe kit guide compares IPA, stout and lager-style options. For a first brew, I would avoid lager unless you can control temperature; an ale kit is more forgiving in a normal UK house.
Fermentation Control Without Expensive Gear
Temperature control is the boring upgrade that improves beer faster than most shiny gadgets. You do not need a stainless conical fermenter. You need stable yeast conditions.
The cheap temperature ladder
Start with the free option: choose the right room. Put the fermenter somewhere that sits close to 18-20°C for ales. Avoid sunny windows, radiators, boiler cupboards and unheated garages in January.
Then move up only as needed:
- Thermometer strip: £2-£4, enough to spot obvious swings.
- Insulation wrap or old towel: free to £10, useful for smoothing daily temperature changes.
- Heat belt or heat pad: about £16-£30, useful in cold rooms.
- Inkbird ITC-308 controller: about £35-£45, lets you control a heat belt or fridge more accurately.
- Used fridge fermentation chamber: £30-£80 for the fridge plus controller, excellent but bulky.
The biggest mistake is buying a heat belt and leaving it on constantly. That can push the beer too warm. If the room is 15°C, a belt helps. If the room is already 21°C, it may make things worse.
Use yeast temperature ranges
Most beer-kit instructions give a fermentation range. Treat it as a real range, not decorative printing. If the kit says 18-22°C, aim for the middle and avoid daily swings. Fermentation itself creates heat, so the beer can be warmer than the room.
Our article on using a hydrometer explains how to check fermentation progress. Bubbles in the airlock are entertaining, but stable hydrometer readings are the better evidence that fermentation has finished.
Keep commercial lines clear
Budget brewing at home is one thing. Selling alcohol is another. If you ever move beyond personal homebrew, GOV.UK’s commercial brewing rules explain that Alcohol Duty, VAT and excise requirements apply when beer is brewed commercially. For normal home use, the practical point is simpler: do not sell bottles from the garage because mates said they would pay.
Bottling, Storage and Hidden Costs
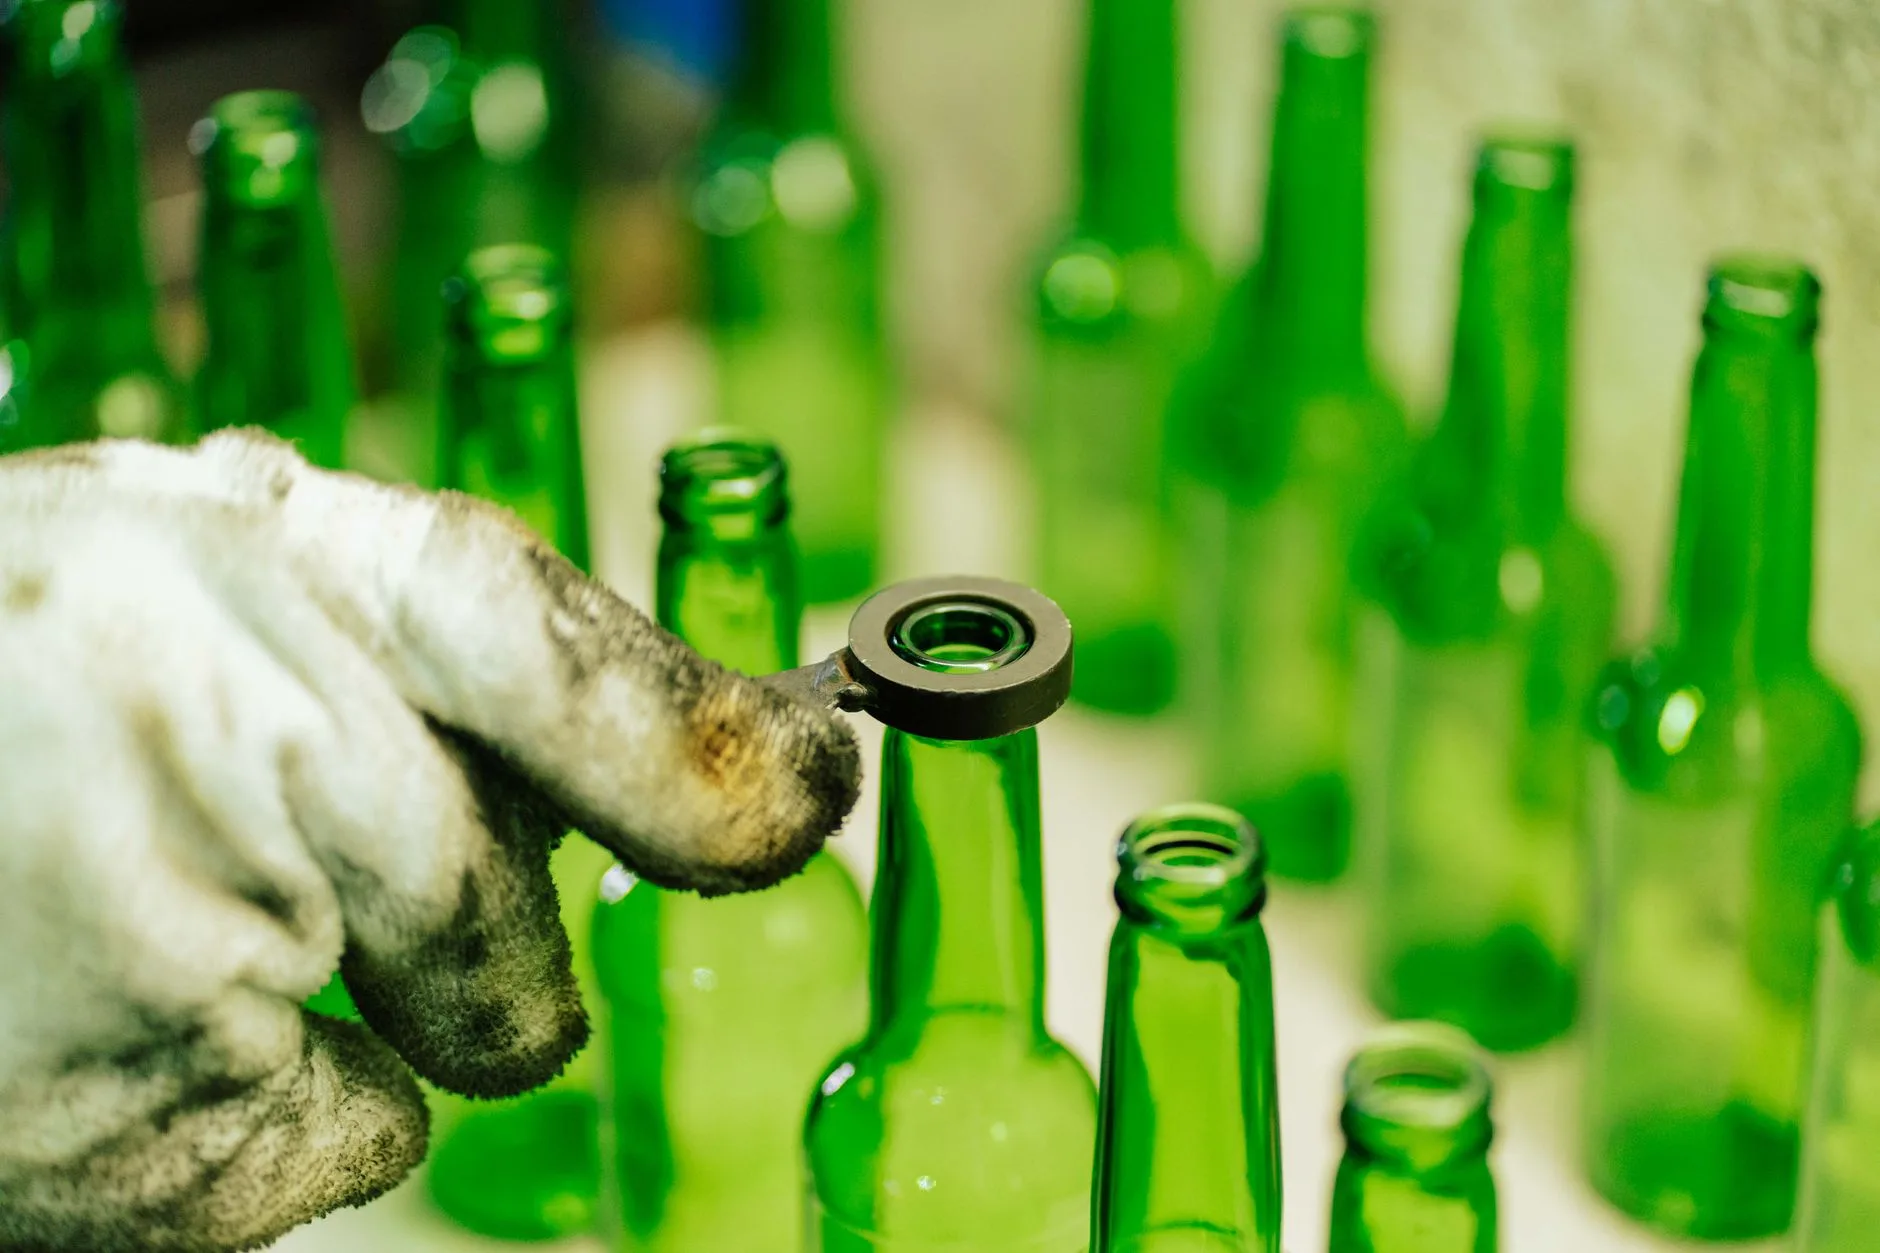
The equipment list rarely includes the awkward bits: where the bottles go, how long they condition, and what happens when one over-carbonates.
Bottle count and storage space
A 23 litre beer kit fills roughly 40-46 x 500ml bottles, depending on losses and how much sediment you leave behind. That is more bottles than most people picture. You need somewhere dark, upright and reasonably stable in temperature.
Budget options:
- Reused brown glass beer bottles: free if you drink suitable beer and clean them promptly.
- New glass bottles: often £18-£30 for 24 x 500ml.
- PET bottles: about £12-£20 for 24 x 500ml.
- Plastic storage crates: £6-£15 each from B&Q, IKEA, Really Useful Box or supermarkets.
Brown glass is better than clear glass because it protects beer from light. Clear bottles are fine for short-term storage in a dark cupboard, but they are not my first choice.
Priming sugar and carbonation
You also need priming sugar. Brewing sugar is usually £2-£4 for a 500g bag, and carbonation drops are about £3-£6 a pack. Drops are convenient but cost more per batch. Sugar and a measured spoon are cheaper.
Do not over-prime. More sugar does not mean better beer; it means gushers or, rarely, bottle bombs. If the beer has not finished fermenting, bottling it early adds another pressure risk. This is why the hydrometer earns its £5-£8 place in the budget.
Cleaning time is a real cost
Homebrew saves money only if you count your time as part of the hobby. Cleaning 40 bottles is not difficult, but it is not romantic. Rinse bottles immediately after drinking, store them upside down, then clean and sanitise on bottling day.
If you hate bottling after two batches, consider a pressure barrel. A basic 5 gallon pressure barrel is about £35-£55. It is easier than bottling, but it suits some beer styles better than others and takes fridge/cupboard space. Kegging is lovely, but our homebrew kegging kit guide exists for a reason: it gets expensive quickly.
Upgrade Path: Where Extra Money Helps
The best budget upgrade path is staged. Brew two or three batches, find the annoying bit, then spend money there.
First £30 upgrade
Buy better cleaning and bottling gear:
- Auto-siphon: £12-£18 if your basic siphon annoys you.
- Bottle rinser: £12-£20 if you bottle often.
- Bottle tree: £18-£30 if drying space is a pain.
- Spare fermenter: £12-£22, useful for batch timing or secondary transfers.
I would choose the spare fermenter or bottle rinser first, depending on where your current setup slows you down.
First £75 upgrade
Improve fermentation temperature. A used fridge plus Inkbird controller can be done for roughly £70-£125 if you are patient with Marketplace. It makes more difference to repeatability than a fancy stainless fermenter.
If you cannot store a fridge, buy a heat belt and controller for about £50-£75 combined. That is enough to tame winter fermentation in many UK houses.
First £300 upgrade
Only consider an electric all-in-one brewing system after you know you enjoy brewing. A 30 litre Klarstein, Brew Monk, Grainfather-style or similar all-in-one can range from about £250 to £700+. It opens the door to all-grain brewing, but it also needs cleaning, storage, sparging gear, grain handling and a longer brew day.
Our all-in-one brewing systems guide covers that decision properly. My view: if you are still brewing extract kits, spend on temperature control and bottling comfort first.
My budget recommendation
For most first-time UK brewers, I would buy:
- 30 litre tapped fermenter kit: about £35-£60 if it includes hydrometer, spoon and sanitiser.
- PET bottles or reused brown glass plus capper: £15-£35 depending on route.
- No-rinse sanitiser and cleaner: £8-£15.
- Thermometer strip and heat belt if needed: £2-£30.
- First beer ingredient kit: £18-£30.
That puts a sensible first setup around £100-£140 including ingredients, or less if you already have bottles. It will not impress anyone on YouTube. It will make beer, teach you the process, and show you exactly where your next £30 should go.
Frequently Asked Questions
How much does it cost to set up a home brewery in the UK? A sensible first setup usually costs £75-£120 before ingredients, or around £100-£140 including a basic beer kit. You can spend less by reusing bottles, but do not skip sanitiser, hydrometer or a decent fermenter.
Can I brew beer at home without a garage? Yes. A kitchen, utility room or cupboard can work if you have clean water access, stable temperature and enough space for a fermenter to sit undisturbed for one to two weeks.
What should I buy new for homebrewing? Buy hygiene-critical plastic new: fermenting bucket, siphon tubing, bottling wand, airlocks and bungs. Used stainless pots, bottle trees, cappers and storage crates are usually safer second-hand buys.
Is a starter kit cheaper than buying everything separately? Often, yes. A good £35-£60 starter kit can be cheaper than buying each small item separately. The risk is buying a kit that excludes bottling gear, sanitiser or a hydrometer, so check the contents carefully.
Do I need temperature control for my first brew? Not always. If you have a room that stays around 18-20°C, you can start without extra gear. In cold garages or warm summer rooms, a heat belt, controller or cooler location becomes more important.
Should I buy an all-in-one brewing system straight away? Usually no. Brew a few extract or beer-kit batches first. If you enjoy the cleaning, timing and storage side, then an all-in-one system may be worth considering later.