Accurate gravity readings tell you whether fermentation is active, stalled or finished. Airlock bubbles are only a clue; a hydrometer, refractometer or digital floating sensor gives you the numbers you need to avoid bottling too early, miscalculating ABV or missing a stuck fermentation.
Quick Answer: Take a sanitised hydrometer sample, read it at eye level, correct for temperature if needed and wait for the same final gravity reading over 2-3 days before packaging. Use refractometers carefully after fermentation starts because alcohol changes the reading, and keep clear notes of original gravity, final gravity and temperature. For stronger beers or commercial planning, remember that gravity and ABV calculations also affect UK beer-duty records under HMRC beer duty guidance.
In This Article
- What Gravity Readings Actually Tell You
- Original Gravity vs Final Gravity
- Hydrometers: The Traditional Method
- Refractometers: Faster But With a Catch
- Digital Hydrometers and Continuous Monitoring
- How to Take a Hydrometer Reading Step by Step
- Temperature Correction: Why It Matters
- When to Take Gravity Readings
- Calculating Alcohol Content
- Common Gravity Reading Mistakes
- Troubleshooting Unexpected Readings
- Frequently Asked Questions
What Gravity Readings Actually Tell You
Gravity measures the density of your wort or beer compared to pure water. Water has a specific gravity of 1.000. When you dissolve sugars in water (by mashing grain or adding malt extract), the density increases — a typical ale wort might read 1.045-1.060 before fermentation.
Why Density Changes During Fermentation
Yeast eats sugar and produces alcohol and CO2. Alcohol is lighter than water, so as fermentation progresses, the density drops. When fermentation is complete, the gravity stabilises at a lower number — typically 1.008-1.014 for most ales.
The Three Things Gravity Tells You
- Whether fermentation has started — if the gravity drops from your starting number within 24-48 hours, yeast is active
- Whether fermentation is complete — two identical readings 48 hours apart means it’s done
- The alcohol content — the difference between original and final gravity lets you calculate ABV precisely
Without gravity readings, you’re flying blind. Airlock activity is not a reliable indicator — it can slow down while fermentation continues, or it can stop entirely while the gravity is still dropping. Trust the numbers, not the bubbles.
Original Gravity vs Final Gravity
Original Gravity (OG)
This is the gravity of your wort before you add yeast. You take this reading after the boil, once the wort has cooled to pitching temperature. It tells you how much fermentable sugar is available.
- Light session ales: OG 1.035-1.042
- Standard bitters and pale ales: OG 1.040-1.055
- IPAs and stronger ales: OG 1.055-1.075
- Imperial stouts and barley wines: OG 1.080-1.120
If your OG is lower than expected, your mash efficiency was poor — you didn’t extract enough sugar from the grain. If it’s higher, you extracted more than planned (or boiled off more water than intended, concentrating the wort).
Final Gravity (FG)
This is the gravity after fermentation is complete. Most of the sugar has been consumed, but some unfermentable sugars remain — these give the beer body and mouthfeel.
- Dry beers: FG 1.006-1.010
- Medium body: FG 1.010-1.014
- Full-bodied beers: FG 1.014-1.020
Attenuation
The percentage of sugar consumed is called attenuation. Most ale yeasts achieve 70-80% apparent attenuation. If your recipe expects 75% attenuation and you’re only hitting 60%, something went wrong — possibly the mash temperature was too high, creating more unfermentable sugars.
Hydrometers: The Traditional Method
A hydrometer is a sealed glass tube with a weighted bottom and a graduated scale. You float it in a sample of your beer and read the scale at the liquid’s surface. They cost about £8-15 from any homebrew supplier and they work brilliantly.
Types of Hydrometer Scale
- Specific gravity (SG): The standard scale, reading from about 0.990 to 1.170. This is what most UK recipes and brewing software use
- Brix/Plato: Measures sugar content as a percentage by weight. Popular with commercial brewers and winemakers. One Brix is roughly equal to 4 SG points (1° Brix ≈ SG 1.004)
- Potential alcohol: Some hydrometers have a third scale showing estimated ABV — handy but less precise than calculating from OG and FG
Recommended Hydrometers
- Stevenson Reeves triple-scale hydrometer (about £10-12 from The Malt Miller or Amazon UK) — the standard choice. SG, Brix, and potential alcohol on one instrument
- Precision-grade lab hydrometers (about £15-25) — narrower SG range (e.g., 1.000-1.070) for more precise readings. Worth having if you brew regularly
- Thermohydrometer (about £20-30) — has a built-in thermometer so you can take temperature-corrected readings without a separate thermometer
Refractometers: Faster But With a Catch
A refractometer measures gravity by shining light through a few drops of liquid. You place a drop on the prism, close the cover, and read the scale through the eyepiece. Results in seconds, and you only need a tiny sample. For a related angle, see our Best Homebrew pH Meters 2026 UK: Accurate Water Chemistry guide.
The Alcohol Problem
Refractometers work perfectly for pre-fermentation readings (OG). After fermentation starts, alcohol changes the refractive index, making the reading inaccurate. You need to use a correction calculator to convert the refractometer reading to actual gravity.
When to Use a Refractometer
- Sparging: Check the gravity of runoff during the sparge to know when to stop. A refractometer is perfect here because you only need a drop
- Pre-boil and post-boil gravity: Quick checks during brew day without pulling large samples
- Fermentation tracking: Possible but requires correction — a standard hydrometer is simpler for FG readings
What to Buy
The generic refractometers on Amazon (about £15-25 with “ATC” — automatic temperature compensation) work fine for homebrewing. No need to spend £80+ on a lab-grade model unless you’re brewing commercially.
Digital Hydrometers and Continuous Monitoring
The Tilt Hydrometer
The Tilt (about £100-120) is a wireless digital hydrometer that floats in your fermenter and sends gravity and temperature readings to your phone via Bluetooth. It logs data continuously, so you can track fermentation in real time without opening the fermenter.
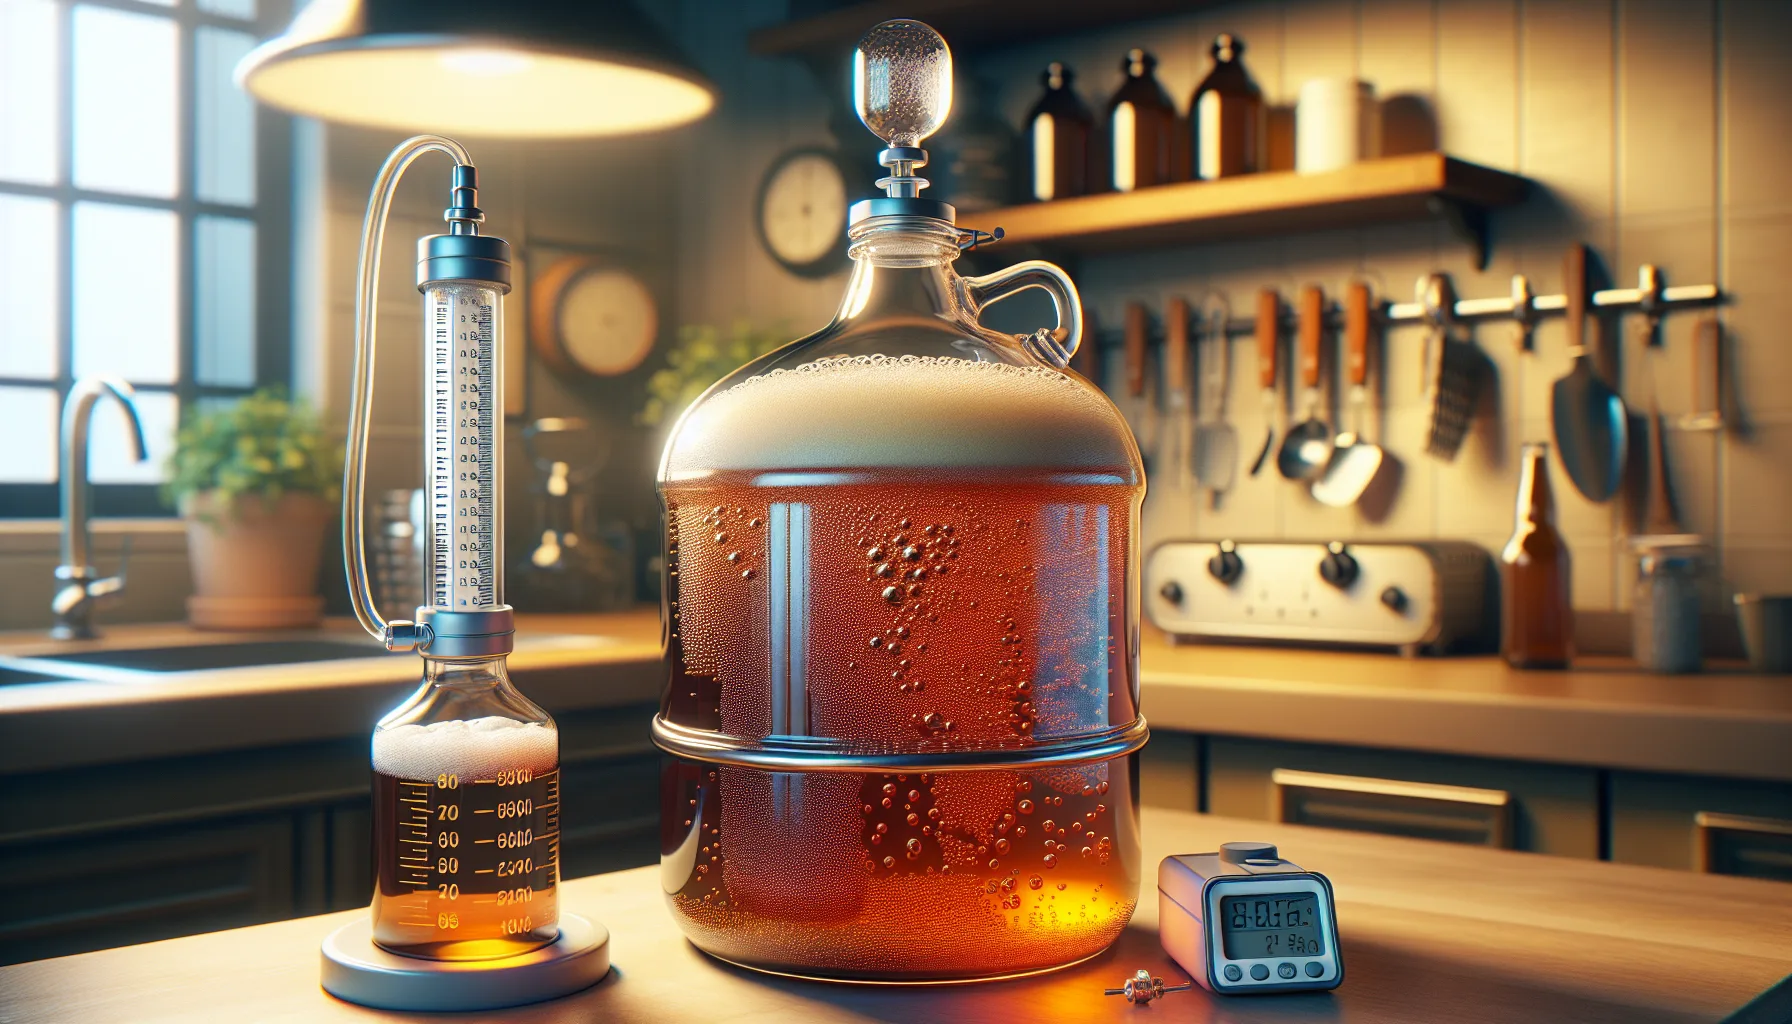
A floating digital hydrometer is useful because it shows the fermentation curve without repeatedly opening the fermenter. It lets you see when fermentation starts, slows and flattens, although the absolute reading can be slightly less precise than a well-used traditional hydrometer.
The iSpindel
The iSpindel is a DIY digital hydrometer you build yourself from about £30-40 in components. It does the same job as the Tilt but logs to a cloud dashboard (Ubidots, Brewfather, or your own server). Popular with the more technical homebrewing crowd.
Are Digital Hydrometers Worth It?
For your first few batches, no. Learn with a traditional hydrometer first — you need to understand what the numbers mean before automating the measurement. After 10+ brews, a Tilt or iSpindel is a worthwhile upgrade that reduces contamination risk (no opening the fermenter to pull samples) and gives you better data.
How to Take a Hydrometer Reading Step by Step
Equipment Needed
- Hydrometer — clean and dry
- Trial jar — a tall, narrow cylinder that holds enough liquid to float the hydrometer (about 200-250ml)
- Thermometer — unless your hydrometer has one built in
- Wine thief or turkey baster — for extracting a sample from the fermenter
- Sanitiser — Star San or VWP for everything that touches the beer
The Process
- Sanitise your trial jar, wine thief, and hydrometer with Star San or your preferred no-rinse sanitiser
- Draw a sample from the fermenter — enough to fill the trial jar to about 80% full
- Pour gently to avoid creating foam, which makes reading difficult
- Lower the hydrometer into the sample slowly, letting it settle naturally. Don’t drop it — they’re fragile
- Give it a gentle spin to dislodge air bubbles clinging to the glass. Bubbles make it float higher, giving a falsely low reading
- Wait until the hydrometer is completely stationary. Bobbing gives an inaccurate reading
- Read the scale at the bottom of the meniscus (the curved surface of the liquid), not the top. The meniscus curves upward where it meets the glass — read at the flat bottom
- Note the temperature of the sample. If it’s not at the hydrometer’s calibration temperature (usually 20°C), apply a temperature correction
Reading Tips
- Eye level: Position your eye at the same height as the liquid surface. Looking down reads high; looking up reads low
- Lighting: Good light behind the trial jar makes the scale easier to read
- Multiple readings: Take three readings and average them for the most accurate result
- Don’t return the sample: Once beer is in the trial jar, taste it for off-flavours, then discard. Pouring it back risks contamination
Temperature Correction: Why It Matters
Hydrometers are calibrated at a specific temperature — usually 20°C (68°F) in the UK. Liquid density changes with temperature: warmer liquid is less dense, so the hydrometer floats lower, giving a reading that’s too low. Cooler liquid is denser, making the hydrometer float higher, reading too high.
How Much Difference Does Temperature Make?
At 30°C (common if you’re testing wort that hasn’t fully cooled), the error is about 0.002 SG. That might not sound like much, but it’s the difference between an ABV of 4.5% and 4.8%. Over several readings, uncorrected temperatures can lead to wrong conclusions about fermentation progress. Our Wine Fermentation Explained: What’s Actually Happening guide is useful alongside this.
Correction Table
- 15°C: Subtract 0.001 from your reading
- 20°C: No correction needed (calibration temperature)
- 25°C: Add 0.001 to your reading
- 30°C: Add 0.002 to your reading
- 35°C: Add 0.004 to your reading
Most brewing apps (Brewfather, BeerSmith, Brewer’s Friend) have built-in temperature correction calculators. Use them — it takes two seconds and removes guesswork.
The Easy Solution
Cool your sample to 20°C before testing. Put the trial jar in a bowl of cold water for a few minutes. It’s slower but eliminates correction maths entirely.
When to Take Gravity Readings
Brew Day
- Pre-boil: After sparging, before the boil. Helps you calculate boil-off and adjust volume
- Post-boil (OG): After the boil, once cooled to pitching temperature. This is your original gravity — the most important reading of the entire brew
During Fermentation
- 48 hours after pitching: Your first check. The gravity should have dropped noticeably if fermentation is active. If it hasn’t moved, you may need to re-pitch yeast
- Days 5-7: Mid-fermentation check. The bulk of sugar consumption happens in the first few days
- When airlock activity slows: Not because airlock activity is reliable, but because it’s a convenient prompt to take a reading
Before Packaging
- Two readings, 48 hours apart: If both readings are identical and at or near your target FG, fermentation is complete. This is the only safe way to confirm fermentation is done
- Never rely on a single reading. The beer might pause and restart. Two matching readings 48 hours apart is the gold standard
It’s worth understanding that how fermentation works links directly to the vessel you’re fermenting in — temperature control, headspace, and sampling access all affect your readings.
How Many Readings Is Too Many?
Every time you open the fermenter and insert a wine thief, you risk contamination. Keep it to 3-4 readings total during fermentation: one at 48 hours, one mid-fermentation, and two pre-packaging checks. If you’re using a Tilt or iSpindel, this isn’t a concern since you never open the fermenter.
Calculating Alcohol Content
The formula is simple:
ABV = (OG – FG) × 131.25
For example, if your OG is 1.050 and your FG is 1.012:
ABV = (1.050 – 1.012) × 131.25 = 0.038 × 131.25 = 4.99%
That’s a standard-strength session ale — right in the sweet spot for a British bitter.
Why This Matters Beyond Curiosity
In the UK, beer duty rates are based on alcohol content. If you’re brewing for a club or competition, accurate ABV is essential for entry categories. And if you’re sharing your beer, people deserve to know how strong it is — especially if your “session pale” accidentally came out at 6.5%.
Alternative Calculation
Some brewers prefer the more precise formula:
ABV = (76.08 × (OG – FG) / (1.775 – OG)) × (FG / 0.794)
This accounts for the non-linear relationship between gravity and alcohol at higher ABV levels. For beers under 7%, the simple formula is close enough. Above 7%, use the alternative.
Common Gravity Reading Mistakes
Reading the Wrong Part of the Meniscus
The meniscus is the curve where liquid meets the glass hydrometer stem. Beginners often read the top of the curve. Read the bottom — where the liquid surface would be if the glass wasn’t there. The difference is about 0.002 SG, which matters.
Not Sanitising Equipment
Everything that touches your beer after the boil needs sanitising. A dirty wine thief can introduce bacteria that stall fermentation or produce off-flavours. Star San is cheap, effective, and no-rinse — there’s no excuse for skipping it.
Taking Readings Too Often
Opening the fermenter five times during a 10-day fermentation is excessive. Each opening introduces air and contamination risk. Three to four readings total is plenty for standard ales.
Ignoring Temperature
This bears repeating: a reading at 30°C is not the same as a reading at 20°C. Either cool the sample or apply the correction. Consistent temperature measurement is more important than precise correction; if you always test at the same temperature, the relative change is accurate even if the absolute number is slightly off.
Assuming the Hydrometer Is Accurate
New hydrometers should be checked in distilled water at their calibration temperature. If it reads exactly 1.000, it’s accurate. If it reads 1.002, note the offset and subtract 0.002 from every subsequent reading. Hydrometers are mass-produced glass instruments — they’re not always perfect.
Troubleshooting Unexpected Readings
OG Is Too Low
- Mash temperature was off — too cool (below 62°C) can reduce starch conversion
- Sparge water volume was too high — diluting the wort
- Grain crush was too coarse — poor extraction. Adjust your mill next time
- Solution: Add dry malt extract to the kettle before the boil to bring OG up to target
OG Is Too High
- Boil was longer than planned — more water evaporated, concentrating sugars
- Sparge was cut short — less water, higher concentration
- Solution: Add pre-boiled, cooled water to dilute to your target
FG Is Too High (Stuck Fermentation)
- Temperature dropped too low — yeast went dormant. Warm the fermenter to 20-22°C
- Yeast health was poor — old yeast, insufficient cell count, or no oxygenation of wort before pitching
- Mash temperature was too high — created unfermentable dextrins. Nothing you can do now except blend or accept a sweeter beer
- Solution: Rouse the yeast by gently swirling the fermenter. If still stuck after 48 hours, pitch fresh yeast
For new brewers, understanding the basics of the process from start to finish will help gravity readings make more sense. Our beginners’ brewing guide walks through the full process.
FG Is Too Low
- Wild yeast or bacteria infection — these organisms can ferment sugars that brewer’s yeast can’t, producing a bone-dry beer with possible off-flavours
- You used a highly attenuative yeast — some strains (especially Belgian and saison yeasts) can drop to 1.002-1.004
- Mash temperature was too low — created mostly fermentable simple sugars
Gravity Won’t Stabilise
If readings keep changing by 0.001-0.002 between checks, fermentation is still creeping along. This is common with:
- Lagers — slower fermentation at lower temperatures
- High-gravity beers — more sugar to work through
- Cool ambient temperatures — yeast activity slows
- Solution: Be patient. Wait another 48 hours and re-test. If you have a good fermentation vessel with temperature control, maintaining steady warmth will help the yeast finish the job.
Understanding your water chemistry can also affect fermentation performance — our water chemistry guide covers how pH and mineral content influence yeast health.
Frequently Asked Questions
How accurate are cheap hydrometers? Most standard homebrew hydrometers (£8-15) are accurate to within 0.001-0.002 SG, which is plenty for homebrewing. Always verify a new hydrometer by testing it in distilled water at 20°C — it should read exactly 1.000. Note any offset and apply it to all future readings.
Can I use a refractometer instead of a hydrometer? For original gravity (pre-fermentation) readings, yes — a refractometer is faster and needs less sample. For final gravity readings, alcohol in the beer distorts the refractometer reading, so you’ll need a correction calculator or a traditional hydrometer for accuracy.
How do I know fermentation is finished? Take two gravity readings 48 hours apart. If both readings are identical and at or near your expected final gravity, fermentation is complete. Never rely on airlock activity alone — airlocks can stop bubbling while the gravity is still dropping.
What happens if I bottle before fermentation is finished? The remaining sugar continues fermenting inside the sealed bottle, producing excess CO2. This can cause over-carbonated, gushing beer at best, and exploding bottles at worst. Always confirm fermentation is complete with two matching gravity readings before bottling.
Do I need to correct for temperature every time? If you consistently test at 20°C (the calibration temperature for most UK hydrometers), no correction is needed. If your sample is warmer or cooler, correction improves accuracy — especially above 25°C where the error becomes meaningful. Most brewing apps have built-in correction calculators.