You have brewed your first batch of beer in a plastic bucket from a starter kit, and it turned out surprisingly drinkable. Now you want to do it properly. The bucket worked, but the lid never sealed right, you could not see what was happening inside, and the whole thing smelled faintly of the curry you made in it three years ago. Upgrading your fermentation vessel is the natural next step — but the options range from £5 plastic buckets to £200 stainless steel conical fermenters, and working out which one you actually need is harder than it should be.
In This Article
- What a Fermentation Vessel Does
- Plastic Fermenters
- Glass Fermenters: Demijohns and Carboys
- Stainless Steel Fermenters
- Pressure-Capable Fermenters
- Size Guide: How Big Do You Need?
- Airlocks and Seals
- Temperature Control
- Best Fermentation Vessels by Budget
- Cleaning and Sanitising
- Frequently Asked Questions
What a Fermentation Vessel Does
A fermentation vessel holds your brew while yeast converts sugars into alcohol and carbon dioxide. That is the simple version. In practice, the vessel also needs to:
- Seal airtight — oxygen exposure after initial fermentation causes off-flavours (oxidation). The vessel must keep air out while letting CO2 escape through an airlock
- Be easy to clean and sanitise — any bacteria or wild yeast left in the vessel will contaminate your next batch. Smooth, non-porous surfaces are essential
- Allow you to monitor fermentation — seeing the krausen (foam layer) rise and fall, watching bubbles in the airlock, and taking gravity readings tell you how fermentation is progressing
- Be food-safe — the material must not react with acidic wort (unfermented beer) or wine must
The vessel you choose affects the ease of your brew day, the quality of your finished beer or wine, and how much time you spend cleaning. Our fermentation guide covers the science of what happens inside the vessel.
Plastic Fermenters
The Standard Brewing Bucket
The workhorse of UK homebrewing. A food-grade HDPE (high-density polyethylene) bucket with a lid, tap, and hole for an airlock. Every homebrew starter kit from Wilko, Amazon, or The Malt Miller includes one.
- Capacity: Usually 25-30 litres (standard 5-gallon batch size)
- Price: £5-15 for a basic bucket, £15-25 for a premium version with graduated markings and a better seal
- Material: HDPE (food-grade, marked with recycling number 2)
Advantages
- Cheap — replaceable without guilt. If it gets scratched or stained, buy another
- Lightweight — easy to move when full (a full 25L fermenter weighs about 27kg — still heavy, but manageable)
- Wide opening — easy to clean, easy to add ingredients, easy to take samples
- Durable — survives being dropped (unlike glass)
Disadvantages
- Scratches — over time, the soft plastic develops micro-scratches where bacteria can hide. Even thorough sanitising cannot reach inside scratches. Replace plastic fermenters every 1-2 years or when visibly scratched
- Oxygen permeability — plastic is slightly permeable to oxygen over long periods. Fine for beers fermented in 1-2 weeks, but extended ageing (lagers, sours, meads) in plastic risks oxidation
- Lid seals — cheap bucket lids often do not seal properly. The airlock bubbles but you are not sure if CO2 is actually being channelled through it or just leaking around the lid edge
- No visibility — you cannot see inside without opening the lid, which lets in air
Best Plastic Fermenters
- The Malt Miller Premium Bucket (about £12-15) — UK homebrew shop staple. Better seal than generic buckets, graduated markings, includes tap and airlock grommet
- Mangrove Jack’s 30L Fermenter (about £18-22) — slightly thicker plastic, tighter-fitting lid, designed specifically for brewing rather than repurposed from food storage
- FastFerment Conical (about £40-50) — a plastic conical fermenter that lets you separate sediment (trub) from the beer without racking to a secondary vessel. Clever design, good for intermediate brewers
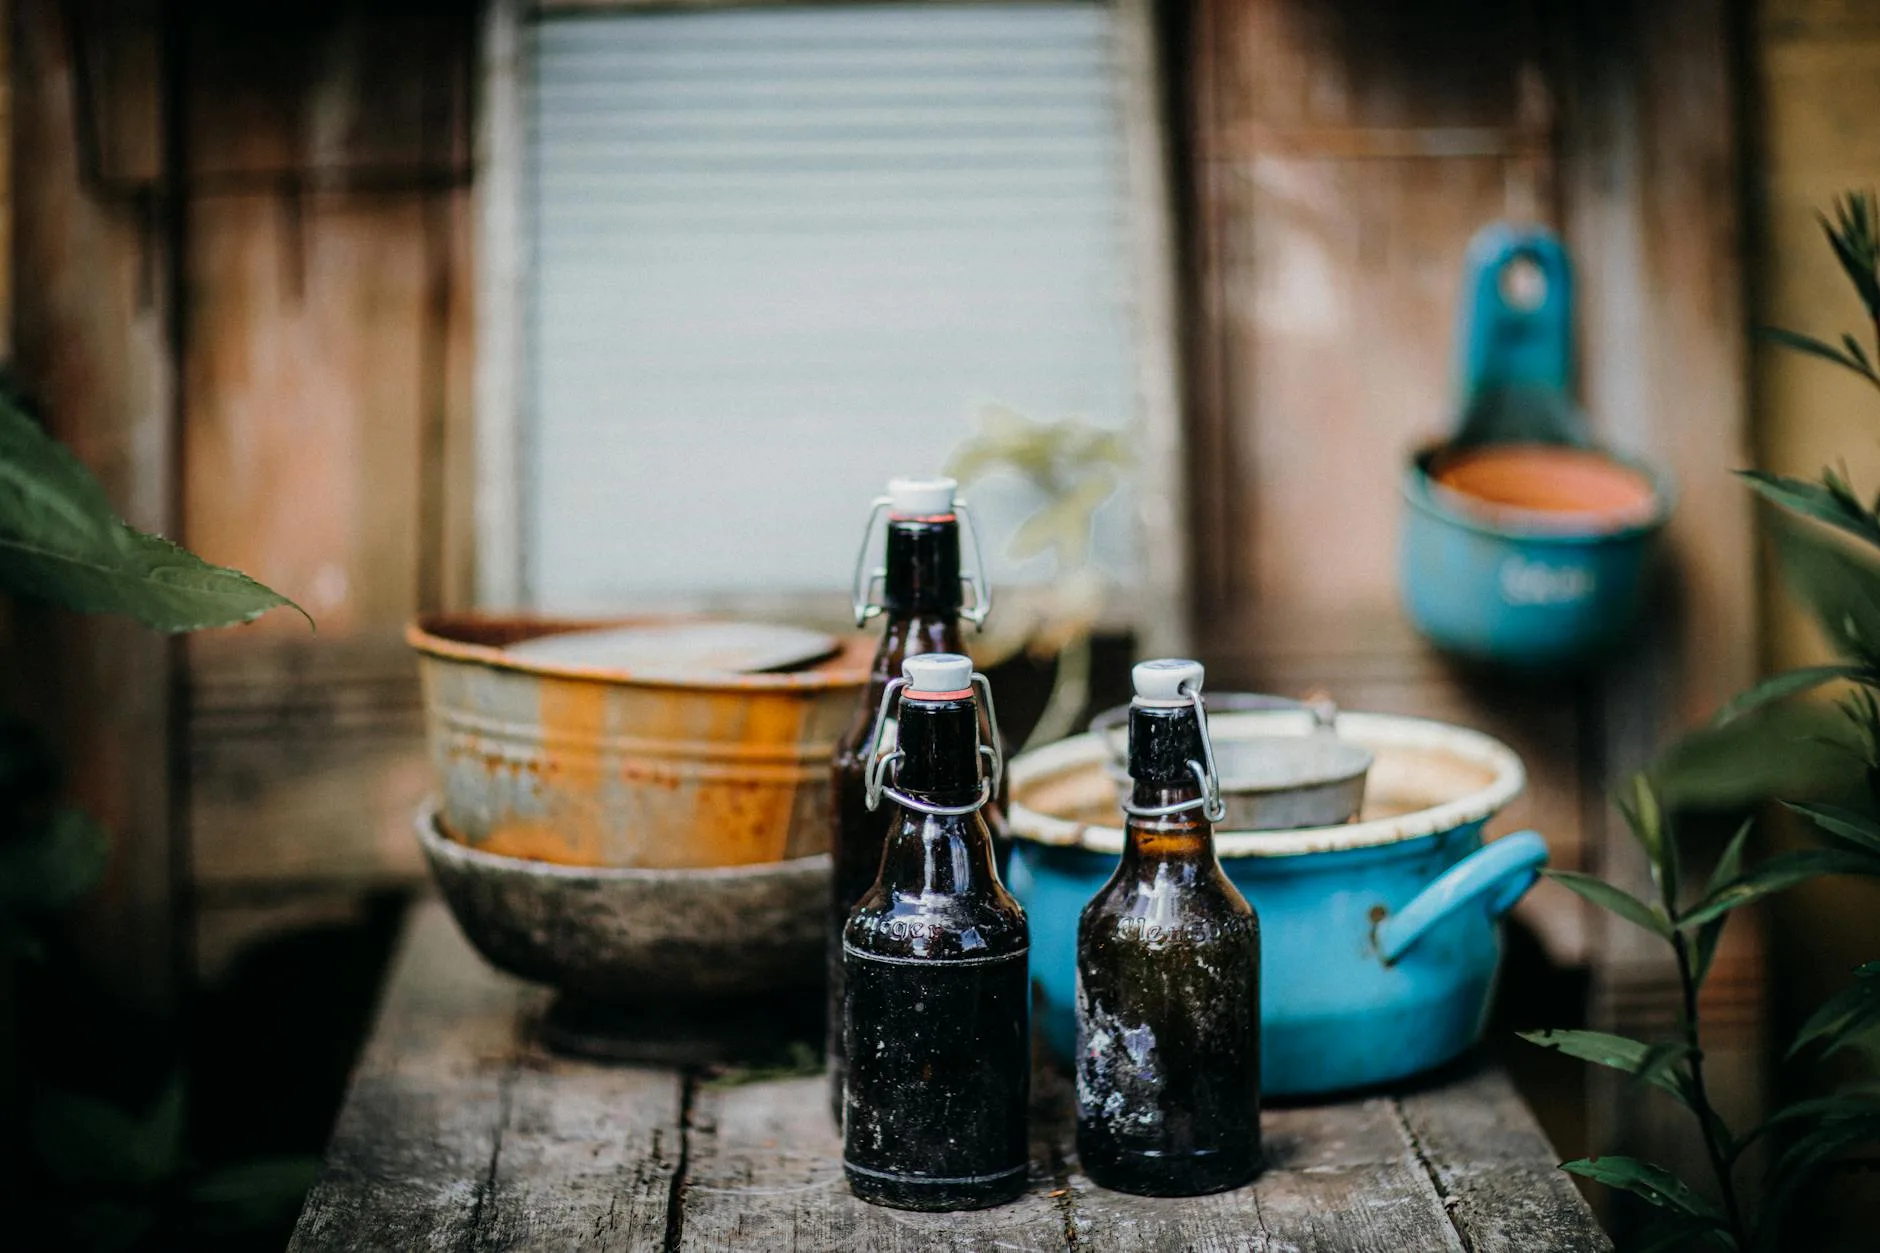
Glass Fermenters: Demijohns and Carboys
Demijohns (4.5-5 Litres)
The classic wine-making vessel. A glass jug with a narrow neck that accepts a standard airlock. Used for small batches, secondary fermentation, and ageing.
- Price: £5-10 each from Amazon, Wilko, or The Homebrew Shop
- Best for: Wine making, mead, cider, small experimental batches
- Limitation: Too small for standard beer batches (23 litres). You would need five demijohns for one batch — impractical
Glass Carboys (11-25 Litres)
Larger glass vessels for full-batch fermentation. Common in American homebrewing but less popular in the UK where plastic buckets dominate.
- Price: £25-50 depending on size
- Best for: Secondary fermentation, long-term ageing, anything where clarity matters
Advantages of Glass
- Non-porous — does not scratch, does not absorb odours or colours, does not harbour bacteria in surface imperfections. The most hygienic vessel material
- Transparent — you can see everything happening inside: yeast activity, clarity, sediment layers, colour changes
- Impermeable to oxygen — safe for extended ageing. Wine, mead, and sour beer can sit in glass for months or years without oxidation risk
- Lasts forever — as long as you do not drop it. I have demijohns from my grandfather that are still in use
Disadvantages of Glass
- Heavy — a 25-litre glass carboy weighs about 5kg empty and 30kg full. Moving it when full is a two-person job and a back injury waiting to happen
- Fragile — drops it, it shatters. Thermal shock (hot liquid in cold glass) can crack it. You need to handle it with respect
- Narrow neck — hard to clean. Bottle brushes help but you cannot reach every corner. Dried-on deposits require soaking with chemical cleaners (PBW or sodium percarbonate)
- Expensive for large sizes — a 25L carboy costs 3-4x more than an equivalent plastic bucket
Best Glass Fermenters
- Standard 4.5L Demijohn (about £5-8) — available everywhere. Essential for wine makers. Buy 3-4 to allow rotation between batches
- Wilko 1-gallon Demijohn (about £4) — cheap and cheerful. Often on offer
- BrewDemon 11L Glass Carboy (about £25-30) — good for 2-gallon experimental batches
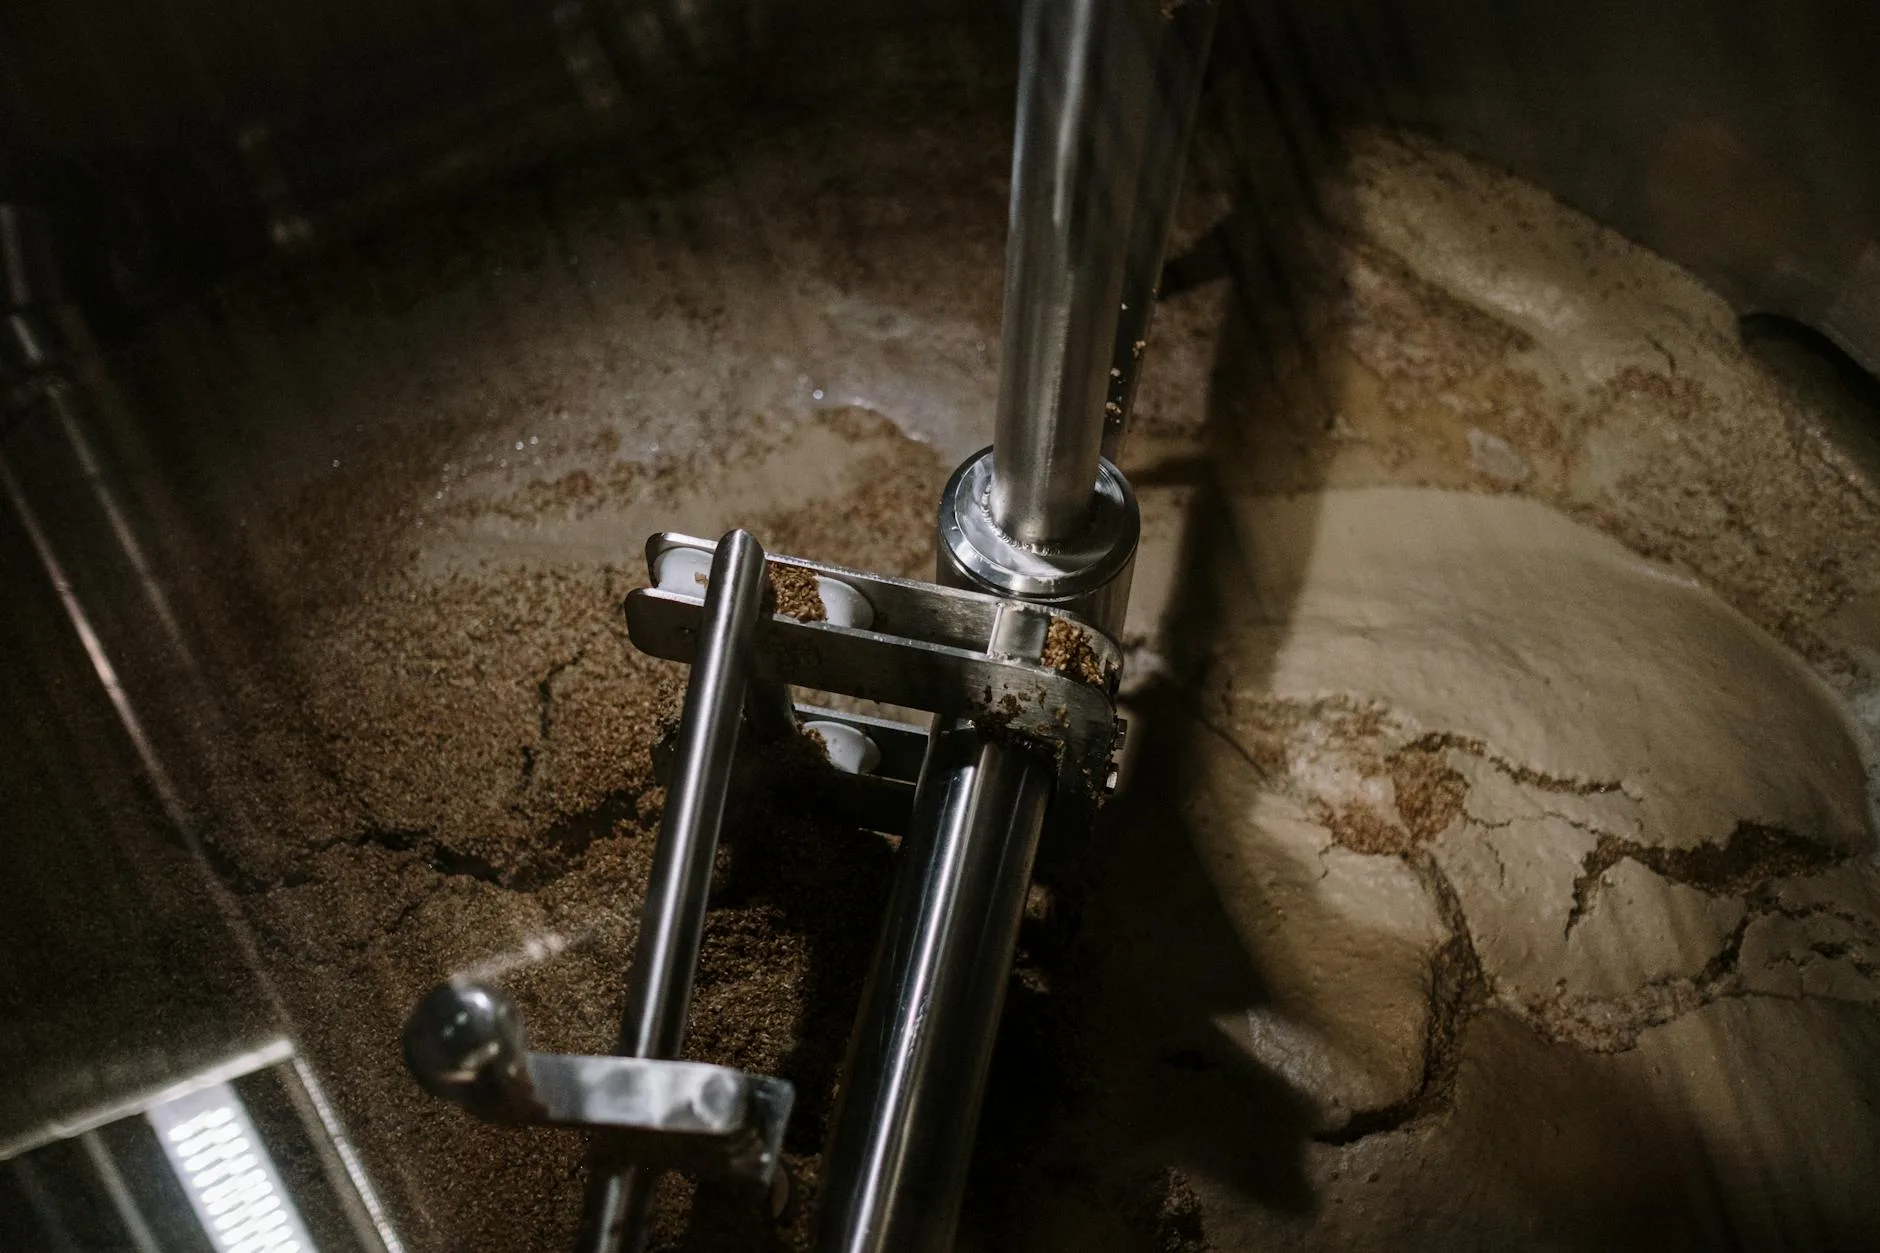
Stainless Steel Fermenters
Why Stainless Steel
Stainless steel combines the best properties of plastic (durable, shatterproof) and glass (non-porous, impermeable to oxygen, long-lasting). It is the material used in commercial breweries for very good reasons.
- Price: £60-200+ depending on size and features
- Best for: Serious homebrewers who want brewery-quality results and are willing to invest
Advantages
- Non-porous and scratch-resistant — like glass, stainless steel does not harbour bacteria. Unlike glass, it does not scratch from normal cleaning
- Oxygen-impermeable — safe for extended ageing
- Durable — survives drops, knocks, and thermal shock. Will outlast you
- Conical option — many stainless fermenters are conical, with a valve at the bottom to dump yeast sediment without racking
- Temperature control — stainless conducts heat well, making external temperature control (cooling jackets, water baths) more effective
- Professional appearance — if you are showing off your brewery setup, stainless looks the part
Disadvantages
- Expensive — the entry price is £60-80 for a basic bucket-style stainless fermenter, and £150-200+ for a conical
- Heavy — heavier than plastic (though lighter than glass for equivalent volume)
- Not transparent — like plastic, you cannot see inside without opening. Some models include sight glasses or thermowell ports
- Requires specific cleaners — do not use chlorine-based sanitisers on stainless steel. They cause pitting. Use Star San or sodium percarbonate
Best Stainless Steel Fermenters
- Brew Bucket Mini 13.5L (about £80-95, from The Malt Miller) — a half-batch conical fermenter. Perfect for 10-12 litre batches. Rotating racking arm, thermowell port, excellent build quality. This is my primary fermenter and I cannot recommend it enough — the rotating racking arm alone is worth the upgrade from plastic
- SS BrewTech Brew Bucket 27L (about £130-150) — full-batch stainless conical. The standard recommendation for serious UK homebrewers. Handles 23-litre batches with headspace
- Grainfather G30 Conical (about £180-200) — from the Grainfather ecosystem. Pairs with their all-in-one brewing systems. Includes a dual valve system for yeast harvesting. Our ingredients guide covers what goes into the fermenter
Pressure-Capable Fermenters
What They Are
A pressure fermenter is a sealed vessel rated to hold internal CO2 pressure (typically 15-35 PSI). This allows you to:
- Ferment under pressure — suppresses ester and fusel alcohol production, resulting in cleaner-tasting beer at higher temperatures. Lagers can be fermented at ale temperatures (18-20°C) under pressure, avoiding the need for a dedicated fermentation fridge
- Naturally carbonate — the CO2 produced during fermentation carbonates the beer inside the vessel. Transfer directly to a keg or tap without priming sugar
- Closed transfers — push beer from the fermenter to a keg using CO2 pressure, with zero oxygen exposure. The gold standard for preventing oxidation
Advantages
- Everything above plus the ability to brew lagers without temperature control equipment
- Massively simplifies packaging — no bottle priming, no forced carbonation in a keg
Disadvantages
- Expensive — £100-250 for a quality pressure-rated fermenter
- Requires CO2 equipment — you need a CO2 bottle and regulator for closed transfers (about £50-80 for a starter kit)
- More complex — more fittings, more seals, more things to clean and potentially leak
Best Pressure Fermenters
- FermZilla All Rounder 30L (about £60-75) — a PET plastic pressure fermenter rated to 35 PSI. The budget entry point for pressure fermentation. Transparent (unlike stainless), lightweight, and surprisingly capable. Available from The Malt Miller and BrewUK
- KegLand FermZilla Conical 30L (about £100-120) — a conical version of the All Rounder with a butterfly valve for yeast dumping. More versatile, more expensive
- Kegmenter 29L (about £130-150) — a stainless steel keg converted into a pressure fermenter. Bombproof durability, excellent for closed-transfer workflows
Size Guide: How Big Do You Need?
Standard Batch (23 Litres / 5 Gallons)
The default homebrew batch size in the UK. Most recipes, kits, and equipment are designed around this volume. You need a fermenter of at least 25-30 litres to allow headspace for the krausen (foam) during active fermentation. A 23-litre fermenter filled with 23 litres of wort will foam out through the airlock — messy and unsanitary.
Half Batch (10-12 Litres)
Increasingly popular with UK homebrewers who want to experiment without committing 23 litres to an untested recipe. A 13-15 litre fermenter handles this well. Half batches are also practical if you have limited fridge space for temperature control.
Small Batch (4.5-5 Litres)
Perfect for wine, mead, and experimental brews. Standard demijohns handle this volume. Also good for split batches — brew 23 litres and ferment in multiple small vessels with different yeasts or additions.
Airlocks and Seals
Types of Airlock
- S-shaped airlock (about £1) — the classic design. Fill with water or sanitiser. Bubbling indicates active fermentation. Simple, reliable, cheap
- Three-piece airlock (about £1) — disassembles for easy cleaning. Slightly more hygienic than the S-type. My preference for primary fermentation
- Blow-off tube — for vigorous fermentations, replace the airlock with a tube running into a jar of sanitiser. This prevents the krausen from clogging the airlock and blowing the lid off your fermenter (ask me how I know)
Getting a Good Seal
The seal between the lid and the vessel matters more than the airlock type. If the lid leaks, CO2 escapes around the edge rather than through the airlock, and oxygen gets in. On plastic buckets:
- Press the lid firmly around the entire circumference — not just the centre
- Wrap the lid-to-bucket junction with cling film for extra security (a common homebrew hack)
- If the lid consistently fails to seal, replace the bucket — deformed rims are the usual cause
Our wine making kit guide includes airlock setup as part of the kit review.
Temperature Control
Why It Matters
Yeast produces different flavour compounds at different temperatures. Too warm and you get fusel alcohols (harsh, solvent-like flavours) and excessive esters (banana, bubblegum). Too cold and fermentation stalls. Consistent temperature within the yeast’s optimal range is the single biggest factor in clean-tasting beer.
Methods
- Fermentation fridge — a second-hand fridge (about £30-60 from Gumtree) with an Inkbird temperature controller (about £20-30) is the gold standard. Set the desired temperature and the controller switches the fridge on and off to maintain it. This setup handles ales (18-20°C) and lagers (8-12°C)
- Water bath — place the fermenter in a tub of water. Water’s thermal mass buffers temperature swings. Add frozen water bottles to cool, or an aquarium heater (about £10-15) to warm. Crude but effective for ales in a stable environment
- Heating belt/pad — wraps around the fermenter and provides gentle heat. Useful in cold garages and sheds during winter. About £10-15 from homebrew shops
- Insulation jacket — a neoprene sleeve that fits over the fermenter. Slows temperature changes but does not actively control temperature. About £15-25
Material and Temperature Control
Stainless steel responds faster to external cooling and heating than plastic because metal conducts heat better. If precise temperature control matters to your brewing, stainless steel paired with a fermentation fridge gives you the most control.
Best Fermentation Vessels by Budget
Under £15
- The Malt Miller 30L Bucket (about £12) — the starting point. Does the job for your first 10-20 batches. Replace when scratched
- Standard Demijohn 4.5L (about £5-8) — for wine and mead. Buy multiples
£15-50
- FastFerment Conical (about £40-50) — plastic conical with trub collection ball. A meaningful upgrade from a basic bucket without the cost of stainless
- FermZilla All Rounder 30L (about £60-75) — transparent PET, pressure-capable. The best value fermenter in this range if you want to explore pressure fermentation
£50-150
- SS BrewTech Brew Bucket Mini 13.5L (about £80-95) — stainless conical for half batches. Build quality is excellent
- SS BrewTech Brew Bucket 27L (about £130-150) — the full-batch stainless standard. An investment that lasts decades
£150+
- Grainfather G30 Conical (about £180-200) — integrated into the Grainfather ecosystem
- Spike Brewing Flex (about £200+) — the premium option. Modular, expandable, built for life
Cleaning and Sanitising
The Difference
Cleaning removes visible dirt, residue, and organic matter. Sanitising kills invisible microorganisms. You must do both, in that order — sanitiser does not work on dirty surfaces.
Recommended Products
- Sodium percarbonate (about £5/kg, from The Malt Miller or Amazon) — the primary cleaner for UK homebrewing. Mix with hot water, soak the vessel for 30 minutes, scrub if needed. Also sold under brand names like PBW (Powdered Brewery Wash)
- Star San (about £12 for 250ml, makes ~40 litres of solution) — the standard sanitiser. No-rinse, contact time of 30 seconds, safe on all materials. Dilute according to instructions and spray or soak
- Chemipro OXI (about £8/kg) — a combined cleaner-sanitiser from Belgium. Popular with UK brewers who want a one-step solution
Material-Specific Notes
- Plastic: Use soft sponges only — never scourers or abrasive pads. Scratches in plastic harbour bacteria permanently
- Glass: Soak with sodium percarbonate overnight for stubborn deposits. Use a bottle brush for the neck
- Stainless steel: No chlorine-based cleaners (bleach, Milton). They cause pitting corrosion. Stick to PBW/sodium percarbonate and Star San
The Food Standards Agency hygiene guidance applies to homebrew equipment as much as it does to commercial food preparation.
Frequently Asked Questions
Can I use a regular food bucket for fermentation? Technically yes, if it is food-grade HDPE (recycling symbol 2). However, regular buckets often have poor-fitting lids that do not seal airtight, and they may have been used for non-food purposes despite the food-grade label. A proper brewing bucket costs £10-15 and has a grommet for an airlock, a tap for bottling, and a lid designed to seal. The small cost is worth it.
How often should I replace a plastic fermenter? Every 1-2 years with regular use, or whenever you see visible scratches on the inside surface. Run your fingernail across the interior — if you can feel scratches, bacteria can live in them. At £10-15 per bucket, replacement is cheap insurance against infected batches.
Is stainless steel really worth the extra cost? If you brew regularly (monthly or more) and plan to continue for years, yes. A £130 stainless fermenter that lasts 20 years costs less per brew than replacing plastic buckets every 18 months. It also produces better beer by eliminating oxygen exposure and providing a truly sanitary surface. If you brew occasionally and casually, plastic is fine.
Do I need a secondary fermenter? For most beers, no. Modern homebrewing practice is to complete primary fermentation in one vessel, then package directly. Secondary fermentation (racking to a second vessel) was standard advice in the 1990s but introduces unnecessary oxygen exposure. The exception is long-term ageing — meads, sours, and fruit wines benefit from racking off the sediment into a clean glass vessel for extended maturation.
What size fermenter for wine kits? Most UK wine kits produce 30 bottles (23 litres). You need a primary fermenter of at least 25-30 litres and a 23-litre demijohn or carboy for secondary. Many wine makers use a plastic bucket for primary and glass demijohns for secondary and ageing.