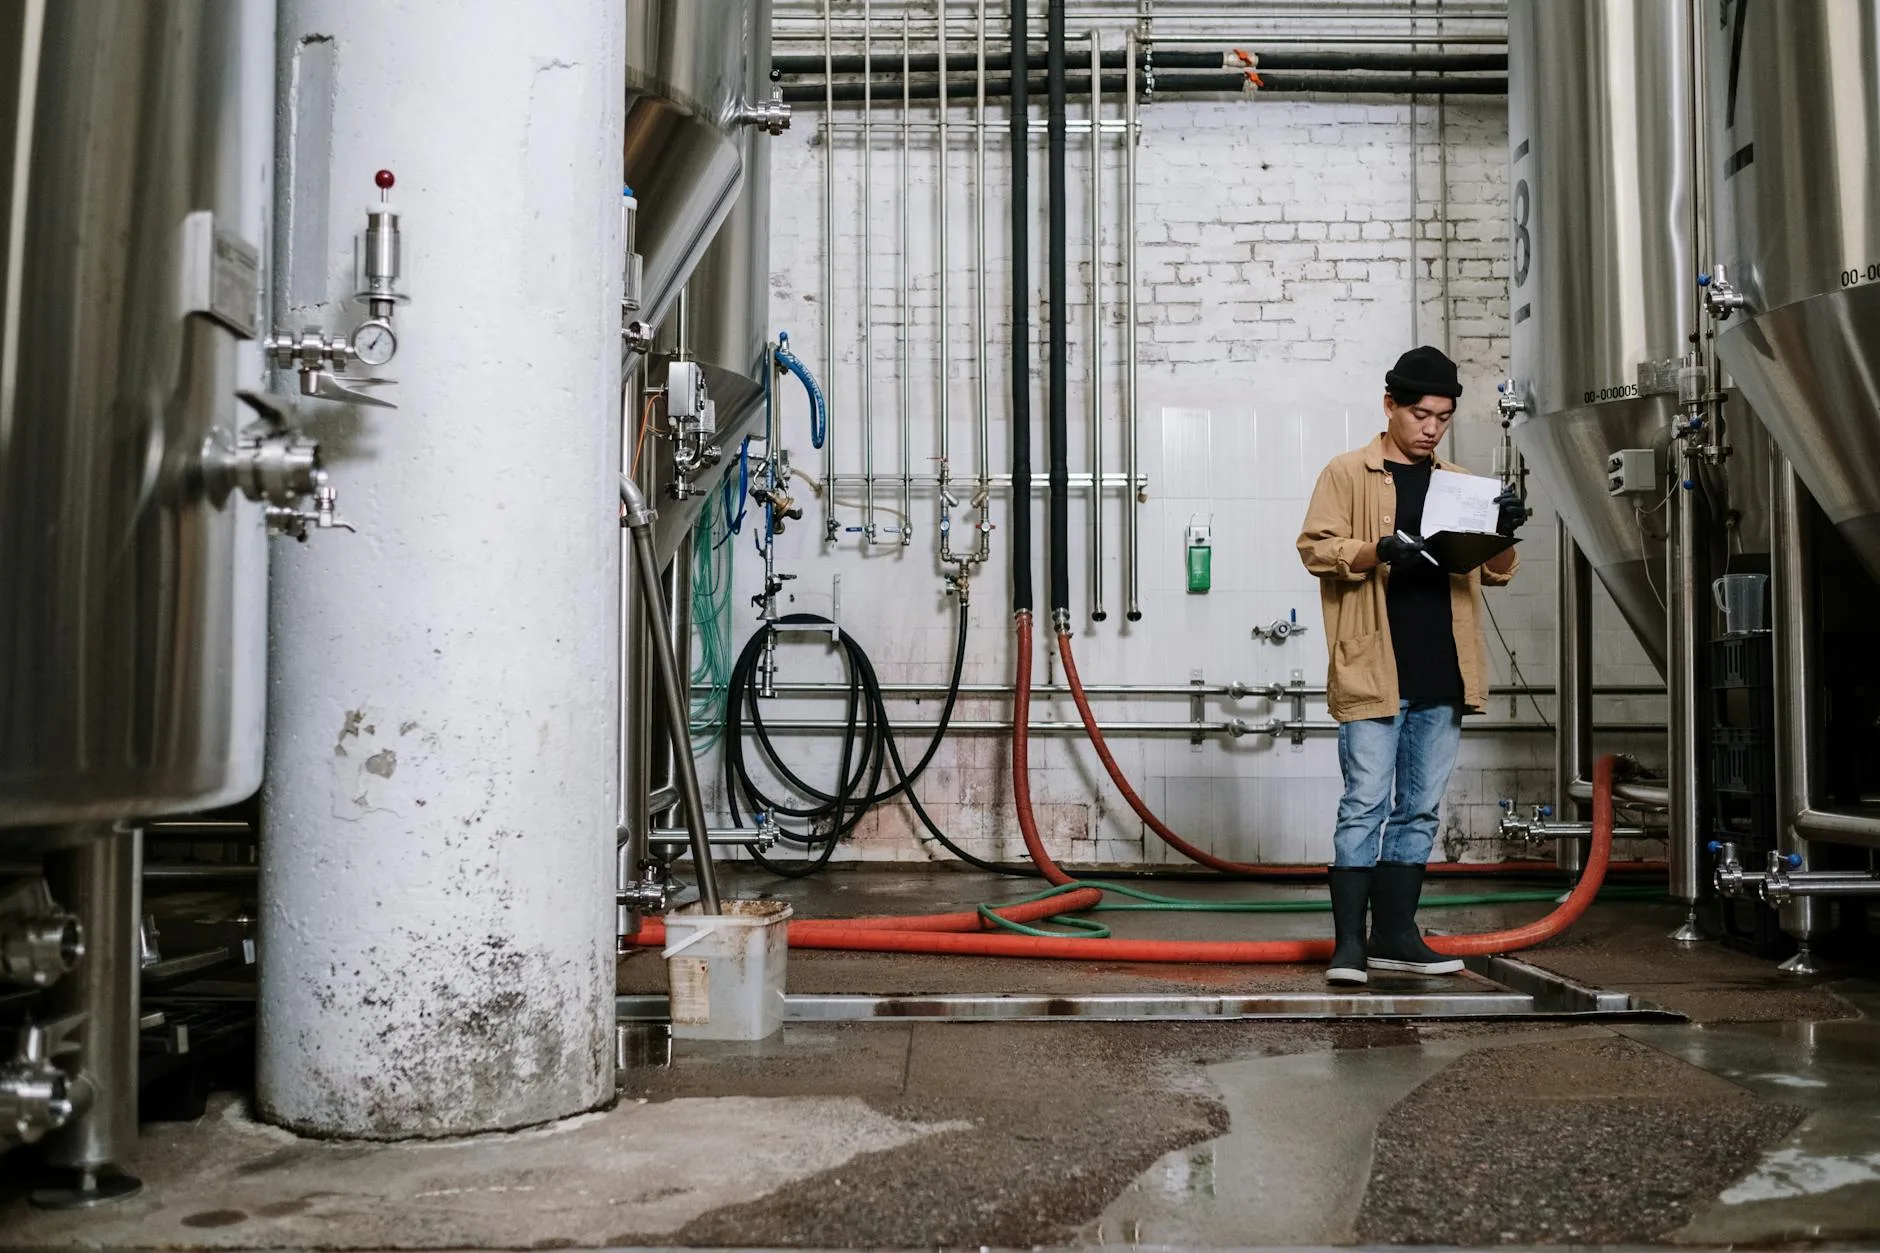
Your first batch tastes flat, your second batch tastes like wet cardboard, and you’re ready to blame the recipe. Nine times out of ten, it’s the yeast. Brewing yeast is the single ingredient that transforms sugary water into beer, wine, or cider — and choosing the wrong strain (or mistreating the right one) ruins everything else you’ve done right.
After brewing over 30 batches across ales, lagers, and a few questionable experimental ciders, I keep coming back to Safale US-05 for most ales. It’s clean, reliable, ferments at room temperature, and forgives beginners’ mistakes like inconsistent temperature control. A single 11.5g sachet costs about £3.50 from The Malt Miller or Amazon UK and handles a standard 23-litre batch. If you’re starting out, this is your yeast.
In This Article
- What Brewing Yeast Actually Does
- Ale Yeast vs Lager Yeast vs Wild Yeast
- Dry Yeast vs Liquid Yeast
- How to Choose the Right Yeast for Your Brew
- Best Brewing Yeasts 2026 UK: Our Picks
- Safale US-05 — Best All-Round Ale Yeast
- Safale S-04 — Best English Ale Yeast
- Saflager W-34/70 — Best Lager Yeast
- Lallemand Belle Saison — Best for Saisons and Farmhouse Ales
- White Labs WLP001 California Ale — Best Liquid Yeast
- Mangrove Jack’s M42 New World Strong Ale — Best for High ABV
- Yeast Handling and Pitching Guide
- Fermentation Temperature Control
- Common Yeast Mistakes and How to Fix Them
- Frequently Asked Questions
What Brewing Yeast Actually Does
Yeast is a single-celled fungus that eats sugar and produces alcohol and carbon dioxide. That’s the textbook version. In practice, yeast does far more — it creates the esters, phenols, and flavour compounds that define whether your beer tastes like a crisp American pale ale or a fruity Belgian witbier. Two identical wort recipes fermented with different yeast strains produce completely different beers.
The Flavour Factory
During fermentation, yeast produces hundreds of chemical compounds beyond ethanol and CO2. Esters give fruity notes (banana, pear, apple). Phenols create spicy or clove-like flavours. Fusel alcohols — produced when yeast gets too warm — give that headache-inducing harshness you want to avoid.
Attenuation: How Much Sugar Gets Eaten
Attenuation describes what percentage of available sugars the yeast consumes. High-attenuation strains (80%+) produce dry, crisp beers. Low-attenuation strains (65-75%) leave more residual sweetness and body. Most homebrewers want something in the 73-78% range for balanced ales.
Flocculation: Clean Up After Yourself
Flocculation describes how well yeast clumps together and settles after fermentation. High-flocculation strains drop clear quickly — great for English ales where you want bright beer. Low-flocculation strains stay suspended longer, giving hazy appearances (ideal for NEIPAs and wheat beers).
Ale Yeast vs Lager Yeast vs Wild Yeast
The three families of brewing yeast suit different beer styles, fermentation temperatures, and brewer experience levels.
Ale Yeast (Saccharomyces cerevisiae)
Top-fermenting yeast that works at 15-24°C — essentially room temperature in most UK homes. This is where most homebrewers start and many never leave, because ales are the easiest to ferment without specialist temperature control equipment.
- Fermentation temperature: 15-24°C (most strains prefer 18-22°C)
- Fermentation time: 5-10 days primary
- Best for: pale ales, IPAs, bitters, stouts, porters, wheat beers
Lager Yeast (Saccharomyces pastorianus)
Bottom-fermenting yeast that requires cold fermentation at 8-14°C, followed by weeks of cold conditioning (lagering) near 0°C. This demands a temperature-controlled fridge or chest freezer — you can’t lager at room temperature in a UK house, even in January.
- Fermentation temperature: 8-14°C (then lager at 0-4°C for 4-8 weeks)
- Fermentation time: 2-3 weeks primary, 4-8 weeks lagering
- Best for: pilsners, helles, bocks, schwarzbier, märzen
Wild and Mixed-Culture Yeast
Brettanomyces and mixed cultures containing Lactobacillus and Pediococcus produce sour, funky beers. These are advanced territory — fermentation takes months to years, and Brett can contaminate your equipment permanently if you’re not careful.
- Fermentation temperature: varies widely (15-30°C)
- Fermentation time: 3-18 months
- Best for: lambics, Flanders red, Berliner weisse, gose, farmhouse ales
- Warning: keep dedicated equipment for wild fermentations — Brett doesn’t rinse off plastic
Dry Yeast vs Liquid Yeast
Dry Yeast
Dried, vacuum-packed sachets that store for months at room temperature and years in the fridge. These are the workhorses of UK homebrewing.
- Pros: cheap (£3-5 per sachet), long shelf life, no starter needed, consistent results
- Cons: fewer strain options (maybe 30-40 varieties versus hundreds of liquid strains), slightly less character than some liquid strains
- Best brands in the UK: Fermentis (Safale/Saflager range), Lallemand (LalBrew/Belle range), Mangrove Jack’s
Liquid Yeast
Sold in vials or smackpacks, liquid yeast offers far more strain diversity. If you want to clone a specific commercial beer’s yeast character, liquid is often the only way.
- Pros: huge variety (hundreds of strains), more nuanced flavour profiles, propagatable
- Cons: expensive (£7-12 per pack), short shelf life (3-6 months refrigerated), usually needs a yeast starter to ensure adequate cell count, temperature sensitive during shipping
- Best brands in the UK: White Labs, Wyeast (harder to find in the UK but available from specialist shops like The Malt Miller and Brewfather)
For most homebrewers, dry yeast is the right choice. The quality gap has narrowed hugely in the last five years, and the convenience factor is enormous. Save liquid yeast for when you want a specific character that no dry strain replicates.
How to Choose the Right Yeast for Your Brew
Match the Style
This sounds obvious, but many beginners grab whatever yeast the homebrew shop has in stock. A classic English bitter demands an English ale yeast (S-04 or similar) for its malty, slightly fruity character. Using a clean American strain like US-05 produces a perfectly drinkable beer, but it won’t taste like a proper bitter.
Check Your Temperature Control
Be honest about your setup. If you’re fermenting in a spare bedroom that sits at 18-22°C, stick with ale yeasts that thrive in that range. If you’ve got a fermentation fridge with a temperature controller (about £30-50 from Amazon UK for an Inkbird ITC-308), lager yeasts become an option.
Consider Attenuation
Planning a dry, crisp IPA? Choose a high-attenuation strain. Want a sweet, full-bodied stout? Go lower. The yeast specification sheets from Fermentis and Lallemand list attenuation ranges for every strain — check them before buying.
Read Other Brewers’ Notes
The National Homebrew Competition (run by the Campaign for Real Ale, CAMRA) attracts hundreds of UK entries each year. Competition notes often mention specific yeast strains. Online forums like Jim’s Beer Kit and the UK Homebrew Forum are gold mines for strain recommendations matched to specific recipes.
Best Brewing Yeasts 2026 UK: Our Picks
Here’s what actually performs in UK homebrewing conditions. I’ve focused on strains readily available from UK suppliers with reasonable shelf dates on arrival.
Safale US-05 — Best All-Round Ale Yeast
- Price: £3-4 per 11.5g sachet
- Type: Dry ale yeast
- Attenuation: 78-82%
- Temp Range: 15-24°C
The desert-island yeast for homebrewers. US-05 produces clean, neutral ale flavours that let your malt and hops shine. It attenuates well, flocculates cleanly, and tolerates temperature swings that would stress pickier strains.
Why It Wins
- Clean profile. Very low ester production at 18-20°C. Your pale ale tastes like hops and malt, not banana bread.
- Forgiving. Handles temperatures from 15-24°C without producing harsh off-flavours. If your fermenter drifts from 18°C to 22°C overnight, US-05 barely notices.
- Reliable. I’ve used maybe 15 sachets across different batches and every single one started fermenting within 12 hours.
- Drops clear. Medium-high flocculation means your beer clears within a week in secondary.
Where It Falls Short
- Too clean for some styles. English bitters and Belgian ales need yeast character that US-05 deliberately suppresses.
- Not ideal above 22°C. Push it warm and you’ll get some fruity esters. Not unpleasant, but not the clean profile you bought it for.
Safale S-04 — Best English Ale Yeast
- Price: £3-4 per 11.5g sachet
- Type: Dry ale yeast
- Attenuation: 73-77%
- Temp Range: 15-24°C
Where US-05 stays clean, S-04 adds character. Fruity esters, lower attenuation, and excellent flocculation make this the go-to for traditional English styles — bitters, milds, ESBs, and porters.
Why It Works
- English character. Subtle fruit esters (apple, pear) that define a proper English ale. Ferment at 18-19°C for the best balance.
- Brilliant clarity. Very high flocculation — this yeast drops out faster than almost any other strain. You’ll have clear beer within days.
- Lower attenuation. Leaves residual sweetness and body, which is exactly what a bitter or mild needs.
Where It Falls Short
- Too much character for clean styles. Don’t use this for an American pale ale or an IPA where you want hops to dominate.
- Can be too sweet. If your mash temperature is high (68°C+) and you use S-04, the beer may finish sweeter than you want. Mash at 65-66°C for balance.
Saflager W-34/70 — Best Lager Yeast
- Price: £4-5 per 11.5g sachet
- Type: Dry lager yeast
- Attenuation: 80-84%
- Temp Range: 9-22°C
The world’s most-used lager yeast, and probably the most versatile strain on this list. W-34/70 ferments cleanly at both traditional lager temperatures (10-12°C) and warmer pseudo-lager temperatures (15-18°C), making it accessible to homebrewers without a fermentation fridge.
Why It Wins
- Temperature flexibility. Ferment at 12°C for a textbook pilsner, or at 16-18°C for a clean, lager-like ale. Most lager yeasts won’t tolerate the warmer range without producing harsh sulphur.
- Super clean. Minimal esters and phenols at any temperature. Crisp, dry, and malt-focused.
- High attenuation. Chews through sugars efficiently, producing dry, refreshing lagers.
Where It Falls Short
- Still benefits from cold conditioning. Even at warmer fermentation temps, a few weeks at 2-4°C noticeably improves clarity and smoothness. A fridge helps.
- Sulphur during fermentation. Normal for lager yeast and it dissipates during conditioning, but it can worry first-time lager brewers when their airlock smells like rotten eggs.
Lallemand Belle Saison — Best for Saisons and Farmhouse Ales
- Price: £4-5 per 11g sachet
- Type: Dry ale yeast
- Attenuation: 85-95%
- Temp Range: 15-35°C
Saisons are the ultimate summer beer, and Belle Saison is the easiest way to brew one at home. This yeast actually performs better at higher temperatures — it thrives in conditions that would destroy most strains. Perfect for UK summer brewing when your spare room hits 25°C+ and you can’t cool your fermenter.
Why It Works
- Loves heat. Start at 20°C and let it rise to 28-30°C as fermentation progresses. The warmer it gets, the more peppery, spicy character develops.
- Monster attenuation. 85-95% means bone-dry beers. Saisons should finish at 1.002-1.005 — Belle Saison gets there reliably.
- Dry yeast convenience. No starter needed, long shelf life, and it’s available from every UK homebrew shop.
Where It Falls Short
- One-trick pony. Produces fantastic saisons and farmhouse ales. Not much use for anything else.
- Can be too dry. If you want any residual sweetness, you’ll need to add lactose or unfermentable sugars. Belle Saison eats almost everything.
White Labs WLP001 California Ale — Best Liquid Yeast
- Price: £8-10 per vial
- Type: Liquid ale yeast
- Attenuation: 73-80%
- Temp Range: 20-23°C
The liquid equivalent of US-05 and arguably the world’s most famous ale yeast strain. WLP001 produces the clean, neutral profile that defined the American craft beer revolution. If you want the cleanest possible canvas for your hops and malt, this is it.
Why It Wins
- The reference standard. Sierra Nevada, Stone, and countless other American craft breweries use this strain or close relatives. When someone says “American ale yeast,” this is what they mean.
- Subtle complexity. Compared to dry US-05, liquid WLP001 adds a tiny bit more mouthfeel and very subtle fruit notes. The difference is small but noticeable in side-by-side tastings.
Where It Falls Short
- Needs a starter. For a standard-gravity beer, you should build a 1-2 litre starter the day before brewing. That’s an extra step and extra equipment (a flask, stir plate, and DME).
- Expensive and perishable. At £8-10 per vial with a 3-6 month shelf life, it costs triple what dry yeast does. And if the delivery van sits in the sun, viability drops.
- Available from fewer UK shops. The Malt Miller and BrewUK stock White Labs, but your local homebrew shop might not.
Mangrove Jack’s M42 New World Strong Ale — Best for High ABV
- Price: £3-4 per 10g sachet
- Type: Dry ale yeast
- Attenuation: 75-82%
- Temp Range: 16-22°C
Big beers need tough yeast. M42 handles high-gravity worts (up to 1.090 OG) without stalling, producing clean, slightly fruity imperial IPAs, barley wines, and strong ales.
Why It Works
- Alcohol tolerance. Comfortable up to about 10% ABV, where many standard strains give up or produce harsh fusel alcohols.
- Clean enough for hoppy beers. Slight ester character complements rather than fights big hop additions in double IPAs.
- Dry yeast simplicity. Just pitch the sachet — no starter needed even for high-gravity worts, though two sachets improve reliability above 1.070 OG.
Where It Falls Short
- Slower to start. High-gravity worts take longer to get going. Expect 18-24 hours to visible fermentation versus 8-12 for standard-gravity pitches.
- Doesn’t replace dedicated Belgian strains. For a true Belgian tripel character, you need a Belgian-specific yeast — M42 won’t produce those signature banana and clove phenolics.
Yeast Handling and Pitching Guide
Dry Yeast — The Simple Path
- Sanitise the outside of the sachet with StarSan spray
- Open and sprinkle directly onto the surface of your cooled wort
- Leave for 15 minutes before stirring gently to distribute
- Seal your fermenter and attach the airlock
That’s it. Rehydration used to be recommended, but Fermentis and Lallemand both confirmed in 2024 that direct pitching gives identical results with their modern strains. One less thing to worry about.
Liquid Yeast — Build a Starter
For standard-gravity beers (OG 1.040-1.060):
- Boil 1 litre of water with 100g of light dried malt extract (DME) for 10 minutes
- Cool to room temperature in a sanitised flask
- Pitch the liquid yeast vial or smackpack
- Place on a stir plate for 24-48 hours (or shake periodically)
- Refrigerate for 24 hours, then decant the spent liquid before pitching the yeast cake into your wort
For high-gravity beers (OG 1.060+), double the starter volume to 2 litres.
Pitching Temperature
Cool your wort to within 2°C of your target fermentation temperature before pitching. Pitching into hot wort (above 30°C) kills yeast. Pitching into cold wort shocks it into dormancy. If you’ve been cooling in an ice bath and the thermometer reading shows 19°C, that’s your green light for most ale strains.
Fermentation Temperature Control
Temperature is the single biggest variable affecting yeast behaviour. A 3°C difference can change a clean lager into an estery mess.
Budget Options
- Cool corner of the house. UK homes in winter often have spare rooms sitting at 16-18°C — fine for English ales with S-04 or US-05.
- Water bath. Place your fermenter in a plastic tub filled with water. Water’s thermal mass buffers temperature swings. Add frozen water bottles to drop the temperature a degree or two.
- Wet towel method. Drape a wet towel over the fermenter with the ends in a tray of water. Evaporation cools by 2-4°C below ambient. Effective in summer but messy.
The Proper Solution
An old fridge or chest freezer (£20-50 secondhand on Facebook Marketplace) plus an Inkbird ITC-308 temperature controller (£25-35 from Amazon UK) gives you precise control from 0°C to 30°C. This is the single best upgrade a homebrewer can make. It opens up lager brewing, controlled Belgian fermentation profiles, and consistent results year-round regardless of what the British weather decides to do.
Common Yeast Mistakes and How to Fix Them
Pitching Too Little Yeast
Under-pitching stresses yeast, producing fusel alcohols (harsh, hot flavours) and excessive esters. For ales, one 11.5g sachet handles worts up to 1.060 OG. Above that, pitch two sachets. For lagers, always pitch two sachets — lager yeast works harder at cold temperatures and needs more cells to start cleanly.
Fermenting Too Warm
The number one beginner mistake. Yeast generates its own heat during active fermentation — your fermenter is 2-4°C warmer inside than the room temperature. If your room is 22°C, the beer is fermenting at 24-26°C. That’s when you get banana esters and fusel alcohol burn. Measure the temperature of the fermenter itself, not the room.
Using Old Yeast
Dry yeast lasts 2+ years if refrigerated, but check the manufacture date on the sachet. Liquid yeast loses roughly 2% viability per month. A 6-month-old liquid vial might be at 50% viability — you’ll need a bigger starter to compensate. When in doubt, buy fresh from a supplier with good stock turnover like The Malt Miller or BrewUK.
Not Aerating the Wort
Yeast needs dissolved oxygen in the first 12 hours of fermentation to build healthy cell membranes. Before pitching, shake or stir your sealed fermenter vigorously for 2-3 minutes. Some brewers use an aquarium pump with a stainless steel diffusion stone for even better results.
Rushing Fermentation
Patience. Most ales need 10-14 days in primary, even if visible fermentation (bubbling) stops after 4-5 days. The yeast is still cleaning up diacetyl and other off-flavour compounds during this quiet phase. Pulling the beer off the yeast too early leaves butterscotch-flavoured diacetyl behind. Take a gravity reading — if it’s stable over three days, fermentation is truly done.
Frequently Asked Questions
How much yeast do I need for a 23-litre batch? For ales up to 1.060 OG, one 11.5g sachet of dry yeast is sufficient. For higher gravity ales (above 1.060) or any lager, pitch two sachets. Liquid yeast typically needs a 1-2 litre starter for standard gravity beers. Under-pitching causes off-flavours — when in doubt, add more yeast rather than less.
Can I reuse yeast from a previous batch? Yes. After racking your beer off the yeast cake, pitch fresh wort directly onto it within 24 hours. This works reliably for 3-4 generations before mutation and contamination risks increase. Harvest from low-gravity, minimally hopped beers for best results — heavily hopped IPAs stress the yeast and reduce viability.
What temperature should I ferment at? Most ale yeasts perform best between 18-20°C (measured at the fermenter, not room temperature — fermentation generates 2-4°C of its own heat). Lager yeasts need 10-14°C during primary fermentation, then 0-4°C for conditioning. Saison yeasts thrive at 25-30°C. Always check the specific strain’s recommended range on the manufacturer’s data sheet.
Do I need to rehydrate dry yeast before pitching? No. Both Fermentis and Lallemand now recommend direct pitching — sprinkle the dry yeast onto the surface of your cooled wort, wait 15 minutes, then stir gently. Studies show no measurable difference in fermentation performance between rehydrated and directly pitched dry yeast with modern production methods.
Why does my beer taste like banana or bubble gum? Isoamyl acetate (banana ester) and ethyl acetate (solvent-like) are produced when yeast ferments too warm. If you’re getting strong banana flavours in a strain that should be clean, your fermentation temperature is too high. Lower it by 2-3°C on your next batch, measure the fermenter temperature rather than the room, and ensure adequate pitching rates.